The plate came back to the kitchen with nothing but crumbs. My niece had asked for “the spider cookies again” before she even finished swallowing her last bite. That was the moment I knew these weren’t just another Halloween treat—they were becoming a tradition.
It started on a rainy October afternoon when I wanted something spooky but didn’t have the energy for a complicated project. You know those days when you need a win in the kitchen, but your brain is already fried from planning the rest of the week’s meals? That was me. I had a batch of my go-to chocolate peanut butter cookie dough chilling in the fridge and a tube of white icing leftover from another baking project. The spider web design happened almost by accident—a swirl here, a drag through the icing there—and suddenly I had these creepy-crawly cookies that looked way more impressive than the effort I put in.
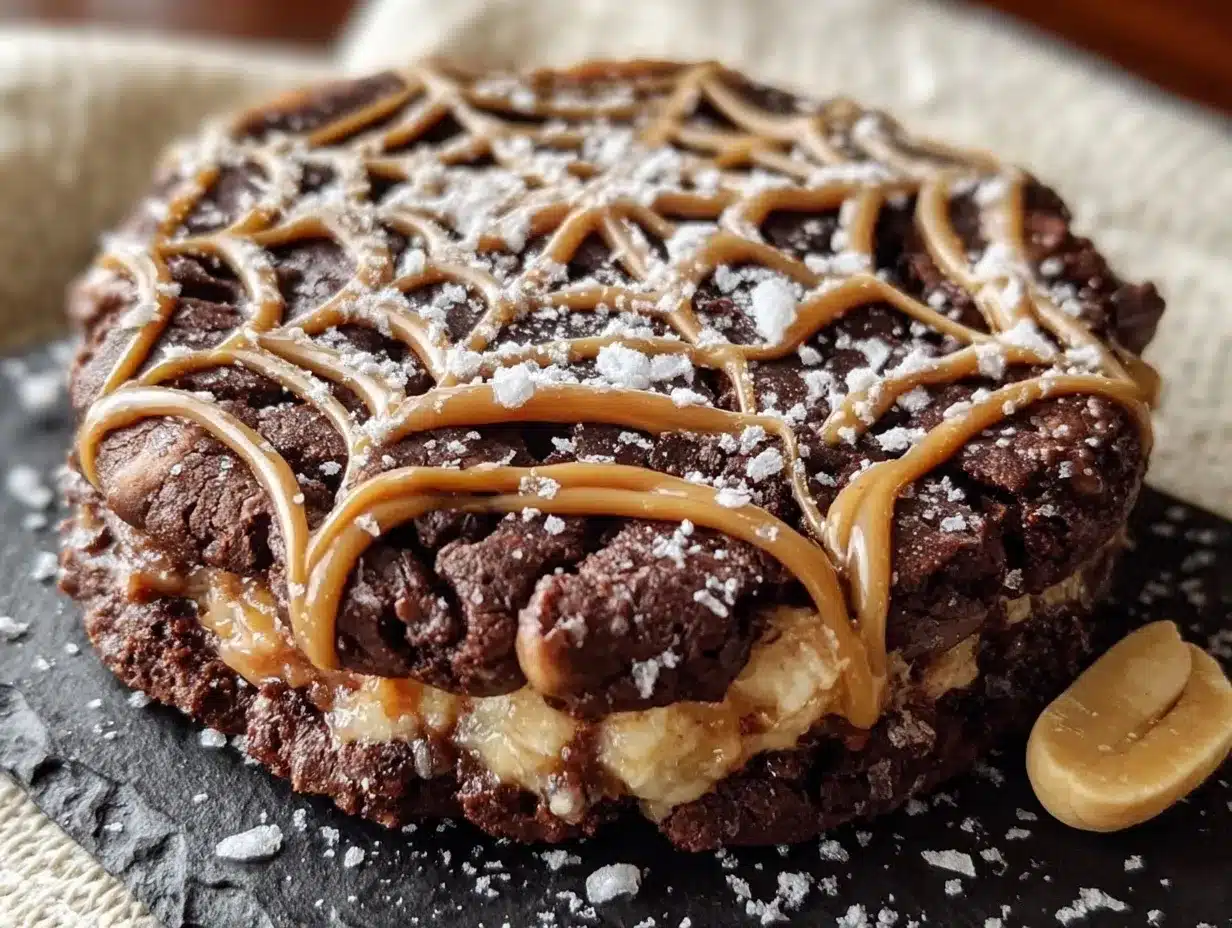
Honestly, I almost didn’t share them. They felt too simple, too accidental. But that empty plate told me something different. These Easy Spider Web Chocolate Peanut Butter Cookies aren’t just cute—they’re the kind of cookie that disappears before you can blink. The rich chocolate base, the creamy peanut butter swirl, and that delicate web pattern on top create something that feels special without requiring a pastry degree.
Sometimes the best recipes come from not trying so hard. These cookies are proof.
Why You’ll Love This Recipe
I’ve tested this recipe six times to get the perfect balance between a soft, fudgy cookie and a web design that actually holds its shape. Here’s why I keep coming back to it year after year:
- Ready in 30 Minutes : From mixing bowl to cooling rack in half an hour. Perfect for last-minute Halloween parties or classroom treats.
- Simple Pantry Ingredients : You probably have everything already. No specialty baking ingredients, no food coloring, no fuss.
- Kid-Friendly Fun : The spider web design is so easy that kids can help. My nephew made an entire batch by himself last year—and they looked great.
- No Chill Time Needed : Unlike most decorated cookies, these don’t require hours of chilling. Mix, bake, cool, decorate. That’s it.
- Rich, Fudgy Texture : The combination of cocoa powder and peanut butter gives these cookies a dense, almost brownie-like center with slightly crispy edges.
What makes these different from every other spider web cookie out there? The technique. Instead of piping the web on top of baked cookies (which always smears for me), I use a simple toothpick drag method that creates clean, sharp lines every time. It’s the same trick professional bakers use for marbled cakes, adapted for cookies.
These cookies aren’t just Halloween decorations—they’re the kind of treat that makes people close their eyes after the first bite. The peanut butter cuts through the dark chocolate perfectly, and that little web on top? It makes everyone feel like you tried way harder than you actually did. That’s my favorite kind of baking.
What Ingredients You Will Need
This recipe uses basic baking staples to create something that looks like it came from a fancy bakery. The magic is in the ratios and the technique, not the ingredient list.
For the Cookie Dough
- 1/2 cup unsalted butter, softened to room temperature (I use Kerrygold for the richest flavor)
- 1/2 cup creamy peanut butter (Jif or Skippy work best—natural peanut butter can separate and change the texture)
- 1/2 cup granulated sugar
- 1/2 cup packed light brown sugar (adds moisture and a hint of caramel flavor)
- 1 large egg, room temperature
- 1 teaspoon vanilla extract
- 1 cup all-purpose flour (spooned and leveled—don’t scoop directly from the bag)
- 1/3 cup unsweetened cocoa powder (I prefer Dutch-process for a darker color, but regular works fine)
- 1/2 teaspoon baking soda
- 1/4 teaspoon salt
For the Spider Web Decoration
- 1/2 cup powdered sugar
- 1-2 tablespoons milk (whole milk gives the best consistency, but any milk works)
- 1/4 teaspoon vanilla extract
- Optional: 1-2 drops black gel food coloring (to make the web stand out more—totally optional but fun)
Ingredient Tips: For the best texture, make sure your butter and egg are truly at room temperature. Cold butter won’t cream properly, and cold egg can seize the dough. If you’re in a hurry, place the egg in a bowl of warm water for 5 minutes. Also, don’t substitute natural peanut butter here—the oil separation makes the dough greasy and the cookies spread too much. Trust me on this one. I learned the hard way.
Equipment Needed
You don’t need anything fancy for these cookies, which is part of the appeal. Here’s what you’ll need:
- Electric mixer (handheld or stand mixer—both work fine)
- Large mixing bowl
- Medium mixing bowl
- Baking sheets (I use Nordic Ware for even baking)
- Parchment paper (non-stick foil works too)
- Cookie scoop (1.5 tablespoon size—or use two spoons)
- Cooling rack
- Small piping bag or zip-top bag (for the icing)
- Toothpick (the star of the show—for creating the web design)
If you don’t have a piping bag, don’t worry. A zip-top bag with the corner snipped off works exactly the same. And if you don’t have a cookie scoop, just use two spoons to portion the dough. The cookies don’t need to be perfectly uniform—imperfect ones look more homemade anyway.
Preparation Method
Step 1: Preheat and Prepare
Preheat your oven to 350°F (175°C). Line two baking sheets with parchment paper. This ensures the cookies won’t stick and makes cleanup a breeze.
Step 2: Cream the Butter and Sugars
In a large mixing bowl, beat the softened butter, peanut butter, granulated sugar, and brown sugar together on medium speed until light and fluffy—about 2-3 minutes. You’ll know it’s ready when the mixture looks pale and slightly increased in volume. Scrape down the sides of the bowl halfway through.
Step 3: Add Wet Ingredients
Beat in the egg and vanilla extract until fully combined. The mixture might look slightly curdled at this point—that’s normal. Don’t panic. Just keep mixing until it comes back together.
Step 4: Combine Dry Ingredients
In a separate medium bowl, whisk together the flour, cocoa powder, baking soda, and salt. This ensures the leavening agents are evenly distributed. If you skip this step, you might end up with a cookie that’s flat in some spots and puffy in others.
Step 5: Mix Wet and Dry
Gradually add the dry ingredients to the wet mixture, mixing on low speed just until combined. Do not overmix—stop as soon as you don’t see any more streaks of flour. Overmixing develops gluten and makes the cookies tough instead of tender.
Step 6: Portion the Dough
Use a 1.5-tablespoon cookie scoop to portion the dough onto the prepared baking sheets, spacing them about 2 inches apart. You should get about 18-20 cookies. If the dough feels too sticky, refrigerate it for 10 minutes.
Step 7: Bake
Bake for 8-10 minutes. The cookies should look set around the edges but still slightly soft in the center. They will continue to set as they cool. Do not overbake—these cookies are meant to be fudgy.
Step 8: Cool Completely
Let the cookies cool on the baking sheet for 5 minutes, then transfer them to a wire rack to cool completely. This is crucial—if you try to decorate warm cookies, the icing will melt and the web will become a blurry mess.
Step 9: Make the Icing
In a small bowl, whisk together the powdered sugar, milk, and vanilla extract until smooth. The consistency should be thick but pipeable—think toothpaste. If it’s too thin, add more powdered sugar. If it’s too thick, add a drop more milk.
Step 10: Create the Spider Web Design
Transfer the icing to a small piping bag or zip-top bag with a tiny corner snipped off. Pipe a small circle of icing in the center of each cooled cookie. Then pipe 3-4 concentric circles around it, spaced about 1/4 inch apart. Immediately use a toothpick to drag from the center outward through all the circles, creating the web effect. Wipe the toothpick clean between each drag for the best results.
Pro Tip: Work in batches of 3-4 cookies at a time. If the icing starts to set before you drag the toothpick, the web won’t form properly.
Cooking Tips & Techniques
After making these cookies more times than I can count, here are the lessons I’ve learned the hard way so you don’t have to:
Don’t Skip the Parchment Paper : I once tried using a greased baking sheet because I ran out of parchment. The cookies spread too much and stuck in all the wrong places. Parchment paper gives you that perfect edge every time.
Room Temperature Ingredients Matter : Cold butter doesn’t cream properly, and cold egg can make the dough seize. Set your butter and egg out 30 minutes before you start baking. Your cookies will thank you.
The Toothpick Technique : Here’s the secret to perfect spider webs—drag the toothpick from the center outward, not in circles. And wipe the toothpick clean after each drag. If you don’t, the icing smears and you lose that clean web look.
Watch the Oven Closely : These cookies go from perfectly baked to overdone in about 60 seconds. Start checking at 8 minutes. The edges should look set, but the center should still look slightly underdone. They’ll finish cooking on the hot baking sheet.
Cool Completely Before Decorating : I know it’s tempting to rush, but warm cookies will melt your icing into a puddle. Give them at least 20 minutes on the cooling rack. Use that time to clean up your kitchen or make the icing.
My Biggest Failure: The first time I made these, I used natural peanut butter because that’s what I had. The cookies spread into flat, greasy discs that looked nothing like the photo. Save yourself the heartache and stick with processed peanut butter for this recipe.
Variations & Adaptations
One of the best things about this recipe is how easy it is to customize. Here are some variations I’ve tried and loved:
Gluten-Free Version
Swap the all-purpose flour for a 1:1 gluten-free baking flour blend. I’ve used Bob’s Red Mill with great results. The texture will be slightly more tender, but the flavor is identical.
Vegan Option
Use a flax egg (1 tablespoon ground flaxseed mixed with 3 tablespoons water, let sit for 5 minutes) and vegan butter. The cookies will be slightly less rich but still delicious. Use oat milk in the icing.
White Chocolate Drizzle
Instead of the powdered sugar icing, melt 1/2 cup white chocolate chips with 1 teaspoon coconut oil and drizzle it over the cookies. Let it set for 10 minutes, then add the spider web design on top. The contrast is stunning.
Peanut Butter Swirl
Reserve 2 tablespoons of peanut butter and drop small dollops on top of each cookie before baking. Swirl with a toothpick for a marbled effect. This adds an extra peanut butter punch.
Spooky Sprinkle Edition
Before the icing sets, sprinkle orange and black nonpareils over the web design. It adds crunch and makes the cookies look even more festive.
My personal favorite variation? The white chocolate drizzle version. I made it for a Halloween party last year and people couldn’t stop talking about them. The white chocolate adds a creamy sweetness that balances the dark cocoa perfectly.
Serving & Storage Suggestions
These cookies are best served at room temperature, which lets the chocolate flavor really come through. Arrange them on a platter with some Halloween sugar cookies for a stunning dessert spread. For a spooky drink pairing, try them with a pumpkin spice cold foam or a cold glass of milk.
Storage: Store undecorated cookies in an airtight container at room temperature for up to 5 days. If you’ve already decorated them, layer them between sheets of parchment paper to prevent the icing from sticking.
Freezing: These cookies freeze beautifully. Freeze the undecorated baked cookies in a single layer on a baking sheet, then transfer to a freezer-safe bag for up to 3 months. Thaw at room temperature, then decorate fresh. The icing doesn’t freeze well, so always decorate after thawing.
Reheating: Pop a cookie in the microwave for 10 seconds for that fresh-from-the-oven experience. The peanut butter gets slightly warm and the chocolate becomes melty. It’s dangerous—in the best way.
The flavors actually deepen after a day or two. The cocoa and peanut butter meld together, creating a more complex taste. If you can resist eating them all immediately, they’re even better the next day.
Nutritional Information & Benefits
Per cookie (based on 20 cookies):
- Calories: 165
- Total Fat: 9g
- Saturated Fat: 4g
- Carbohydrates: 20g
- Fiber: 1g
- Sugar: 13g
- Protein: 3g
Health Benefits: While these are definitely a treat, they’re not without some redeeming qualities. Peanut butter provides protein and healthy fats that help keep you full. Dark cocoa powder contains antioxidants called flavonoids, which support heart health. The portion-controlled size (about 2 inches across) makes it easy to enjoy without going overboard.
Dietary Considerations: This recipe contains dairy, peanuts, eggs, and gluten. For a dairy-free version, use vegan butter and oat milk in the icing. For a nut-free option, substitute sunflower seed butter for the peanut butter—just note the color will be slightly different.
I believe in balance. These cookies are part of a happy Halloween, not something to feel guilty about. One cookie with a glass of milk is a perfect way to end a fall day.
Conclusion
These Easy Spider Web Chocolate Peanut Butter Cookies have become my go-to Halloween treat for good reason. They’re quick enough for a weeknight baking session, impressive enough for parties, and delicious enough to disappear in minutes. The combination of rich chocolate and creamy peanut butter is timeless, and the spider web design adds that festive touch without requiring any artistic talent.
I love how forgiving this recipe is. You can make it with your kids, you can make it after a long day, you can make it when you forgot to buy Halloween candy and need something fast. It always works. It always impresses. And it always tastes like fall.
If you try these cookies, I’d love to hear how they turned out. Leave a comment below and let me know if you added any fun variations—or if your family ate them all before you could even take a photo (no judgment here). Happy Halloween baking, friends!
Frequently Asked Questions
Can I use natural peanut butter for this recipe?
I don’t recommend it. Natural peanut butter has separated oils that can make the cookies spread too much and become greasy. Stick with processed peanut butter like Jif or Skippy for the best texture.
How do I prevent the cookies from spreading too much?
Make sure your butter isn’t too soft, and don’t overmix the dough. If your kitchen is warm, chill the dough for 10 minutes before baking. Also, make sure your baking soda is fresh—old baking soda won’t provide enough structure.
Can I make the dough ahead of time?
Absolutely. You can refrigerate the dough for up to 3 days or freeze it for up to 3 months. Let it sit at room temperature for 10 minutes before scooping and baking. Add 1-2 minutes to the bake time if baking from chilled.
Why did my spider web design turn into a blob?
This usually happens for two reasons: the cookies were still warm when you decorated them, or the icing was too thin. Make sure cookies are completely cool, and your icing should be thick like toothpaste. Also, work in small batches so the icing doesn’t set before you drag the toothpick.
Can I double this recipe?
Yes! This recipe doubles beautifully. Just make sure you have enough baking sheets to avoid overcrowding. You can also bake in batches—the dough holds up well at room temperature for up to an hour while you rotate pans through the oven.
Pin This Recipe!
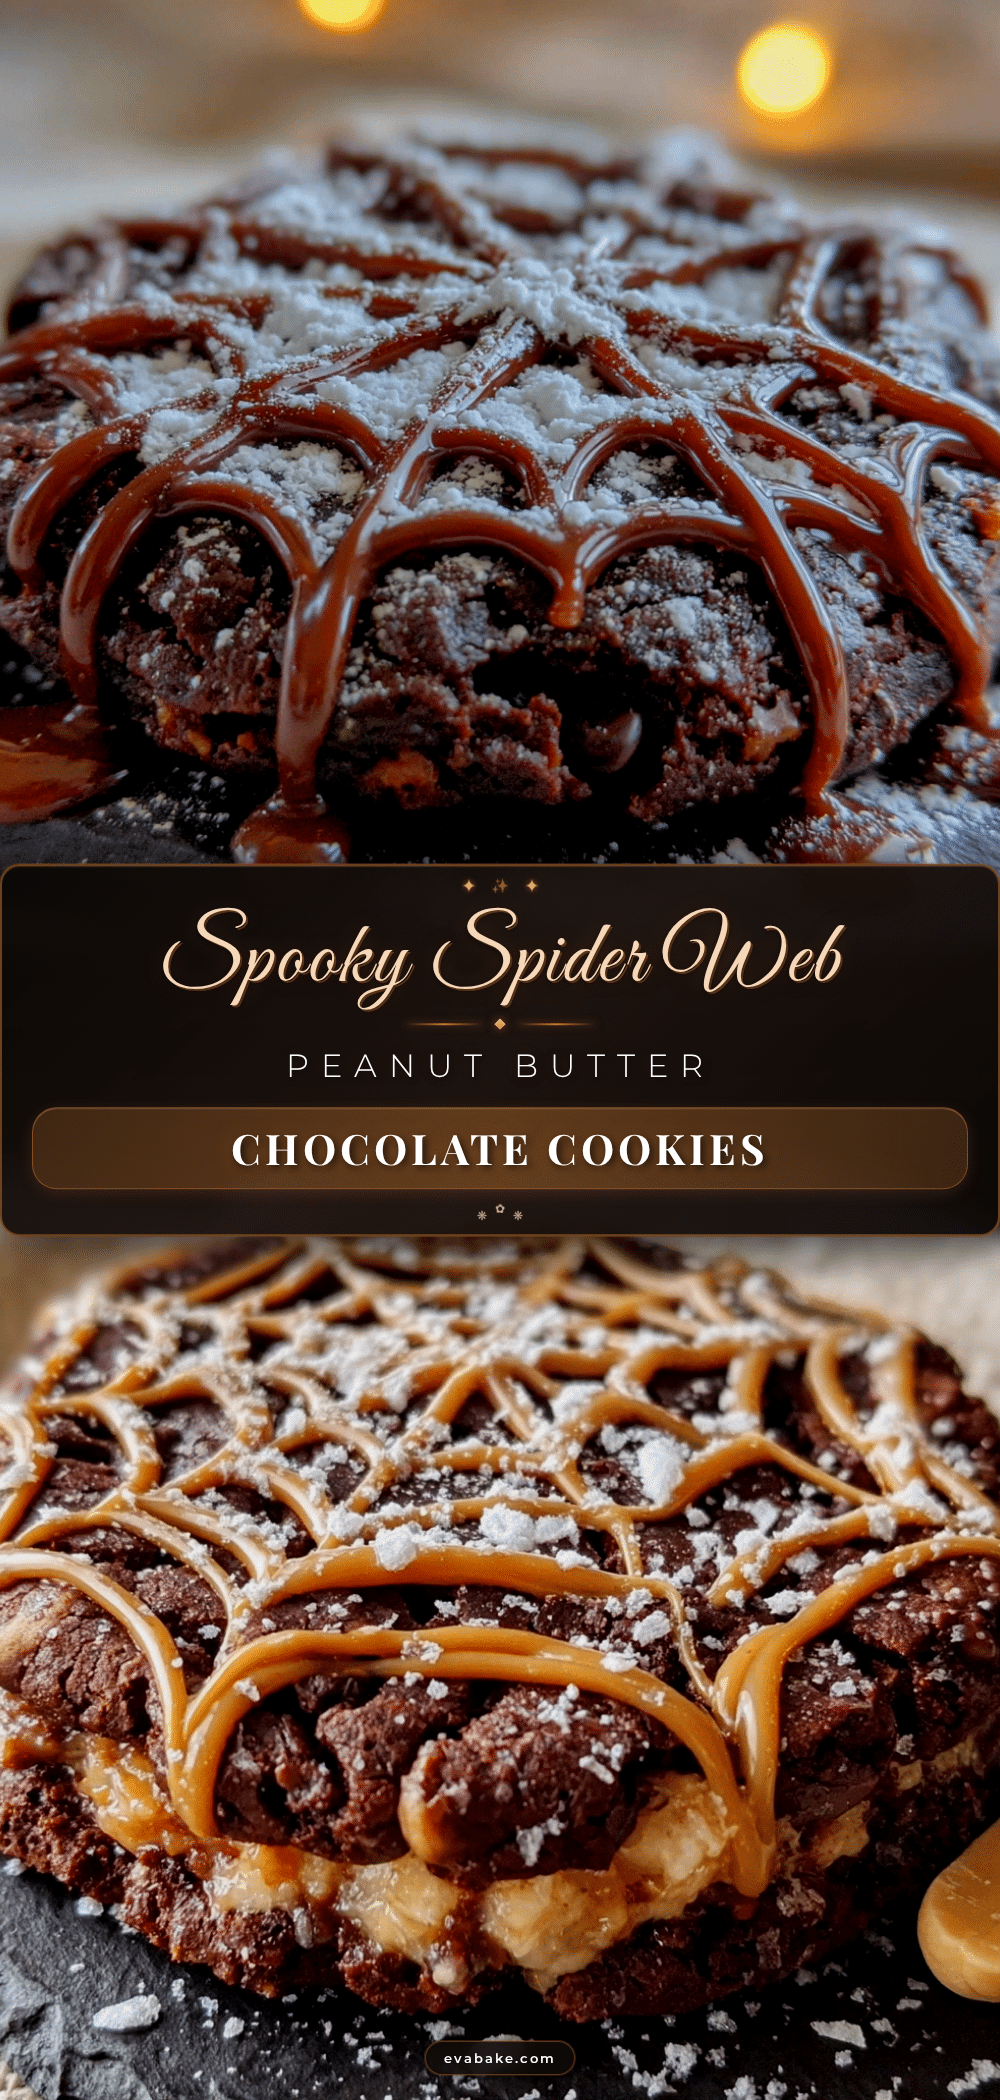
Easy Spider Web Chocolate Peanut Butter Cookies (30 Min)

These Easy Spider Web Chocolate Peanut Butter Cookies are a quick and impressive Halloween treat, combining a rich, fudgy chocolate peanut butter base with a delicate spider web design. Ready in just 30 minutes, they’re perfect for last-minute parties or classroom treats.
- Prep Time: 15 minutes
- Cook Time: 10 minutes
- Total Time: 30 minutes
- Yield: 20 cookies 1x
- Category: Dessert
- Cuisine: American
Ingredients
- 1/2 cup unsalted butter, softened to room temperature
- 1/2 cup creamy peanut butter (Jif or Skippy recommended)
- 1/2 cup granulated sugar
- 1/2 cup packed light brown sugar
- 1 large egg, room temperature
- 1 teaspoon vanilla extract
- 1 cup all-purpose flour (spooned and leveled)
- 1/3 cup unsweetened cocoa powder (Dutch-process preferred)
- 1/2 teaspoon baking soda
- 1/4 teaspoon salt
- 1/2 cup powdered sugar
- 1–2 tablespoons milk (whole milk preferred)
- 1/4 teaspoon vanilla extract
- Optional: 1-2 drops black gel food coloring
Instructions
- Preheat oven to 350°F (175°C). Line two baking sheets with parchment paper.
- In a large mixing bowl, beat the softened butter, peanut butter, granulated sugar, and brown sugar together on medium speed until light and fluffy, about 2-3 minutes. Scrape down the sides halfway through.
- Beat in the egg and vanilla extract until fully combined.
- In a separate medium bowl, whisk together the flour, cocoa powder, baking soda, and salt.
- Gradually add the dry ingredients to the wet mixture, mixing on low speed just until combined. Do not overmix.
- Use a 1.5-tablespoon cookie scoop to portion the dough onto the prepared baking sheets, spacing them about 2 inches apart. You should get about 18-20 cookies.
- Bake for 8-10 minutes. The cookies should look set around the edges but still slightly soft in the center.
- Let the cookies cool on the baking sheet for 5 minutes, then transfer them to a wire rack to cool completely.
- In a small bowl, whisk together the powdered sugar, milk, and vanilla extract until smooth. The consistency should be thick but pipeable.
- Transfer the icing to a small piping bag or zip-top bag with a tiny corner snipped off. Pipe a small circle of icing in the center of each cooled cookie. Then pipe 3-4 concentric circles around it, spaced about 1/4 inch apart. Immediately use a toothpick to drag from the center outward through all the circles, creating the web effect. Wipe the toothpick clean between each drag.
Notes
For best results, use room temperature butter and egg. Do not substitute natural peanut butter as it can cause spreading. Cool cookies completely before decorating to prevent icing from melting. Work in batches of 3-4 cookies when creating the web design to ensure the icing doesn’t set before dragging.
Nutrition
- Serving Size: 1 cookie
- Calories: 165
- Sugar: 13
- Fat: 9
- Saturated Fat: 4
- Carbohydrates: 20
- Fiber: 1
- Protein: 3
Keywords: spider web cookies, chocolate peanut butter cookies, Halloween cookies, easy cookies, no chill cookies, fudgy cookies


