The church potluck was in six hours and I’d completely forgotten. It was the annual Fall Harvest supper, the one where Margaret brings her mile-high apple pie and Old Mrs. Henderson shows up with that pecan tart that takes three days. I was standing in my kitchen at 2 PM on a Tuesday, staring at a can of pumpkin puree and a box of yellow cake mix that were definitely not part of any elaborate plan. Honestly, I almost just brought a bag of apples from the grocery store and called it a day. But then my neighbor, Carol, knocked on the door to ask if I was bringing something sweet, and the panic set in for real. I threw this dump cake together in about ten minutes, feeling a little embarrassed as I slid it into the oven. When I showed up with it, still warm in a slightly too-small baking dish, people actually went quiet for a second. I mean, the thing disappeared before the main course was even served. Someone asked for the recipe before I’d even taken off my coat. That’s how I learned that sometimes the best thing you bring is the one you made when you had no time, no plan, and absolutely no choice.
Maybe you’ve been there—staring at a calendar full of commitments and realizing you need a dessert that doesn’t need a dessert’s worth of effort. This pumpkin pie dump cake has become my secret weapon for fall potlucks, weeknight cravings, and those moments when you want something that tastes like you spent hours in the kitchen when you really didn’t. It’s the dessert that keeps me sane during the busy season, and honestly, it might just do the same for you.
Why You’ll Love This Recipe
Let me tell you why this particular pumpkin dump cake has earned a permanent spot in my fall rotation. I’ve tested this recipe about seven times now—once with my sister who swore she didn’t like pumpkin desserts, and twice for my husband’s coworkers who are brutally honest about food. Every single time, it worked. The texture is soft and custard-like on the bottom, with this gorgeous buttery, crunchy topping that you just can’t stop eating. It’s the kind of dessert that makes you close your eyes after the first bite, and I’m not exaggerating.
- Quick & Easy: Ten minutes of prep, one bowl, and you’re done. This is literally dump-and-bake—no mixer, no rolling pin, no fuss.
- Simple Ingredients: You probably have most of these in your pantry right now. No special trips to the store for obscure baking supplies.
- Perfect for Weeknights: When you need something sweet after dinner but don’t want to spend an hour in the kitchen, this is your answer.
- Crowd-Pleaser: I’ve served this to kids, picky eaters, and dessert snobs. It gets rave reviews every single time.
- Unbelievably Delicious: The combination of spiced pumpkin filling and crisp, buttery cake topping is pure comfort food magic.
What makes this recipe different from every other pumpkin dessert out there? It’s the texture, honestly. Most pumpkin cakes end up dense or soggy, but this one has that perfect contrast—silky, spiced pumpkin custard underneath and a golden, crunchy crumble on top. It’s not just another pumpkin recipe. It’s the one you’ll actually make on a Tuesday night when you’re tired and hungry and need something that feels like a hug.
This recipe isn’t just good—it’s the kind that makes you forget you’re eating something that came together in ten minutes. It’s comfort food at its finest: warm, spiced, buttery, and completely stress-free. Perfect for impressing unexpected guests or just treating yourself after a long day.
What Ingredients You Will Need
This recipe uses simple, wholesome ingredients to deliver bold fall flavor without any fuss. Everything here is a pantry staple or easy to find at your local grocery store. I’ve tested this with different brands and variations, so I’ll share what works best.
- 1 can (15 oz) pumpkin puree — Not pumpkin pie filling! Make sure you grab pure pumpkin puree. I prefer Libby’s for consistent texture, but store brands work fine too.
- 1 can (12 oz) evaporated milk — This adds richness without making the filling too heavy. You can use regular milk in a pinch, but evaporated milk gives that silky texture.
- 3 large eggs — Room temperature if you remember, but honestly, straight from the fridge works too. I’ve done it both ways.
- 3/4 cup granulated sugar — Regular white sugar is perfect. You can reduce to 1/2 cup if you prefer less sweet desserts.
- 1 teaspoon vanilla extract — Pure vanilla is best, but imitation works fine for this recipe.
- 2 teaspoons pumpkin pie spice — Store-bought is great, or mix your own: 1 teaspoon cinnamon, 1/2 teaspoon ginger, 1/4 teaspoon nutmeg, 1/4 teaspoon cloves.
- 1/2 teaspoon salt — Don’t skip this! Salt balances the sweetness and brings out the pumpkin flavor.
- 1 box (15.25 oz) yellow cake mix — Duncan Hines or Betty Crocker both work great. Butter recipe yellow cake mix adds extra richness if you can find it.
- 3/4 cup unsalted butter, melted — Salted butter works too, just reduce the added salt to 1/4 teaspoon.
- 1 cup chopped pecans (optional) — Adds wonderful crunch. Walnuts work too, or leave them out entirely.
For the topping variation I love: sprinkle 1/2 cup of caramel bits or butterscotch chips over the cake mix before adding the butter. It melts into these little pockets of gooey sweetness that are absolutely incredible.
If you’re dairy-free, use coconut milk instead of evaporated milk and a plant-based butter alternative. The texture will be slightly different but still delicious. For a gluten-free version, use a gluten-free yellow cake mix—I’ve tested this with King Arthur’s blend and it worked perfectly.
Equipment Needed
The beauty of this recipe is that you don’t need much. Here’s what you’ll need:
- 9×13 inch baking dish — Glass or ceramic works best. Metal works too, just watch the baking time.
- Large mixing bowl — Any medium-to-large bowl will do. You’re just mixing wet ingredients.
- Whisk — For smoothing out the pumpkin mixture. A fork works in a pinch.
- Measuring cups and spoons — For the sugar, spice, and other ingredients.
- Small saucepan or microwave-safe bowl — For melting the butter.
- Spatula — For spreading the pumpkin mixture evenly.
I’ve made this recipe with just a whisk and a fork when I was camping at a friend’s cabin. It worked fine. The only non-negotiable is the baking dish—you need something that holds about 3 quarts. If you only have an 8×8 pan, just halve the recipe or expect a thicker, slightly longer bake time.
Preparation Method
Preheat your oven to 350°F (175°C). Grease your 9×13 baking dish lightly with butter or non-stick spray. Trust me on this—even though there’s butter in the recipe, the cake mix can stick to ungreased pans.
- Make the pumpkin filling. In your large bowl, whisk together the pumpkin puree, evaporated milk, eggs, sugar, vanilla extract, pumpkin pie spice, and salt. Whisk until completely smooth—about 30 seconds. You want no lumps of pumpkin or streaks of egg white. The mixture should look like thick, creamy orange custard.
- Pour into the baking dish. Scrape every last bit of that pumpkin mixture into your greased dish. Use your spatula to spread it evenly to the edges. Give the dish a little shake to level it out.
- Add the cake mix. Sprinkle the entire box of dry cake mix evenly over the pumpkin filling. Don’t stir it! Just dump it on top and spread it with your fingers or a fork so it covers the surface. Some people like to tap the dish gently to settle the powder, but it’s not necessary.
- Add the pecans (if using). Sprinkle the chopped pecans evenly over the cake mix layer.
- Pour on the melted butter. Drizzle the melted butter as evenly as you can over the entire surface. Try to get every bit of cake mix moistened—look for dry spots and pour a little butter there. Don’t stir! Just let the butter soak down through the cake mix.
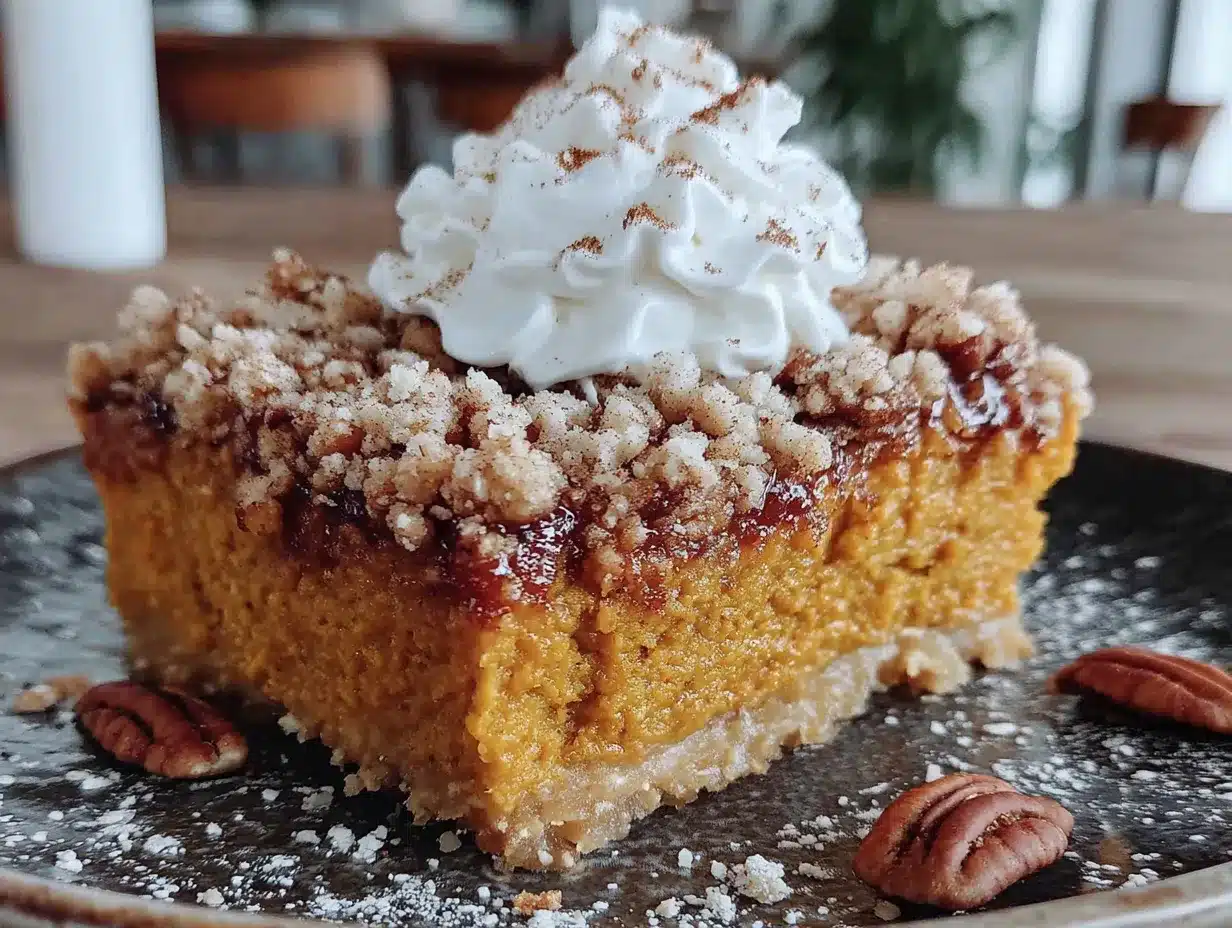
- Bake. Place the dish in the preheated oven and bake for 45-50 minutes. The top should be golden brown and the edges should be bubbly. The center might still jiggle slightly—that’s okay. A toothpick inserted near the center should come out with moist crumbs, not wet batter.
- Cool slightly before serving. Let the cake sit on a wire rack for at least 15 minutes. This allows the filling to set up so you get clean slices. If you serve it piping hot, it’ll be more like pudding with crunchy topping—still delicious, just messier.
Here’s a tip I learned the hard way: don’t overbake this. The first time I made it, I left it in for an extra ten minutes because I wanted it “done.” The top got too dark and the filling was a little dry. You want that center to have a slight wobble when you pull it out. It continues to set as it cools.
Another thing: if you notice the top browning too quickly around the 30-minute mark, tent the dish loosely with aluminum foil. Ovens vary, and some run hotter than others. My friend’s oven runs hot, and she always covers hers after 35 minutes.
Cooking Tips & Techniques
I’ve made this pumpkin dump cake at least a dozen times, and I’ve learned a few things the hard way so you don’t have to. Here are my best tips:
Don’t stir the layers. I know it’s tempting to mix everything together, especially if you see dry cake mix sitting on top. But the magic of a dump cake happens when the butter melts through the dry mix and creates that crunchy, crumbly topping. If you stir, you’ll end up with cake batter instead of that gorgeous layered texture.
Melt the butter completely. Some recipes say to use cold butter cut into slices, but I’ve found melted butter works so much better. It distributes evenly and soaks into the cake mix properly. Cold butter leaves dry pockets of powder—trust me, I’ve made that mistake.
Watch your baking time. The difference between perfectly baked and overdone is about five minutes. Start checking at 40 minutes if your oven runs hot. The edges should be bubbly and the top golden brown. If you see the filling bubbling up around the edges, that’s a good sign—it means the pumpkin custard is setting.
Let it rest. I know you’ll want to dig in right away—I always do. But giving it 15-20 minutes to cool makes a huge difference. The filling firms up, the topping sets, and you get those beautiful clean slices. If you serve it too soon, it’ll be more like pumpkin soup with crunchy bits. Still tasty, but not as impressive.
Use room temperature eggs. If you remember, pull your eggs out of the fridge about 30 minutes before starting. They incorporate into the pumpkin mixture more smoothly. If you forget (which I do half the time), just run them under warm water for a minute—that works too.
Variations & Adaptations
This recipe is incredibly forgiving, and I’ve tried several variations over the years. Here are my favorites:
Spice it up. Add 1/4 teaspoon of cardamom or allspice to the pumpkin mixture for a more complex flavor profile. I did this once when I ran out of pumpkin pie spice, and honestly, I liked it better.
Go gluten-free. Use a gluten-free yellow cake mix. I’ve tested this with King Arthur’s gluten-free yellow cake mix, and the texture was almost identical to the regular version. No one at my dinner party even noticed.
Make it dairy-free. Substitute the evaporated milk with full-fat coconut milk and use a plant-based butter. The coconut flavor is subtle and actually complements the pumpkin nicely. My dairy-sensitive friend requests this version specifically.
Add a streusel layer. Mix 1/2 cup of brown sugar with 1/2 cup of oats and sprinkle it over the cake mix before adding the butter. It creates an even crunchier, more decadent topping. This is my husband’s favorite variation.
Try different cake mixes. Spice cake mix is incredible with pumpkin—the extra cinnamon and nutmeg really shine. Butter pecan cake mix adds another layer of nutty flavor. I even tried white cake mix once, and it was good, just less flavorful.
Make it individual. Divide the mixture among ramekins or small baking dishes. Bake for about 25-30 minutes instead of 45. These personal-sized dump cakes are perfect for dinner parties or when you want portion control.
Serving & Storage Suggestions
This pumpkin dump cake is best served warm, straight from the oven. The contrast between the warm, spiced pumpkin filling and the crunchy, buttery topping is absolutely magical. But honestly, it’s also delicious at room temperature the next day—if there’s any left.
For serving, I love adding a generous scoop of vanilla ice cream on top. The cold, creamy ice cream melting into the warm pumpkin custard is pure comfort food heaven. Whipped cream works beautifully too, especially if you add a pinch of cinnamon on top. For an extra indulgent touch, drizzle caramel sauce over the whole thing.
This dessert pairs wonderfully with a cup of hot coffee or spiced apple cider. If you’re serving it for a fall gathering, it goes beautifully alongside other autumn classics like apple crisp or pecan pie bars.
Storage: Cover the baking dish tightly with foil or plastic wrap and store in the refrigerator for up to 5 days. The topping will soften over time, but the flavor actually gets better as the spices meld together. To reheat, pop individual servings in the microwave for 30-45 seconds, or warm the whole dish in a 300°F oven for about 15 minutes.
Freezing: This dump cake freezes surprisingly well. Let it cool completely, then wrap the entire dish in plastic wrap, then foil. Freeze for up to 3 months. Thaw overnight in the refrigerator and reheat in a 350°F oven until warmed through, about 20 minutes. The topping won’t be quite as crunchy, but it’s still delicious.
One thing I love about this recipe is that the flavors actually develop overnight. The pumpkin spice settles in, the sweetness balances out, and everything becomes more cohesive. I’ve been known to make this a day ahead on purpose—it’s that good the next day.
Nutritional Information & Benefits
Here’s the approximate nutritional breakdown for one serving (based on 12 servings, without pecans):
| Nutrient | Amount per Serving |
|---|---|
| Calories | 320 |
| Total Fat | 14g |
| Saturated Fat | 8g |
| Cholesterol | 65mg |
| Sodium | 380mg |
| Total Carbohydrates | 45g |
| Dietary Fiber | 2g |
| Sugars | 28g |
| Protein | 5g |
| Vitamin A | 190% DV |
Pumpkin is packed with vitamin A, which supports eye health and immune function. It’s also a good source of fiber and potassium. The eggs provide high-quality protein, while the butter adds richness and fat-soluble vitamins. This dessert is a treat, no doubt, but it does offer some nutritional benefits compared to other fall desserts.
For those watching their sugar intake, you can reduce the sugar to 1/2 cup and use a sugar-free cake mix. The texture will be slightly different, but the pumpkin flavor still shines through. This recipe is vegetarian-friendly and can easily be made gluten-free or dairy-free with the substitutions I mentioned earlier.
Frequently Asked Questions
Can I use pumpkin pie filling instead of pumpkin puree?
I don’t recommend it. Pumpkin pie filling already has sugar and spices added, which will throw off the sweetness and spice levels of this recipe. Stick with 100% pure pumpkin puree for the best results. If you only have pie filling on hand, reduce the sugar to 1/4 cup and skip the pumpkin pie spice.
Why is my dump cake soggy on top?
This usually happens when the butter isn’t distributed evenly, leaving dry spots that don’t crisp up. Next time, drizzle the melted butter slowly and try to cover every inch of the cake mix. You can also try using slightly less evaporated milk—about 3/4 cup instead of the full can—for a firmer filling.
Can I make this in a slow cooker?
Yes! Grease your slow cooker insert, pour in the pumpkin mixture, sprinkle the cake mix on top, and drizzle with melted butter. Cook on low for 3-4 hours or on high for 1.5-2 hours. The topping won’t get as crispy as in the oven, but it’s still delicious. Remove the lid for the last 30 minutes to help it firm up.
How do I know when it’s done baking?
The edges should be bubbly and the top should be golden brown. The center will still have a slight jiggle—that’s normal. A toothpick inserted near the center should come out with moist crumbs, not wet batter. If you see raw cake mix on the toothpick, it needs more time.
Can I reduce the sugar in this recipe?
Absolutely. You can cut the granulated sugar down to 1/2 cup without affecting the texture too much. The cake mix already contains sugar, so the dessert will still be sweet. For an even lower-sugar version, use a sugar-free yellow cake mix and reduce the added sugar to 1/4 cup.
Conclusion
This easy pumpkin pie dump cake has honestly become my go-to fall dessert for every occasion. Whether I’m rushing to a potluck, craving something sweet on a Tuesday night, or need to bring a dish to a holiday gathering, this recipe never lets me down. It’s proof that you don’t need fancy techniques or hours in the kitchen to create something truly memorable.
What I love most about this recipe is how it brings people together. Every time I serve it, someone asks for the recipe. Every single time. And when I tell them it takes ten minutes to prepare, they never believe me until I show them. That’s the magic of a great dump cake—it tastes like you spent hours when you really just dumped and baked.
I’d love to hear how this recipe turns out for you! Leave a comment below and let me know if you tried any variations or if this pumpkin dump cake became a new favorite in your home. Don’t forget to share your photos on Pinterest and tag me—I love seeing your creations. Happy baking, friends!
Pin This Recipe!
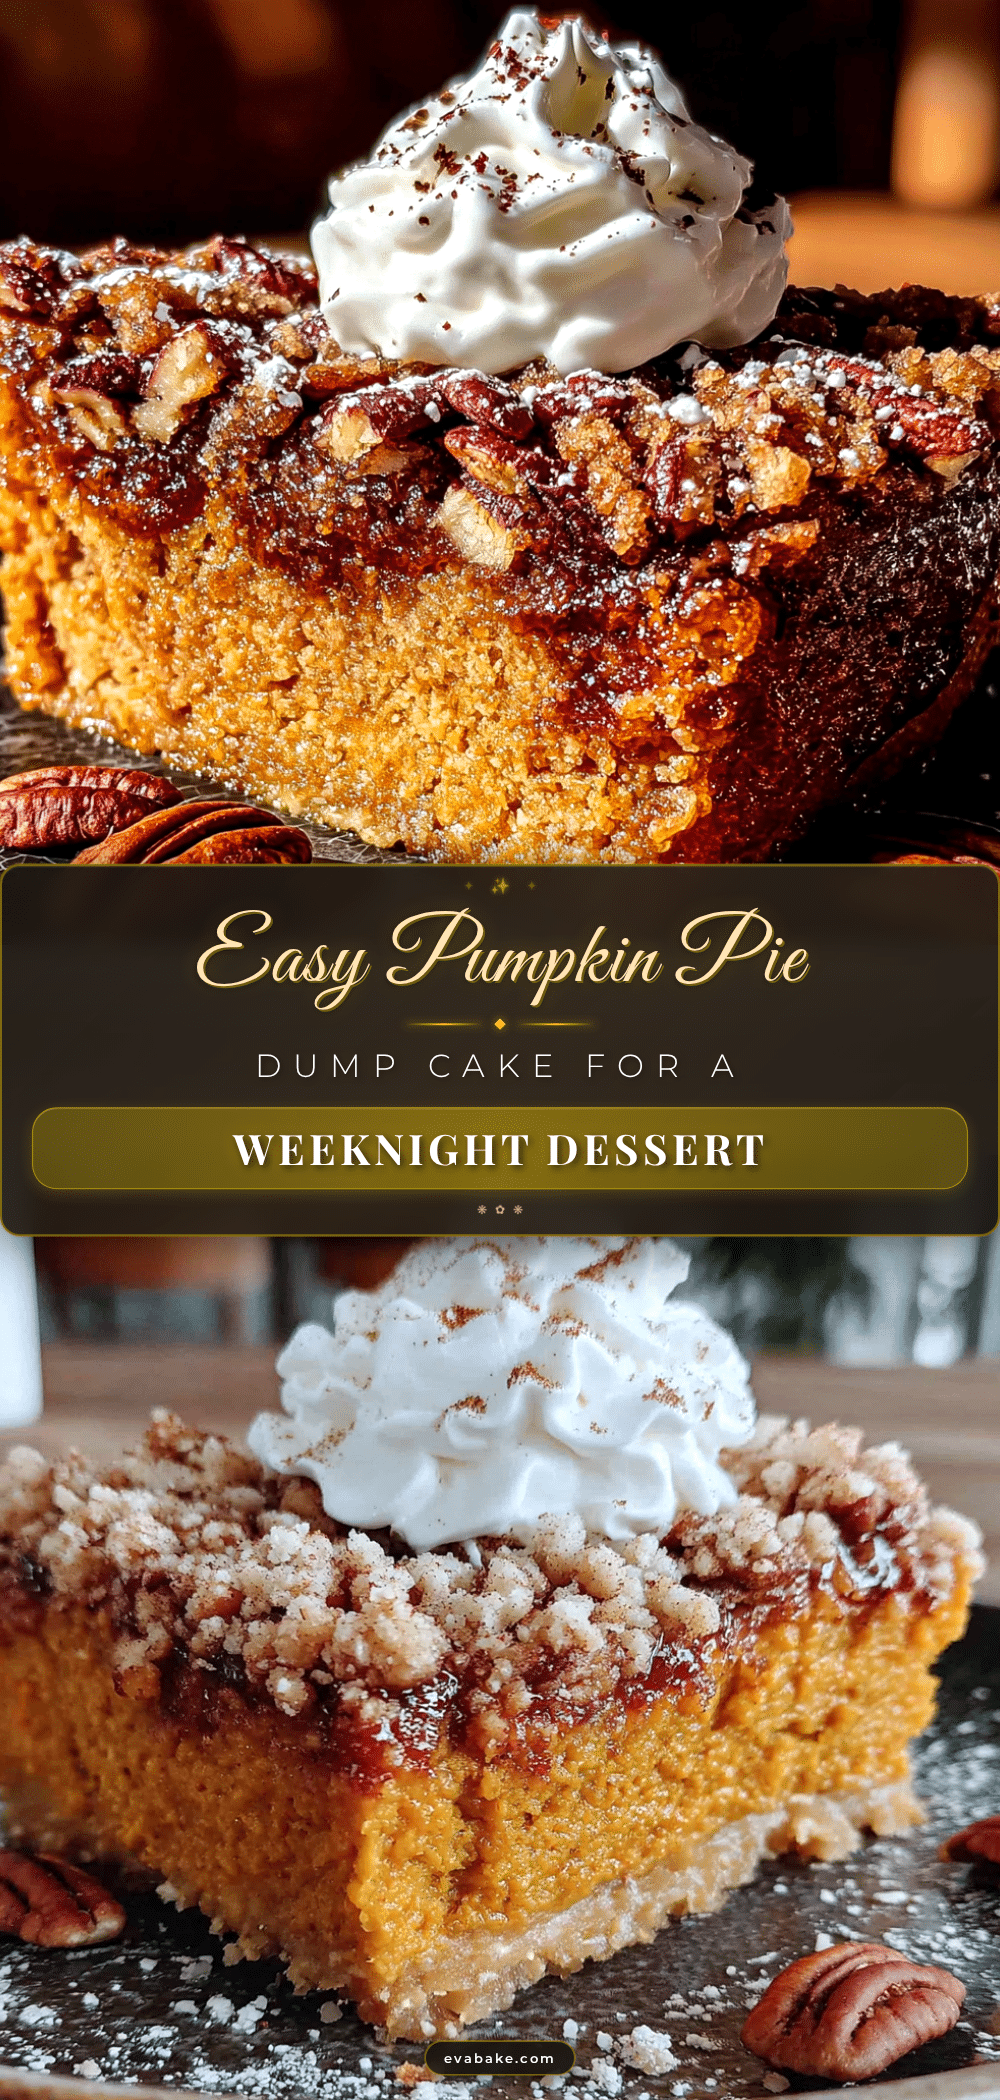
Best Easy Pumpkin Pie Dump Cake Recipe for Fall
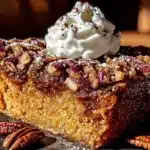
This easy pumpkin pie dump cake is the perfect fall dessert for potlucks, weeknight cravings, and busy schedules. With a silky spiced pumpkin custard base and a buttery, crunchy cake topping, it comes together in just 10 minutes of prep and disappears every time.
- Prep Time: 10 minutes
- Cook Time: 45 minutes
- Total Time: 55 minutes
- Yield: 12 servings 1x
- Category: Dessert
- Cuisine: American
Ingredients
- 1 can (15 oz) pumpkin puree
- 1 can (12 oz) evaporated milk
- 3 large eggs
- 3/4 cup granulated sugar
- 1 teaspoon vanilla extract
- 2 teaspoons pumpkin pie spice
- 1/2 teaspoon salt
- 1 box (15.25 oz) yellow cake mix
- 3/4 cup unsalted butter, melted
- 1 cup chopped pecans (optional)
Instructions
- Preheat your oven to 350°F (175°C). Grease a 9×13 inch baking dish lightly with butter or non-stick spray.
- In a large bowl, whisk together the pumpkin puree, evaporated milk, eggs, sugar, vanilla extract, pumpkin pie spice, and salt until completely smooth (about 30 seconds).
- Pour the pumpkin mixture into the greased baking dish and spread evenly to the edges.
- Sprinkle the entire box of dry cake mix evenly over the pumpkin filling. Do not stir.
- If using, sprinkle the chopped pecans evenly over the cake mix layer.
- Drizzle the melted butter as evenly as possible over the entire surface, ensuring all cake mix is moistened. Do not stir.
- Bake for 45-50 minutes, until the top is golden brown and the edges are bubbly. The center may still jiggle slightly.
- Let the cake cool on a wire rack for at least 15 minutes before serving to allow the filling to set.
Notes
Don’t stir the layers—the magic happens when butter melts through the dry mix. Let the cake rest for 15-20 minutes before serving for cleaner slices. If the top browns too quickly, tent with foil after 35 minutes. For a dairy-free version, use coconut milk and plant-based butter. For gluten-free, use a gluten-free yellow cake mix.
Nutrition
- Serving Size: 1 slice (1/12 of rec
- Calories: 320
- Sugar: 28
- Sodium: 380
- Fat: 14
- Saturated Fat: 8
- Carbohydrates: 45
- Fiber: 2
- Protein: 5
Keywords: pumpkin dump cake, easy pumpkin dessert, fall dessert, potluck dessert, dump cake recipe, pumpkin pie cake