My neighbor, a woman named Clara who has lived three doors down for longer than I’ve been alive, watched me hauling grocery bags out of my trunk one rainy Tuesday afternoon. I was wrestling with a bag that kept splitting, and she just stood there on her porch, not saying anything at first. Then she shuffled over in her worn-out slippers and said, “You’re making too much work for yourself, dear. Come here.” She pulled me into her kitchen, which smelled like butter and paprika, and handed me a bowl of the most addictive snack mix I’d ever tasted. I mean, I was supposed to be making dinner, and instead I stood there eating handfuls of it while she told me about her grandkids who “won’t touch a vegetable but will eat this by the pound.”
That was three years ago, and I’ve been tweaking her recipe ever since. Clara’s version was a little too spicy for my crew, and honestly, it had about a stick of butter too many. But the base—that perfect combination of crunch and savory flavor—was pure gold. I started swapping things around, trying to make it something my own kids would actually fight over. And let me tell you, they do. This kid-friendly savory ranch Chex mix for Friendsgiving has become our official “please everyone” snack, the one I bring to every gathering where I know there will be picky eaters and hungry adults alike.
Maybe you’ve been there—standing in the snack aisle wondering what to bring to a Friendsgiving that won’t get ignored. Something that isn’t another veggie tray or store-bought cookies. Something that actually tastes like you put thought into it, but doesn’t require you to spend all day in the kitchen. That’s exactly why this recipe stuck with me. It’s the kind of thing that makes people close their eyes after the first bite and say, “Wait, what’s in this?” And then they ask for the recipe, and you get to feel like a rockstar for about five minutes.
Why You’ll Love This Recipe
Let’s be honest—I’ve tested a lot of snack mixes in my day. Some were too greasy, some were bland, and some required a trip to three different stores for ingredients. This one? It’s the Goldilocks of Chex mixes, and here’s why it works for real families like yours and mine.
- Quick & Easy: From pantry to table in under 15 minutes of hands-on time. The oven does the rest while you tackle that mountain of laundry or help with homework.
- Simple Ingredients: You probably have most of these in your pantry right now. No weird specialty items that cost a fortune and never get used again.
- Perfect for Friendsgiving: It travels like a dream, stays fresh for days, and somehow pleases everyone from your toddler to your grandma. I brought it to our neighborhood potluck last month and three people asked for the recipe before I even sat down.
- Crowd-Pleaser: This is the snack that disappears first. Every time. My kids have literally hidden the bowl so their friends wouldn’t finish it—not that I’m encouraging that behavior, but it tells you something.
- Unbelievably Delicious: The ranch seasoning combined with that buttery, toasty crunch is next-level comfort food. It’s savory without being salty, and the texture is absolutely spot-on.
What makes this different from every other Chex mix recipe out there? It’s the balance. Most recipes either drown everything in butter or skimp on the seasoning. I spent a solid month testing ratios—my husband thought I’d lost my mind—until I found that sweet spot where every piece is coated just enough without being greasy. Plus, I use a trick of warming the seasoning into the butter mixture so the flavors actually stick to the cereal instead of just dusting the bottom of the bowl. It’s a small thing, but it makes a huge difference.
This isn’t just another snack mix. It’s the kind that makes you sneak back to the kitchen for “just one more handful” three times in a row. It’s comfort food you can feel good about serving to your kids, and it’s fancy enough for a Friendsgiving spread without breaking the bank.
What Ingredients You Will Need
This recipe uses simple, mostly pantry-staple ingredients to deliver that bold ranch flavor and satisfying crunch. I’ve tested a few different brands over the years, and while you can absolutely use whatever you have on hand, I’ll share what works best for me.
- 9 cups Chex cereal (I use a mix of Rice Chex, Corn Chex, and Wheat Chex—about 3 cups each for the best texture variety. The Wheat Chex adds a nice heartiness that holds up well.)
- 1 cup pretzel twists (broken into bite-sized pieces. The saltiness balances the ranch perfectly.)
- 1 cup cheese crackers (like Goldfish or Cheez-Its. My kids insist on the cheddar Goldfish, and honestly, they’re right.)
- 1 cup mixed nuts (I use a simple salted peanut and cashew mix. If you’re serving this at a school event, check for nut-free options and swap in sunflower seeds or pumpkin seeds instead.)
- 1/2 cup unsalted butter (salted butter works too, just cut back on the added salt slightly. I really like Kerrygold for its rich flavor, but any good unsalted butter will do.)
- 2 tablespoons Worcestershire sauce (this is the secret ingredient that gives it that deep savory note. Lea & Perrins is my go-to.)
- 1 packet (1 ounce) ranch dressing mix (I use Hidden Valley, but any brand works. If you’re feeling ambitious, you can make your own with buttermilk powder, dried dill, garlic powder, onion powder, and parsley.)
- 1 teaspoon garlic powder (not garlic salt—we’re controlling the salt separately here.)
- 1/2 teaspoon onion powder
- 1/4 teaspoon cayenne pepper (optional, and I mean optional. For a true kid-friendly version, leave it out. I add just a tiny pinch sometimes for the adults, but my kids prefer it without.)
- 1/2 teaspoon salt (I use fine sea salt. If your nuts or pretzels are heavily salted, you might want to cut this back.)
- 1/4 teaspoon black pepper
That’s it. Nothing fancy, nothing that requires a special trip to a specialty store. The beauty of this recipe is how forgiving it is—you can swap out the pretzels for bagel chips, use different nuts, or even add some crispy chickpeas if you’re feeling adventurous. I’ve made it with gluten-free pretzels for friends with celiac, and it worked beautifully.
Equipment Needed
You don’t need much for this recipe, which is part of why I love it. Here’s what you’ll need:
- Large mixing bowl: The biggest one you own. You’ll be mixing 12+ cups of ingredients, so give yourself room to toss without spilling everywhere. I use my grandmother’s old ceramic bowl, but a stainless steel one works just as well.
- Large rimmed baking sheet: A half-sheet pan (18×13 inches) is ideal. You want enough surface area so the mix spreads in a single layer—crowding it leads to uneven toasting. If you only have a smaller pan, use two.
- Parchment paper or silicone baking mat: Not strictly necessary, but it makes cleanup so much easier. I’ve forgotten it before and the cleanup was a nightmare.
- Small saucepan: For melting the butter and mixing the seasoning. You could microwave it, but I find the stovetop gives me more control.
- Measuring cups and spoons: Standard set. Nothing fancy.
- Spatula or wooden spoon: For stirring. I prefer a silicone spatula because it doesn’t scratch my pans.
- Cooling rack: Optional, but helpful if you want the mix to cool completely before storing. I usually just let it cool right on the baking sheet.
One note on the baking sheet: I learned the hard way that cheap, thin baking sheets lead to burned bottoms. Invest in a good-quality heavy-duty one if you can—it distributes heat more evenly and won’t warp in the oven. I’ve had my Nordic Ware sheet for about five years now, and it’s still going strong.
Preparation Method
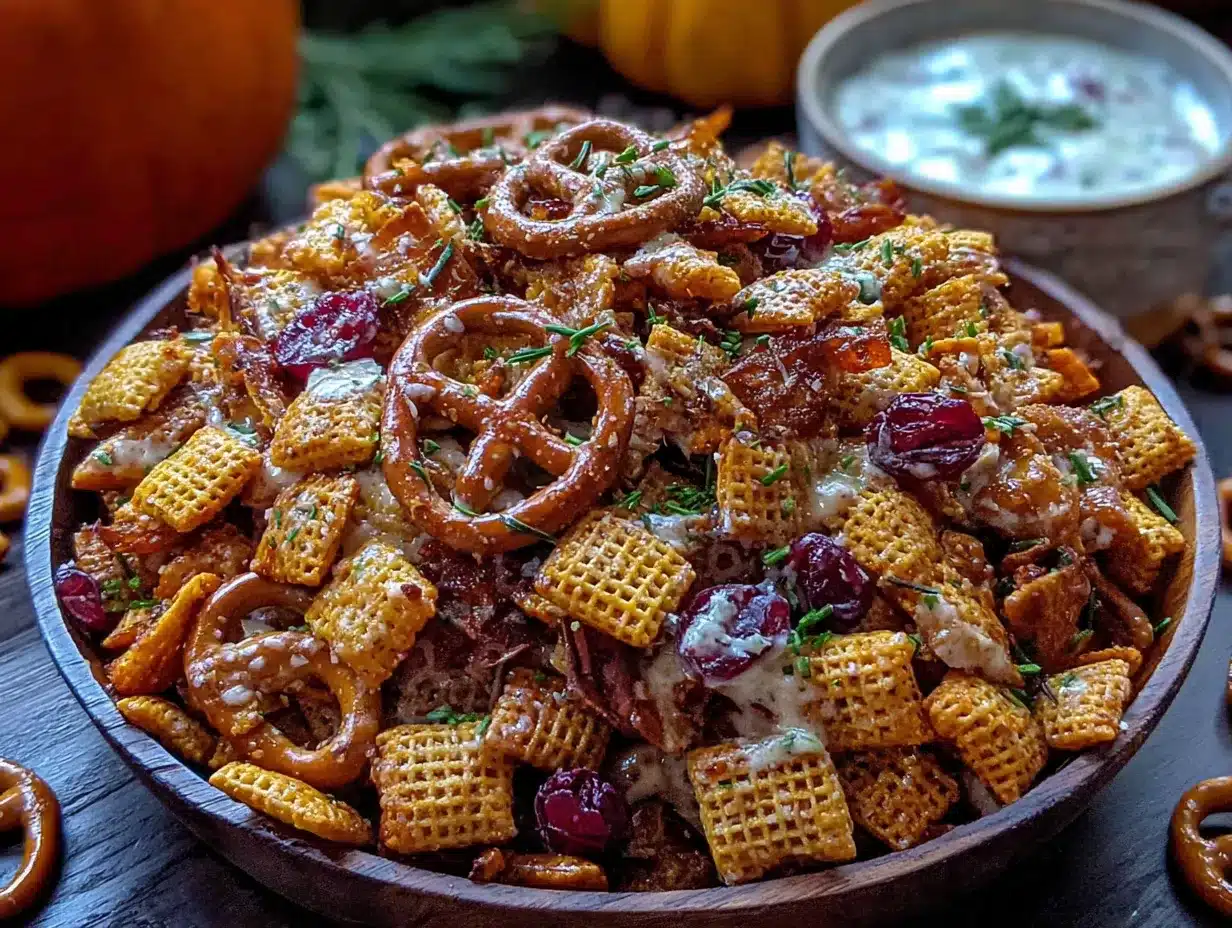
Alright, let’s get to the good part. This recipe comes together faster than you’d think, and the oven does most of the heavy lifting. Here’s my step-by-step method, complete with all the little tricks I’ve picked up along the way.
- Preheat your oven to 250°F (120°C). Low and slow is the name of the game here. High heat will burn the seasoning before the cereal gets toasty. I’ve made that mistake exactly once—the smoke alarm went off and my kids still tease me about it.
- Combine the dry ingredients in your large mixing bowl. Add the Chex cereal (all three kinds), broken pretzels, cheese crackers, and mixed nuts. Give it a gentle toss with your hands to distribute everything evenly. Don’t be rough with it—you don’t want to crush the cereal into dust.
- Melt the butter in a small saucepan over medium-low heat. Once it’s fully melted, remove it from the heat. This is important—you don’t want the butter too hot when you add the seasoning, or it can clump up.
- Whisk in the Worcestershire sauce, ranch dressing mix, garlic powder, onion powder, cayenne (if using), salt, and pepper. Whisk until everything is completely combined and smooth. The ranch mix might take a minute to fully dissolve—keep whisking. You want a uniform, slightly thick liquid that smells absolutely incredible at this point.
- Pour the butter mixture over the dry ingredients. Here’s the technique: drizzle it slowly while simultaneously tossing the mix with a spatula or your hands. I prefer using my hands because I can feel if every piece is getting coated. Yes, it’s messy. Yes, it’s worth it. Your kids will probably want to help with this part—let them, but maybe put down some newspaper first.
- Toss until every piece is evenly coated. This takes about 2-3 minutes of gentle but thorough mixing. You shouldn’t see any dry spots, but you also don’t want puddles of butter at the bottom of the bowl. If you see pooling, you’ve either added too much butter or you need to toss more.
- Spread the mixture in a single layer on your prepared baking sheet. Use your spatula to spread it out evenly. Don’t pile it up—you want maximum surface area for even toasting. If it’s too thick, use two baking sheets.
- Bake for 45 minutes, stirring every 15 minutes. Set a timer for 15 minutes, pull the pan out, give everything a good stir with your spatula, and spread it back out. Repeat two more times. This stirring is non-negotiable—it’s what ensures every piece gets evenly toasted without burning. I’ve forgotten to stir before, and the edges got dark while the middle stayed soft.
- Check for doneness. After 45 minutes, the mix should be fragrant, golden, and dry to the touch. If you break a piece of cereal in half, it should snap cleanly. If it still feels soft or chewy, give it another 5-10 minutes.
- Let it cool completely on the baking sheet. This is the hardest part, I know. The mix will continue to crisp up as it cools. Don’t rush this—if you put it in a container while it’s still warm, the steam will make everything soggy. I usually let it sit for at least 30 minutes, sometimes an hour if I can resist it that long.
- Break up any large clumps and transfer to an airtight container. Some clumping is normal and actually desirable—those little clusters are the best part. Just break up any pieces that are stuck together in big chunks.
A few extra notes: If you’re making this for a Friendsgiving, I recommend making it the day before. The flavors actually meld and deepen overnight, and it frees up your oven for the actual meal. Just store it in an airtight container at room temperature, and give it a quick stir before serving.
Cooking Tips & Techniques
I’ve made this recipe more times than I can count, and I’ve learned a few things the hard way. Here are my best tips to ensure your Chex mix turns out perfect every time.
The biggest mistake people make is using too much butter. I know it’s tempting to think “more butter = more flavor,” but it actually leads to greasy, soggy mix that never crisps up properly. The ratio I’ve given here is tested and true—stick with it. If you want extra flavor, add more seasoning, not more butter.
Don’t skip the stirring. I know it’s annoying to set a timer and interrupt whatever you’re doing three times, but it’s crucial. The edges of the pan get more heat than the center, and without stirring, you’ll end up with burned edges and under-toasted middle. I’ve literally burned a batch because I got distracted folding laundry. My kitchen smelled like a campfire for two days.
Temperature matters more than you think. 250°F might seem low, but it’s the sweet spot. Higher temperatures will brown the butter too quickly, which gives the mix a burnt, bitter taste. Lower temperatures just dry everything out without toasting it properly. Trust the process.
Let your kids help with the stirring and seasoning. Honestly, this is one of those recipes that’s almost more fun to make with little helpers. My daughter loves pouring in the cereal, and my son is in charge of the “magic stirring” (which is just me pretending his help is essential). It makes them more excited to eat the final product, and honestly, it’s a nice way to spend 15 minutes together on a busy afternoon.
Double the recipe if you’re feeding a crowd. This mix disappears fast. For a Friendsgiving with 10+ people, I make a double batch and it still gets finished. Just make sure you have two baking sheets so you can bake both batches at once—rotate them halfway through for even cooking.
One thing I wish someone had told me: Let the mix cool completely before you taste it for seasoning. Warm mix tastes different than cooled mix, and you might think it needs more salt when it actually doesn’t. I’ve over-salted a batch before because I was impatient. Learn from my mistakes.
Variations & Adaptations
One of the best things about this recipe is how customizable it is. Here are some variations I’ve tried and loved:
Spicy Adult Version: Double the cayenne pepper to 1/2 teaspoon, and add a teaspoon of hot sauce (like Frank’s RedHot) to the butter mixture. My husband loves this version for game day, and it’s a hit at adult gatherings. Just keep it away from the kids—trust me on this one.
Gluten-Free Adaptation: Use gluten-free Chex (Rice and Corn Chex are naturally gluten-free), swap the pretzels for gluten-free pretzels or gluten-free bagel chips, and use gluten-free cheese crackers. Everything else in the recipe is already gluten-free. I’ve made this for my friend Sarah who has celiac, and she said it was the best snack mix she’d had in years.
Dairy-Free Version: Substitute the butter with a high-quality vegan butter (I like Miyoko’s or Earth Balance), and use dairy-free cheese crackers. The ranch dressing mix is usually dairy-free, but double-check the label—some brands contain buttermilk powder.
Holiday Sweet & Savory Mix: Add 1/2 cup of dried cranberries and 1/2 cup of white chocolate chips to the cooled mix. The sweet pops contrast beautifully with the savory ranch flavor. I made this for Christmas last year and it was gone before the turkey was carved.
Lower Sodium Option: Use unsalted nuts, low-sodium pretzels, and cut the added salt in half. The ranch seasoning has plenty of flavor on its own. This version is great if you’re watching your salt intake but still want that satisfying crunch.
My personal favorite variation: I add a cup of roasted chickpeas to the mix. They get extra crispy in the oven and add a nice protein boost. My kids think they’re “crunchy beans” and eat them without complaint. Win-win.
Serving & Storage Suggestions
This Chex mix is incredibly versatile when it comes to serving. Here’s everything you need to know:
Serving temperature: Room temperature is best. The flavors are most pronounced when the mix isn’t straight out of the fridge. I usually set it out about 30 minutes before guests arrive. If you’re serving it warm, pop it in a 200°F oven for 5-7 minutes—just watch it carefully so it doesn’t burn.
Presentation ideas: For Friendsgiving, I love serving it in a big wooden bowl or a rustic ceramic dish. It looks beautiful on a buffet table alongside other snacks. You can also portion it into small paper cones or cups for individual servings—this is great for kids who might grab and run. I’ve also put it in clear cellophane bags tied with twine as party favors. People love taking a little bag home.
What to serve with it: This mix pairs beautifully with other finger foods. I often serve it alongside a veggie tray with ranch dip, some cheese and crackers, and maybe some fruit. For drinks, it’s fantastic with apple cider, hot chocolate for the kids, or a crisp white wine for the adults. The savory ranch flavor also complements heavier Friendsgiving dishes like mac and cheese or roasted turkey.
Storage instructions: Store in an airtight container at room temperature for up to two weeks. Yes, two weeks—if it lasts that long. I keep mine in a big glass jar with a tight-fitting lid. Avoid storing it in the refrigerator, as the moisture will make it lose its crunch. If you live in a humid climate, you might notice it softens faster—just pop it in a 250°F oven for 10 minutes to re-crisp it.
Freezer instructions: This mix freezes beautifully for up to three months. Let it cool completely, then transfer to a freezer-safe bag or container, squeezing out as much air as possible. Thaw at room temperature for about an hour before serving. I often make a double batch and freeze half for last-minute gatherings—it’s my secret weapon for unexpected guests.
How flavors develop: Honestly, this mix tastes even better the next day. The flavors meld together overnight, and the ranch seasoning really sinks into every piece. If you can resist eating it all immediately, you’ll be rewarded with an even more delicious snack the next day. I’ve learned to make it a day ahead whenever possible.
Nutritional Information & Benefits
I’m not a nutritionist, but I’ve done my homework on this recipe. Here’s a rough breakdown per serving (about 1 cup):
| Nutrient | Amount per Serving |
|---|---|
| Calories | 220-250 |
| Total Fat | 12g |
| Saturated Fat | 5g |
| Carbohydrates | 28g |
| Fiber | 2g |
| Protein | 4g |
| Sodium | 380mg |
Health benefits of key ingredients: The Chex cereal provides whole grains and fiber, especially if you use Wheat Chex. Nuts add healthy fats and protein—almonds are great for vitamin E, and cashews provide magnesium. The butter, while not a health food, does help your body absorb fat-soluble vitamins from the other ingredients. And the ranch seasoning, believe it or not, contains herbs like dill and parsley that have antioxidant properties.
Dietary considerations: This recipe can be made gluten-free and dairy-free with simple substitutions (see variations above). It’s not low-carb by any stretch, but it’s a more wholesome option than many store-bought snack mixes that are loaded with artificial ingredients and preservatives. One serving is enough to satisfy that crunchy, salty craving without going overboard.
Potential allergens: This recipe contains gluten (from the Chex and pretzels), dairy (butter, cheese crackers), and nuts. If you’re serving it at a school event or gathering with allergy concerns, I recommend making a nut-free version with seeds and checking all labels for potential cross-contamination.
From my perspective, this is a treat food—not something you eat every day, but something you can feel good about serving at a celebration. It’s made from real ingredients, you control what goes into it, and it brings people together around the table. That’s worth more than any nutritional stat.
Conclusion
This kid-friendly savory ranch Chex mix for Friendsgiving has become more than just a recipe in our house—it’s a tradition. Every year, my kids know that when the Friendsgiving invitations start coming in, we’ll be making a big batch of this stuff. They fight over who gets to stir, who gets to taste-test the seasoning, and who gets to take the first handful out of the oven. It’s messy, it’s loud, and it’s absolutely wonderful.
What I love most about this recipe is how it brings people together. At every Friendsgiving I’ve brought it to, I watch the same thing happen: someone takes a hesitant bite, their eyes light up, and suddenly they’re standing by the bowl having a conversation with a stranger about how good it is. It breaks the ice in a way that fancy appetizers never can. It’s approachable, it’s familiar, and it’s just plain delicious.
I’d love to hear how this recipe turns out for you. Did your kids love it? Did you try one of the variations? Did you add your own twist? Drop a comment below and let me know—I read every single one, and I love seeing photos of your creations. And if you’re looking for more Friendsgiving ideas, check out my crispy garlic chicken or my easy mac and cheese for a full spread that’ll impress everyone.
Happy Friendsgiving, friends. May your table be full, your kids be fed, and your snack bowl never run empty.
Frequently Asked Questions
Can I make this Chex mix in a slow cooker?
Absolutely! If you don’t want to heat up your oven, a slow cooker works great. Combine everything in a large slow cooker, cook on low for 2-3 hours, stirring every 30 minutes. Leave the lid slightly cracked to let moisture escape. The texture will be slightly different—a bit softer—but still delicious.
Why did my Chex mix turn out soggy?
Sogginess usually comes from one of three things: too much butter, not enough baking time, or storing it while it was still warm. Make sure you’re measuring the butter accurately, bake the full 45 minutes, and let it cool completely before storing. If it’s already soggy, spread it back on a baking sheet and bake at 250°F for 10-15 minutes to re-crisp it.
Can I use homemade ranch seasoning instead of a packet?
Yes, and it’s actually really easy! Mix together 2 tablespoons buttermilk powder, 1 tablespoon dried parsley, 1 teaspoon dried dill, 1 teaspoon garlic powder, 1 teaspoon onion powder, 1/2 teaspoon dried chives, 1/2 teaspoon salt, and 1/4 teaspoon black pepper. Use about 2 tablespoons of this mix in place of the packet. Store the rest in an airtight jar for future batches.
How far in advance can I make this for Friendsgiving?
I actually recommend making it 1-2 days ahead. The flavors meld and deepen as it sits, and it frees up your oven and your time on the day of the event. Store it in an airtight container at room temperature, and give it a quick stir before serving. It stays fresh for up to two weeks, so you’ve got plenty of flexibility.
Can I add other mix-ins like chocolate or dried fruit?
Absolutely! Just add them after the mix has cooled completely. Chocolate will melt if added while it’s warm, and dried fruit can get hard and chewy if baked. I love adding dried cranberries, white chocolate chips, or even M&Ms for a sweet-and-salty version. Just be aware that added sugar will reduce the shelf life slightly—eat within a week if you add chocolate.
Pin This Recipe!
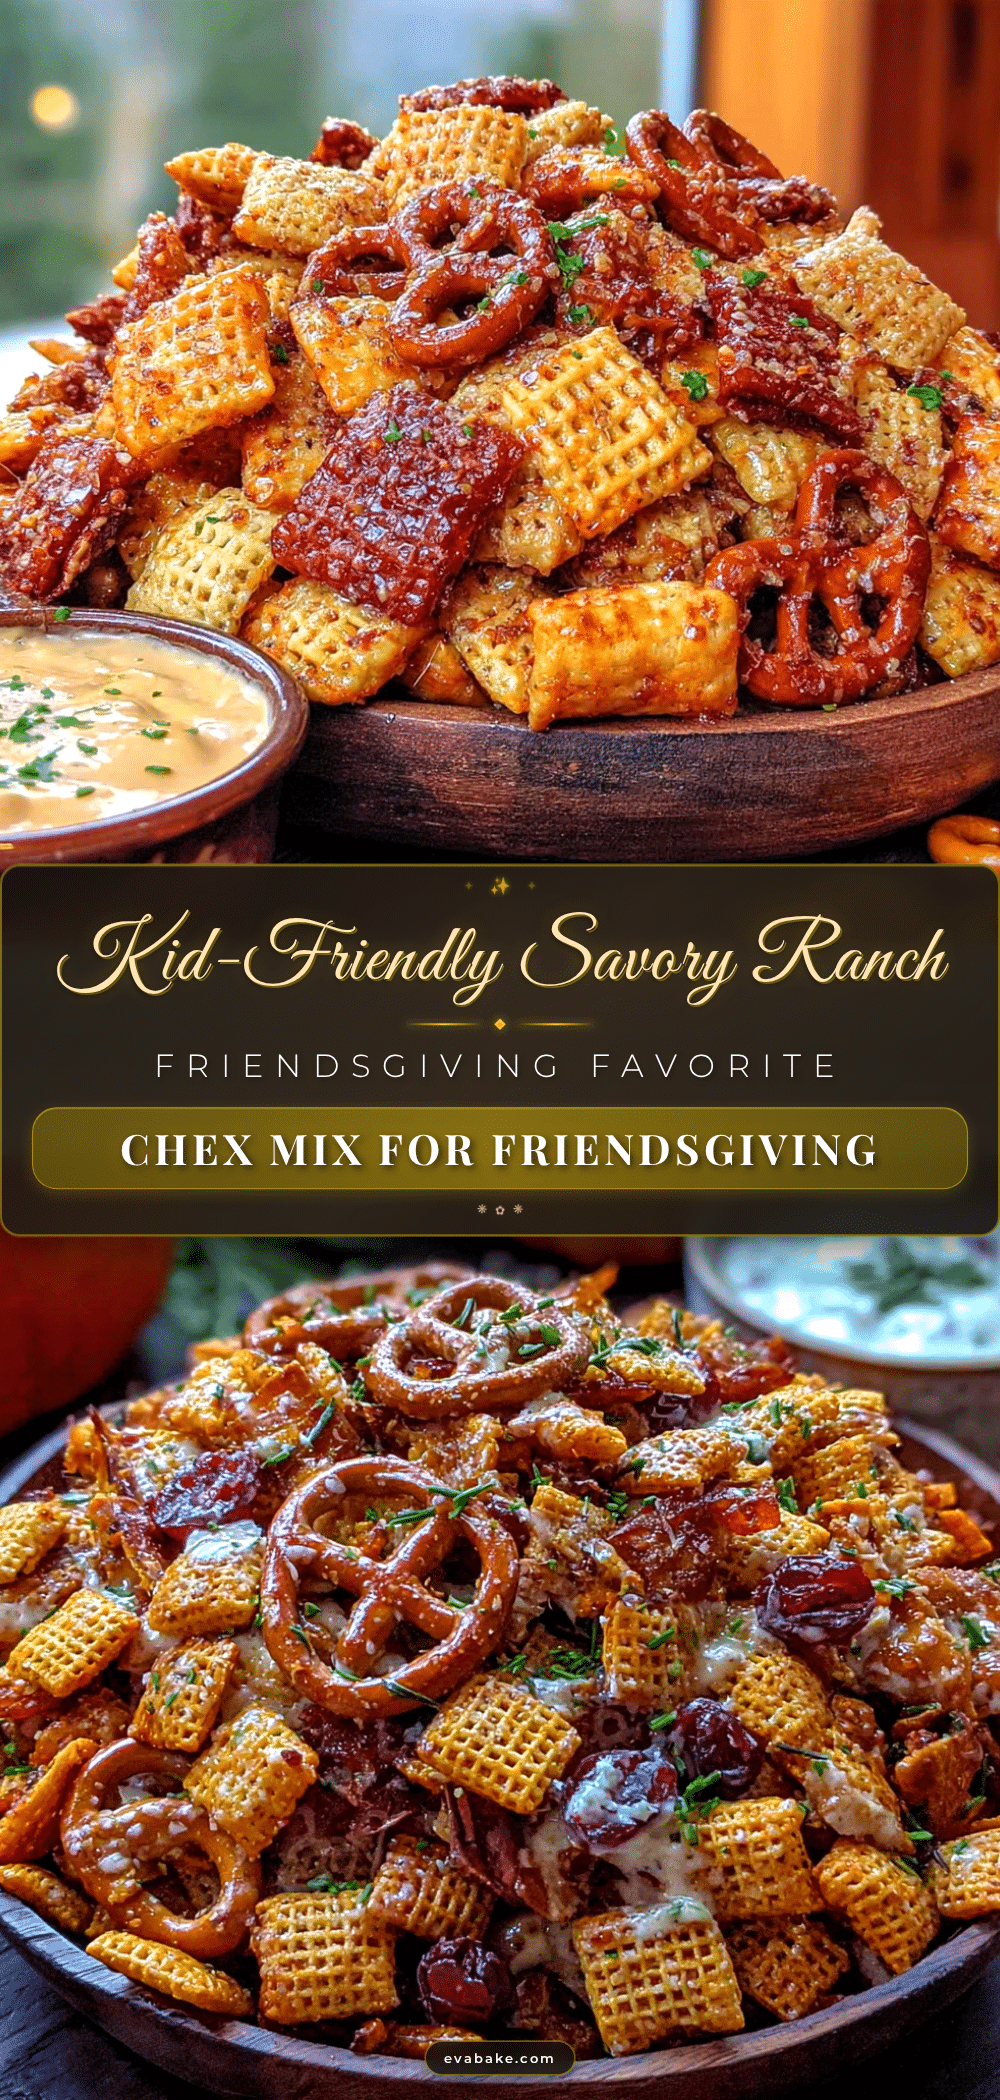
Best Kid-Friendly Savory Ranch Chex Mix for Friendsgiving

A perfectly balanced, kid-friendly savory ranch Chex mix that’s quick to make and a guaranteed crowd-pleaser for Friendsgiving gatherings. This addictive snack combines crunchy Chex cereal, pretzels, cheese crackers, and nuts with a buttery ranch seasoning that everyone will love.
- Prep Time: 15 minutes
- Cook Time: 45 minutes
- Total Time: 1 hour
- Yield: 12 servings 1x
- Category: Appetizer
- Cuisine: American
Ingredients
- 9 cups Chex cereal (3 cups each Rice Chex, Corn Chex, and Wheat Chex)
- 1 cup pretzel twists, broken into bite-sized pieces
- 1 cup cheese crackers (like Goldfish or Cheez-Its)
- 1 cup mixed nuts (salted peanut and cashew mix)
- 1/2 cup unsalted butter
- 2 tablespoons Worcestershire sauce
- 1 packet (1 ounce) ranch dressing mix
- 1 teaspoon garlic powder
- 1/2 teaspoon onion powder
- 1/4 teaspoon cayenne pepper (optional)
- 1/2 teaspoon salt
- 1/4 teaspoon black pepper
Instructions
- Preheat your oven to 250°F (120°C).
- Combine the dry ingredients in your large mixing bowl: Chex cereal, broken pretzels, cheese crackers, and mixed nuts. Toss gently to distribute evenly.
- Melt the butter in a small saucepan over medium-low heat. Once fully melted, remove from heat.
- Whisk in the Worcestershire sauce, ranch dressing mix, garlic powder, onion powder, cayenne (if using), salt, and pepper until completely combined and smooth.
- Pour the butter mixture over the dry ingredients, drizzling slowly while tossing with a spatula or your hands until every piece is evenly coated.
- Spread the mixture in a single layer on a large rimmed baking sheet lined with parchment paper or a silicone baking mat.
- Bake for 45 minutes, stirring every 15 minutes, until the mix is fragrant, golden, and dry to the touch.
- Let it cool completely on the baking sheet (at least 30 minutes).
- Break up any large clumps and transfer to an airtight container.
Notes
For best flavor, make the mix 1-2 days ahead; flavors meld overnight. Let cool completely before storing to maintain crunch. For a spicier adult version, double the cayenne and add 1 teaspoon hot sauce. For gluten-free, use gluten-free Chex, pretzels, and cheese crackers. For dairy-free, substitute butter with vegan butter and use dairy-free cheese crackers.
Nutrition
- Serving Size: 1 cup
- Calories: 235
- Sugar: 2
- Sodium: 380
- Fat: 12
- Saturated Fat: 5
- Carbohydrates: 28
- Fiber: 2
- Protein: 4
Keywords: Chex mix, ranch Chex mix, Friendsgiving snack, kid-friendly snack, savory snack mix, party mix