I ruined six loaves of sourdough before this one worked.
Six. That’s a lot of wasted flour, a lot of patience I didn’t have, and a lot of pumpkin puree smeared across my counter in frustration. The first few attempts were dense, gummy bricks that could’ve doubled as doorstops. The next ones? They looked beautiful on the outside but collapsed the second I touched the crust. Honestly, I almost gave up on the whole idea of a pumpkin spice sourdough sandwich bread altogether. It felt like I was trying to force two things together that just didn’t want to cooperate—the tangy, bubbly nature of sourdough and the heavy, wet sweetness of pumpkin.
But here’s the thing—I kept coming back to it. Every fall, I’d pull out my starter and stare at a bowl of flour and puree, convinced I could make it work. The idea of a soft, slightly sweet sandwich loaf with that unmistakable sourdough tang and warm pumpkin spice aroma just wouldn’t leave me alone. And then, one rainy Tuesday afternoon, I finally cracked the code. It was a happy accident, really—I’d run out of bread flour and used a mix of all-purpose and whole wheat instead. I also let the dough rest an extra thirty minutes during bulk fermentation because I got distracted by a phone call. That loaf? It was perfect. Soft, sliceable, with just enough structure for toast and sandwiches, and that subtle fermented tang playing hide-and-seek with the cinnamon and nutmeg.
That’s the recipe I’m sharing today. It’s not the version I started with. It’s the version I landed on after six failures and one accidental success. And honestly, that makes it taste even better.
Why You’ll Love This Recipe
This isn’t just another pumpkin bread recipe. It’s a real, functional sandwich loaf that happens to taste like fall in every single bite. I’ve tested this more times than I care to admit, and I can tell you with confidence—it works.
- Real Sandwich Bread Texture: This loaf holds up to spreads, fillings, and toasting without crumbling or turning into mush. It’s soft but sturdy, just like a good bakery loaf should be.
- That Tangy Sourdough Flavor: The fermentation process adds a subtle complexity that balances the sweetness of the pumpkin and spices. It’s not overpowering—just enough to make you wonder why you haven’t tried this sooner.
- Perfectly Spiced, Not Overwhelming: The pumpkin spice blend is warm and cozy without being cloying. You get cinnamon, ginger, nutmeg, and cloves in every slice, but they play nice with the natural flavor of the sourdough.
- Simple Ingredients: No commercial yeast, no dough conditioners, no weird additives. Just flour, water, starter, pumpkin puree, butter, sugar, salt, and spices. That’s it.
- Make-Ahead Friendly: The dough does its thing in the refrigerator overnight, which means you can mix it up one day and bake it the next. Perfect for busy weekends when you want fresh bread without the all-day commitment.
- Crowd-Pleaser: I’ve brought this to brunches, potlucks, and holiday gatherings. It disappears fast. Even people who swear they don’t like sourdough come back for seconds.
This recipe is the kind that makes you close your eyes after the first bite. It’s comfort food reimagined—familiar but surprising, cozy but complex. And it makes your whole kitchen smell like a pumpkin spice candle, which is never a bad thing.
What Ingredients You Will Need
This recipe uses simple, wholesome ingredients to deliver that perfect balance of tangy sourdough and warm pumpkin spice. Most of these are pantry staples, and the ones that aren’t are easy to find at any grocery store during fall.
For the Sourdough Starter
- Active sourdough starter, 100g (about ½ cup)—fed and bubbly, ideally 4-6 hours after feeding. I use a 100% hydration starter (equal parts flour and water by weight). If your starter is sluggish, this isn’t the recipe to test it on.
- Bread flour, 50g (about ⅓ cup)—for feeding your starter before baking. I prefer King Arthur for consistent results.
- Water, 50g (about ¼ cup)—filtered or bottled, never chlorinated tap water. Chlorine can mess with fermentation.
For the Dough
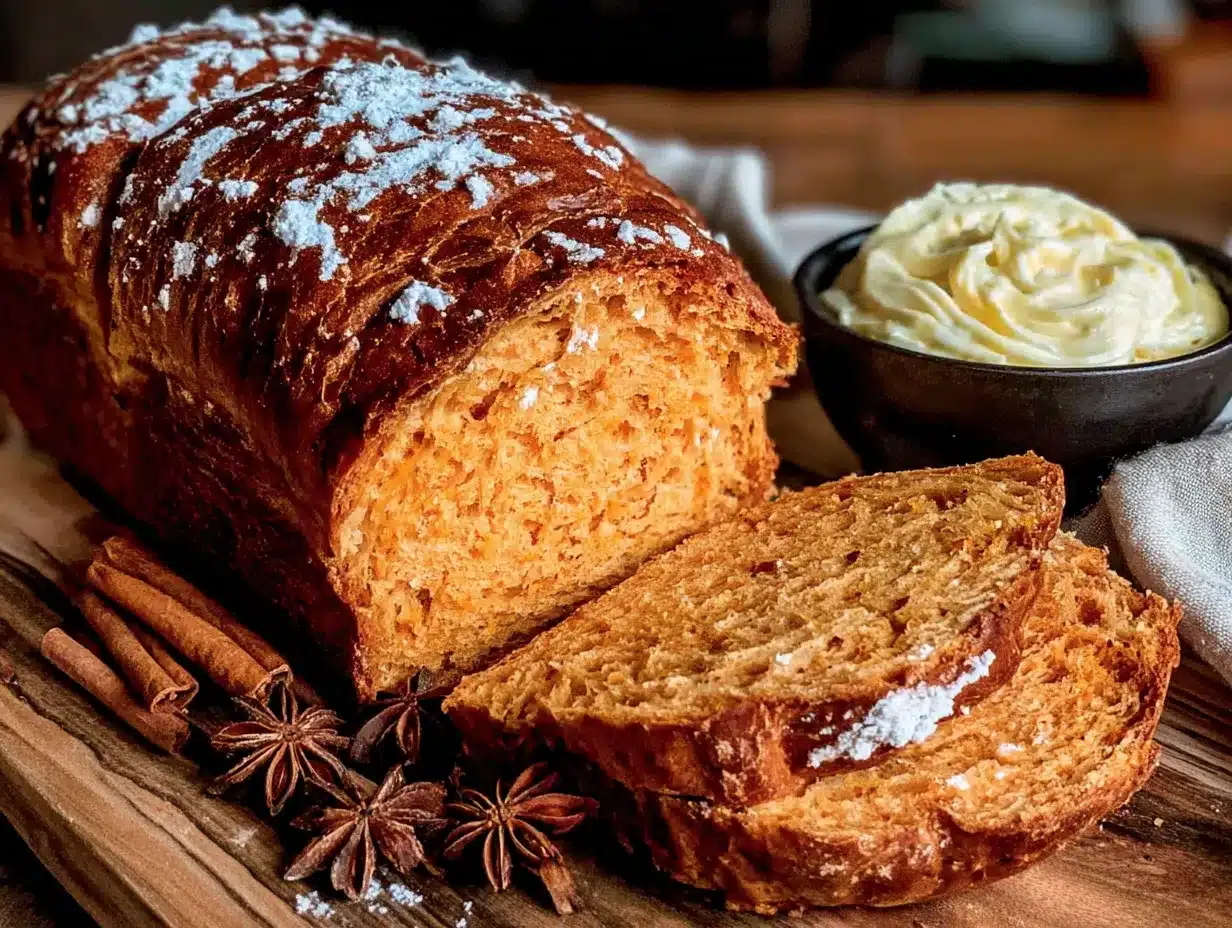
- Bread flour, 400g (about 3 cups)—gives the loaf structure and chew. You can substitute all-purpose flour, but the loaf won’t be quite as tall or airy. I’ve also used a mix of 300g bread flour and 100g whole wheat flour with great results.
- Pumpkin puree, 150g (about ⅔ cup)—make sure it’s 100% pure pumpkin, not pumpkin pie filling. I’ve tested this with both canned (Libby’s is my go-to) and homemade roasted pumpkin puree. Both work, but homemade tends to be thicker and more flavorful.
- Water, 100g (about ½ cup)—lukewarm, around 80°F. Too hot and you’ll kill the yeast activity in your starter.
- Unsalted butter, 56g (4 tablespoons, ½ stick)—softened to room temperature. Butter adds richness and keeps the crumb tender. I’ve also used coconut oil for a dairy-free version, and it works well, though the flavor is slightly different.
- Granulated sugar, 50g (about ¼ cup)—just enough to complement the pumpkin and spices without making it sweet like a dessert bread. Brown sugar also works if you want a deeper molasses note.
- Fine sea salt, 8g (about 1¼ teaspoons)—don’t skip this. Salt controls fermentation and enhances flavor.
- Pumpkin spice blend, 2 teaspoons (store-bought or homemade). If you’re making your own, combine 1 teaspoon cinnamon, ½ teaspoon ginger, ¼ teaspoon nutmeg, and ¼ teaspoon cloves. I always make my own because I like a little extra ginger.
For the Topping (Optional but Recommended)
- Egg wash, 1 large egg beaten with 1 tablespoon water—gives the crust a beautiful golden shine.
- Rolled oats or pumpkin seeds, 1-2 tablespoons—for texture and visual appeal. I love the way pumpkin seeds look on top of this loaf, especially in fall.
One quick note on the pumpkin puree: if your puree seems watery, you can blot it with a paper towel or let it drain in a fine-mesh sieve for 15 minutes. Excess water can make the dough sticky and difficult to handle. I learned this the hard way after my third failed loaf.
For the pumpkin spice, I recommend grinding your own spices if you can. Pre-ground blends lose potency over time, and fresh cinnamon and nutmeg make a noticeable difference in the final flavor. That said, store-bought works perfectly fine in a pinch.
Equipment Needed
You don’t need a lot of fancy equipment for this recipe, but a few tools make the process much smoother.
- Digital kitchen scale: This is non-negotiable for sourdough baking. Measuring by volume is too inconsistent, especially with flour and pumpkin puree. A $15 scale from Amazon works perfectly.
- 9×5-inch loaf pan: Standard size works best. I’ve tried 8×4-inch pans, and the loaf tends to dome too much. Glass, metal, or ceramic all work—just adjust baking time slightly if using glass (it conducts heat differently).
- Large mixing bowl: Glass or stainless steel works best. Plastic can retain odors and oils.
- Bench scraper: Invaluable for folding dough and cleaning your work surface. A plastic one is gentler on countertops.
- Plastic wrap or a reusable bowl cover: For covering the dough during bulk fermentation and cold proofing.
- Instant-read thermometer: Not strictly necessary, but helpful for checking water temperature and internal loaf temperature (200°F is perfect).
- Cooling rack: Essential for proper cooling. If you let the bread cool in the pan, the bottom will get soggy.
If you don’t have a bench scraper, a stiff metal spatula works in a pinch. And if you’re using a glass loaf pan, reduce the oven temperature by 25°F to prevent over-browning. I’ve broken a glass pan before by putting it directly on a hot oven rack—lesson learned. Always place glass pans on a baking sheet for stability.
Preparation Method
This recipe uses an overnight cold fermentation method, which means you’ll mix the dough one day and bake it the next. The long, slow rise in the refrigerator develops more flavor and makes the dough easier to handle.
Day 1: Mix and Bulk Fermentation
- Feed your starter: About 6-8 hours before you plan to mix the dough, feed your starter with equal parts bread flour and water (50g each). It should be bubbly, doubled in size, and pass the float test (a small spoonful floats in water) before you use it.
- Mix the dough: In a large bowl, combine 400g bread flour, 50g granulated sugar, 8g fine sea salt, and 2 teaspoons pumpkin spice blend. Whisk to distribute the spices evenly. In a separate bowl or measuring cup, whisk together 150g pumpkin puree, 100g lukewarm water, and 100g active sourdough starter until smooth.
- Combine wet and dry: Pour the wet ingredients into the dry ingredients and mix with a stiff spatula or your hands until no dry flour remains. The dough will be shaggy and quite sticky at this point—that’s normal. Cover the bowl with plastic wrap and let it rest for 30 minutes. This is called the autolyse, and it gives the flour time to absorb the liquid and start developing gluten naturally.
- Add the butter: After the rest, add the 56g softened butter. Squeeze and fold the dough until the butter is fully incorporated. This takes about 2-3 minutes of gentle kneading right in the bowl. The dough will feel silky and smooth once the butter is worked in.
- Bulk fermentation with stretch and folds: Over the next 2-3 hours, perform a series of stretch and folds. Every 30 minutes, grab one side of the dough, stretch it up, and fold it over the center. Rotate the bowl and repeat on all four sides. Do this a total of 4-6 times. You’ll notice the dough becoming smoother, stronger, and more elastic with each fold. It should feel alive and puffy by the end.
- Shape and cold proof: After the final stretch and fold, lightly flour your work surface. Gently turn the dough out and shape it into a tight log. Place it seam-side down in a lightly greased 9×5-inch loaf pan. Cover the pan tightly with plastic wrap and refrigerate for 12-18 hours. Overnight is perfect.
Day 2: Bake
- Preheat the oven: The next morning, remove the loaf pan from the refrigerator. Let it sit at room temperature while the oven preheats to 375°F (190°C). This usually takes about 20-30 minutes. The dough should have risen slightly in the pan but won’t double in size like commercial yeast bread—that’s normal.
- Egg wash and topping: In a small bowl, beat 1 large egg with 1 tablespoon water. Gently brush the top of the loaf with the egg wash. Sprinkle rolled oats or pumpkin seeds on top if desired. The egg wash gives the crust a beautiful golden color and helps the toppings stick.
- Bake: Place the loaf pan on the middle rack of the oven and bake for 40-45 minutes. The top should be deep golden brown, and the internal temperature should reach 200°F (93°C) when measured with an instant-read thermometer. If the top is browning too quickly (after about 25 minutes), tent loosely with aluminum foil.
- Cool completely: Remove the loaf from the oven and let it cool in the pan for 10 minutes. Then turn it out onto a wire rack and let it cool completely—at least 2 hours. I know it’s tempting to slice into it warm, but the interior continues to set as it cools. Slicing too early will result in a gummy, compressed crumb. Trust me on this one.
The first time I made this recipe successfully, I sliced into it after only an hour of cooling. The center was still slightly tacky, and the slices didn’t hold their shape. Now I set a timer and walk away. Patience pays off here.
Cooking Tips & Techniques
After all those failed loaves, I picked up a few tricks that make this recipe foolproof. Here’s what I wish I’d known from the start.
Temperature matters more than you think. Sourdough fermentation is temperature-dependent. If your kitchen is cold (below 68°F), bulk fermentation will take longer—sometimes up to 5 hours instead of 3. If it’s warm (above 78°F), things move faster. I keep a small thermometer on my counter to track ambient temperature. For this recipe, I aim for a dough temperature of 75-78°F after mixing. If your dough feels cold, use slightly warmer water (up to 85°F) next time.
Don’t over-flour your work surface. Pumpkin puree makes the dough stickier than standard sourdough. It’s tempting to keep adding flour, but too much will make the bread dense. Instead, use a bench scraper to lift and fold the dough during shaping. A light dusting of flour on your hands and the counter is enough. If the dough is truly unmanageable, wet your hands slightly—moisture prevents sticking better than flour does.
The poke test is your friend. After cold proofing, gently poke the dough with a floured finger. If the indentation springs back slowly and leaves a slight divot, it’s ready to bake. If it springs back immediately, it needs more time at room temperature. If the indentation stays and doesn’t move at all, you’ve over-proofed it. Over-proofed dough will still bake, but the loaf will be flatter and denser.
I once forgot to add the butter. It was late, I was tired, and I mixed the dough without the butter. I realized it the next morning when I pulled the pan out of the fridge and saw a sad, dense lump. I tried to salvage it by kneading the butter in at that point, but the damage was done. The loaf was edible but tough. So double-check your ingredients before you walk away for the night.
For consistent results, use the same brand of flour. Different flours absorb water differently. I use King Arthur bread flour for this recipe because it has a consistent protein content of 12.7%. If you switch brands, you may need to adjust the water by 10-20g. The dough should feel soft and slightly tacky, not stiff or dry.
This recipe also works beautifully with a rustic sourdough pumpkin focaccia approach if you want to skip the loaf pan and go for a more casual, dimpled bread. Same dough, different shape, equally delicious.
Variations & Adaptations
One of the best things about this recipe is how adaptable it is. I’ve played around with it quite a bit, and here are some of my favorite variations.
Dairy-Free Version: Swap the butter for 56g of refined coconut oil (melted and cooled slightly). The texture is a tiny bit less tender, but the flavor is still fantastic. I’ve also used vegan butter sticks with good results—just make sure they’re the kind meant for baking, not spreading.
Whole Wheat Boost: Replace 100g of the bread flour with whole wheat flour. The loaf will be denser and have a nuttier flavor that pairs beautifully with the pumpkin spice. Add an extra 15-20g of water since whole wheat flour absorbs more liquid. My husband actually prefers this version for toast.
Sweet Add-Ins: Fold in 100g of dried cranberries, chopped pecans, or chocolate chips during the last stretch and fold. The tartness of cranberries cuts through the sweetness beautifully, and pecans add a lovely crunch. I made a version with dark chocolate chips last Thanksgiving, and it was gone before the turkey was carved.
Maple Twist: Replace the granulated sugar with 60g of maple syrup. Reduce the water by 20g to compensate for the extra liquid. The maple flavor is subtle but adds a lovely depth that complements the pumpkin and spices. This version is especially good for French toast.
Gluten-Free Adaptation: I’ll be honest—I haven’t perfected a gluten-free version of this recipe yet. Sourdough relies on gluten development for structure, and gluten-free flours behave very differently. If you need a gluten-free option, I’d recommend looking for a dedicated gluten-free pumpkin bread recipe rather than trying to adapt this one.
If you’re in the mood for something sweeter but still pumpkin-forward, my cozy pumpkin cream cheese swirl muffins with cinnamon streusel are a fantastic companion recipe. They use a similar spice blend but come together in under an hour.
Serving & Storage Suggestions
This bread is incredibly versatile. Here’s how I like to serve and store it.
Serving: The bread is best at room temperature or lightly toasted. Toast brings out the pumpkin spice aroma and gives the crust a pleasant crunch. I love it with a generous spread of salted butter and a drizzle of honey. For a savory option, try it with cream cheese and thin apple slices—the tanginess of the cream cheese plays beautifully with the sweet spices.
Sandwich Ideas: This bread makes incredible turkey and cranberry sandwiches (especially around the holidays). It also works well for grilled cheese with sharp cheddar and a thin layer of apple butter. The sweetness of the bread balances the saltiness of the cheese perfectly.
Complementary Dishes: Serve this bread alongside a warm bowl of soup or stew. It’s fantastic with flavorful sheet pan nachos with carnitas and street corn for a cozy fall dinner. The contrast between the spicy, savory nachos and the sweet, tangy bread is surprisingly good.
Storage: Store the bread in a paper bag at room temperature for up to 3 days. Do not store it in plastic—the crust will become soggy and the bread will mold faster. If you need to keep it longer, slice the entire loaf and freeze the slices in a zip-top bag. Toast directly from frozen for the best texture.
Reheating: For individual slices, pop them in the toaster. For a whole loaf, wrap it in aluminum foil and warm it in a 300°F oven for 10-15 minutes. This revives the crust and makes the interior soft and pillowy again.
Flavor Development: The pumpkin spice flavor actually intensifies after a day or two. I’ve found that day-old slices make the best toast—the spices have had time to meld with the sourdough tang, creating a more complex flavor profile.
Nutritional Information & Benefits
This bread is made with real, whole ingredients, and it offers some surprising nutritional perks.
Estimated per slice (1/12 of loaf):
- Calories: 175
- Total Fat: 5g
- Saturated Fat: 3g
- Carbohydrates: 28g
- Fiber: 2g
- Sugar: 5g
- Protein: 5g
- Sodium: 195mg
Health Benefits: Pumpkin puree is packed with vitamin A (in the form of beta-carotene), which supports eye health and immune function. It’s also a good source of fiber, which aids digestion. The fermentation process in sourdough breaks down phytic acid, making the minerals in the flour more bioavailable. Some people with mild gluten sensitivities find sourdough easier to digest than commercial bread.
Dietary Considerations: This recipe is vegetarian and can be made dairy-free with the coconut oil substitution. It is not gluten-free, though the fermentation process does reduce gluten content slightly. The sugar content is relatively low compared to most pumpkin breads—this is a sandwich loaf, not a dessert.
Potential Allergens: Contains wheat and dairy (unless modified). If you’re using store-bought pumpkin spice blend, check the label for any added fillers or anti-caking agents.
I personally love that this bread feels indulgent but isn’t loaded with sugar or fat. It’s the kind of thing you can eat every morning during pumpkin season without feeling guilty. One slice toasted with butter is the perfect start to a cool fall day.
Conclusion
This pumpkin spice sourdough sandwich bread is the recipe I kept coming back to, even after six failures. It’s the one that taught me patience, the one that rewarded me for paying attention to details, and the one that finally made me feel like I understood how sourdough works. It’s not a quick recipe, and it’s not a simple one. But it is a deeply satisfying one.
I hope you give it a try, even if you’re nervous about working with sourdough. Start with a healthy, active starter, trust the process, and don’t be afraid to make mistakes. That’s how I learned, and honestly, those failed loaves made the successful one taste even better.
If you make this bread, I’d love to hear how it turns out. Drop a comment below and let me know—did you add any mix-ins? Did you make it for a holiday gathering? Did you burn the first one like I did? Share your story. And if you’re looking for more fall baking inspiration, check out my tender brown butter pumpkin chocolate chip blondies or my ultra moist one-bowl brown butter banana bread for more cozy baking ideas.
Happy baking, friends. Your kitchen is about to smell incredible.
Frequently Asked Questions
Can I use active dry yeast instead of sourdough starter?
This recipe is specifically designed for sourdough starter. The fermentation time and liquid ratios won’t work with commercial yeast. If you want a pumpkin spice sandwich bread using yeast, look for a separate recipe designed for that method.
My dough is very sticky. What am I doing wrong?
Pumpkin puree naturally makes dough stickier than standard bread dough. This is normal. Resist the urge to add more flour—instead, use wet hands or a bench scraper to handle the dough. If the dough is truly unworkable (sticking to everything), your pumpkin puree might be too watery. Try blotting it with a paper towel next time.
Can I skip the overnight cold proof?
Technically yes, but the flavor and texture won’t be the same. The long cold fermentation develops the sourdough tang and makes the crumb more tender. If you’re in a hurry, you can let the dough rise at room temperature for 4-6 hours after shaping, then bake immediately. The loaf will be less flavorful and slightly denser.
Why did my loaf collapse in the middle?
This usually happens for one of three reasons: over-proofing (the dough fermented too long and lost structure), under-baking (the interior wasn’t set before cooling), or slicing too early (the steam inside the bread needs time to redistribute). Check your proofing time, make sure the internal temperature reaches 200°F, and let the loaf cool completely before slicing.
Can I double this recipe?
Yes, but I recommend making two separate batches rather than doubling the ingredients in one bowl. Sourdough fermentation is tricky to scale evenly, and a double batch takes much longer to mix and ferment. Two separate bowls with the same ingredients will give you more consistent results.
Pin This Recipe!
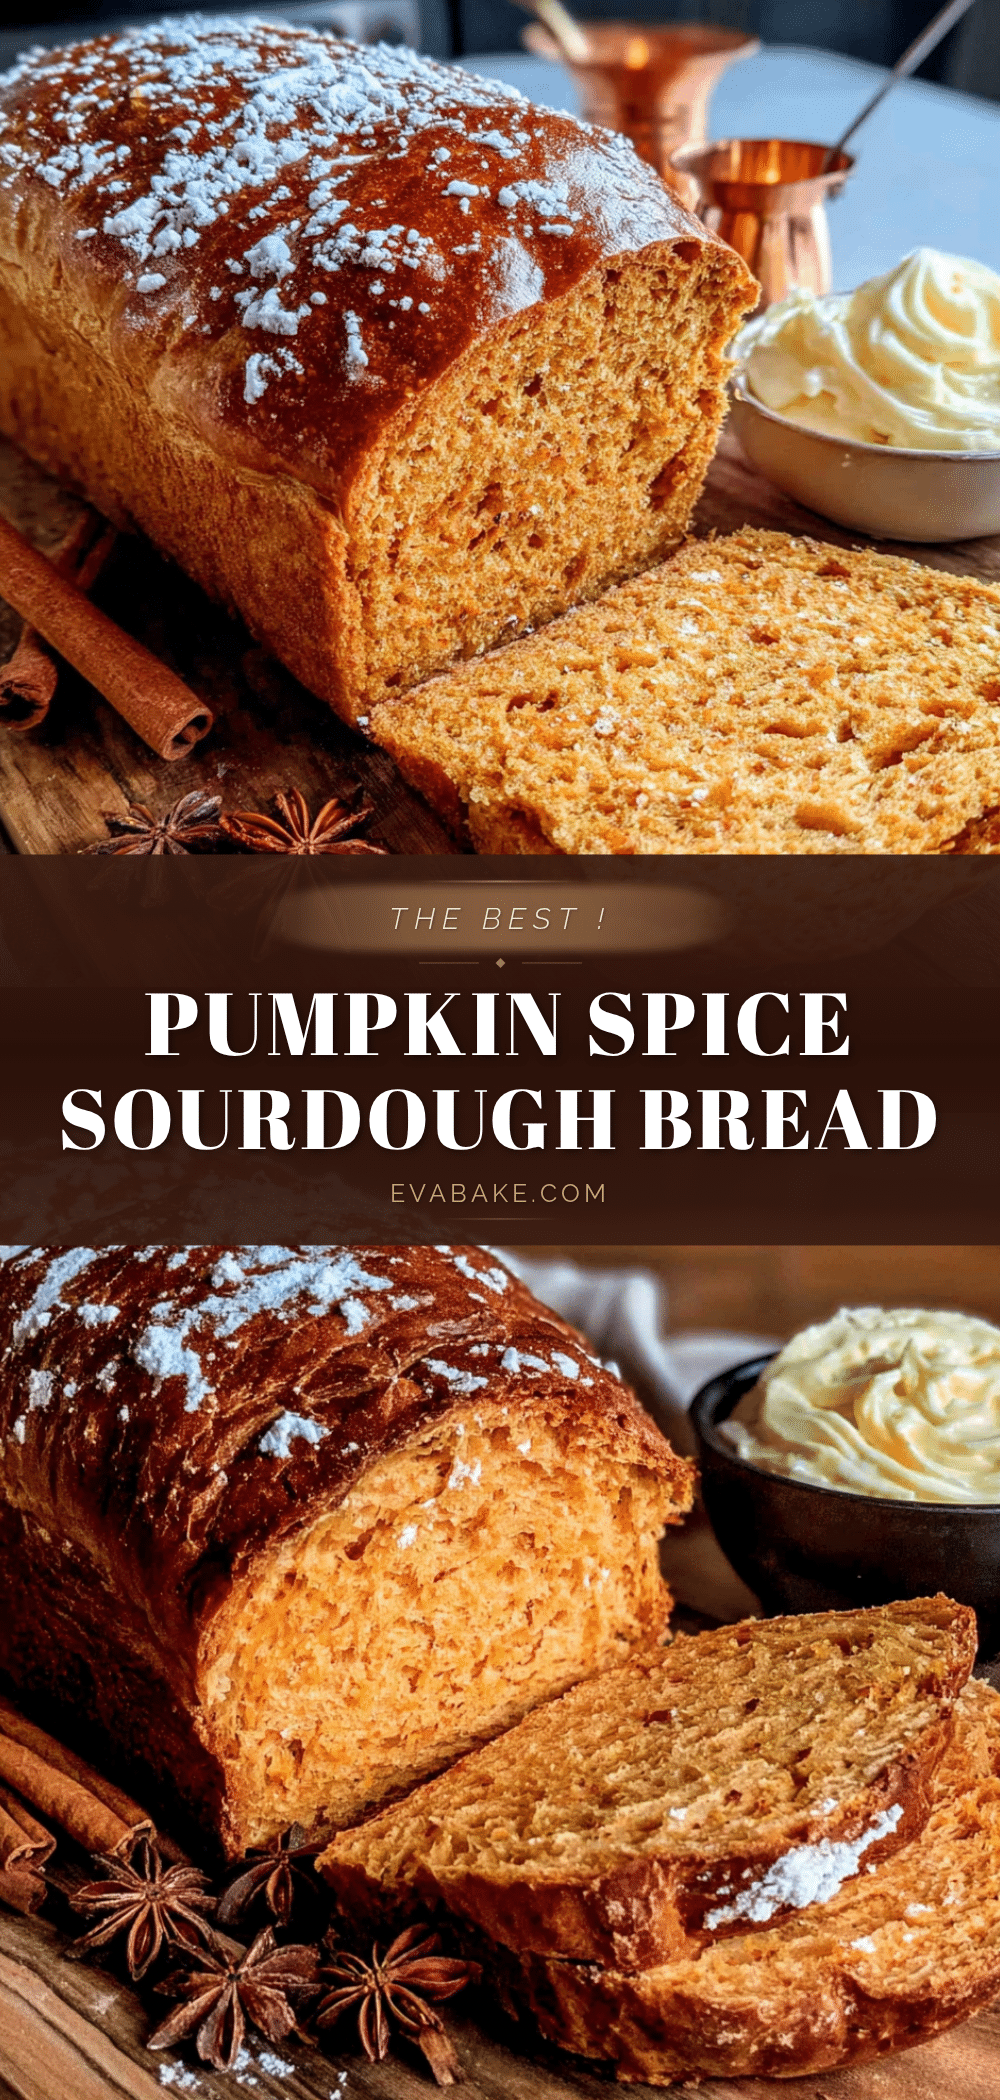
Best Pumpkin Spice Sourdough Sandwich Bread Recipe

A soft, slightly sweet sandwich loaf with tangy sourdough flavor and warm pumpkin spice. This recipe uses an overnight cold fermentation method for the perfect texture and taste.
- Prep Time: 30 minutes
- Cook Time: 45 minutes
- Total Time: 14 hours (includes overnight cold proof)
- Yield: 12 servings 1x
- Category: Bread
- Cuisine: American
Ingredients
- 100g active sourdough starter (about ½ cup)
- 50g bread flour (about ⅓ cup) for feeding starter
- 50g water (about ¼ cup) for feeding starter
- 400g bread flour (about 3 cups)
- 150g pumpkin puree (about ⅔ cup)
- 100g lukewarm water (about ½ cup)
- 56g unsalted butter, softened (4 tablespoons, ½ stick)
- 50g granulated sugar (about ¼ cup)
- 8g fine sea salt (about 1¼ teaspoons)
- 2 teaspoons pumpkin spice blend (store-bought or homemade: 1 tsp cinnamon, ½ tsp ginger, ¼ tsp nutmeg, ¼ tsp cloves)
- 1 large egg (for egg wash)
- 1 tablespoon water (for egg wash)
- 1–2 tablespoons rolled oats or pumpkin seeds (optional topping)
Instructions
- Feed your starter: About 6-8 hours before mixing dough, feed starter with 50g bread flour and 50g water. It should be bubbly, doubled, and pass the float test.
- Mix the dough: In a large bowl, combine 400g bread flour, 50g sugar, 8g salt, and 2 teaspoons pumpkin spice blend. In a separate bowl, whisk together 150g pumpkin puree, 100g lukewarm water, and 100g active starter until smooth.
- Combine wet and dry: Pour wet ingredients into dry and mix until no dry flour remains. Dough will be shaggy and sticky. Cover and rest for 30 minutes (autolyse).
- Add butter: After rest, add 56g softened butter. Squeeze and fold until fully incorporated (2-3 minutes). Dough should feel silky and smooth.
- Bulk fermentation with stretch and folds: Over 2-3 hours, perform stretch and folds every 30 minutes (4-6 times total). Dough will become smoother and more elastic.
- Shape and cold proof: Lightly flour work surface, turn out dough, shape into a tight log. Place seam-side down in a greased 9×5-inch loaf pan. Cover tightly with plastic wrap and refrigerate 12-18 hours.
- Preheat oven: Next morning, remove pan from fridge and let sit at room temperature while oven preheats to 375°F (190°C), about 20-30 minutes.
- Egg wash and topping: Beat 1 egg with 1 tablespoon water. Gently brush top of loaf. Sprinkle oats or pumpkin seeds if desired.
- Bake: Place pan on middle rack and bake 40-45 minutes until deep golden brown and internal temperature reaches 200°F (93°C). Tent with foil if browning too quickly after 25 minutes.
- Cool completely: Let cool in pan 10 minutes, then turn out onto wire rack and cool completely (at least 2 hours) before slicing.
Notes
Temperature matters: aim for dough temperature of 75-78°F after mixing. Don’t over-flour work surface; use wet hands or bench scraper for sticky dough. Use the poke test after cold proofing. Let cool completely before slicing to avoid gummy texture. For dairy-free, substitute butter with 56g refined coconut oil.
Nutrition
- Serving Size: 1 slice (1/12 of loa
- Calories: 175
- Sugar: 5
- Sodium: 195
- Fat: 5
- Saturated Fat: 3
- Carbohydrates: 28
- Fiber: 2
- Protein: 5
Keywords: pumpkin spice, sourdough, sandwich bread, fall baking, homemade bread, pumpkin bread, sourdough bread


