“You know what this cake needs? More peanut butter.” My sister said it standing in my kitchen, fork halfway to her mouth, a smear of chocolate frosting on her chin. I had just pulled what I thought was a perfectly respectable chocolate cake out of the oven, and she was already critiquing it. Honestly, she wasn’t wrong. That chocolate cake was fine, but fine isn’t what you want when you’re craving something that feels like a celebration. So I went back to the drawing board, and this Ultimate Reese’s Peanut Butter Poke Cake is what happened when I stopped playing it safe.
I wanted a cake that didn’t just whisper peanut butter, it screamed it. A cake so rich and indulgent that one slice feels like you’re getting away with something. This isn’t a polite dessert for a tea party. It’s a messy, glorious, chocolate-peanut butter masterpiece that you make when you want to impress people without spending all day in the kitchen. And let me tell you, the first time I served this at a family barbecue, my sister took one bite and just stared at me. No words. Just that look. That’s when I knew I had finally cracked the code.
Why You’ll Love This Recipe
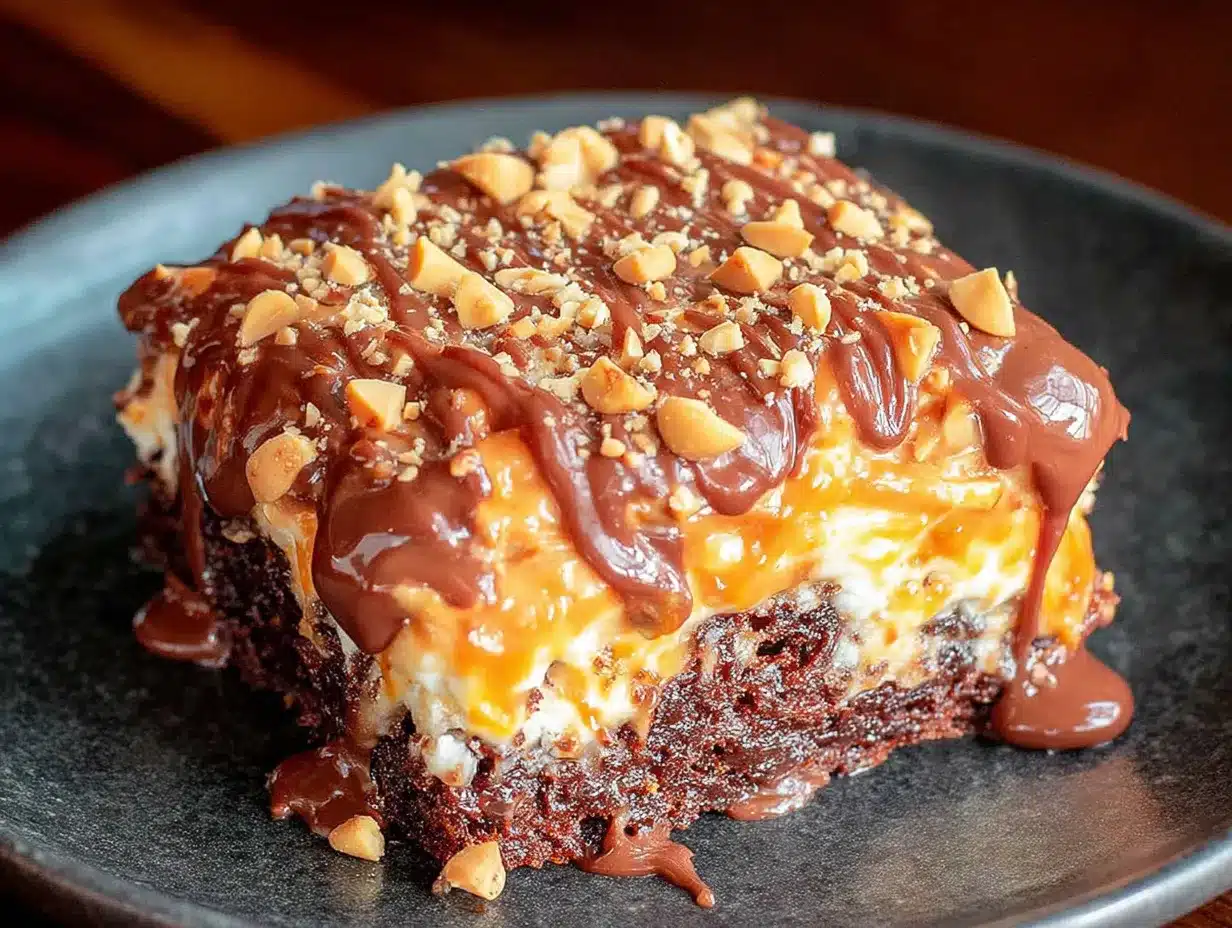
This isn’t just another chocolate cake recipe. I’ve tested this thing six times to get the texture and flavor balance exactly right. The first version was too dry. The second had too much peanut butter filling and it turned into a soggy mess. But this version right here? It’s the Goldilocks of poke cakes. Every bite has that perfect contrast between tender chocolate cake, creamy peanut butter filling, and that signature Reese’s candy crunch on top.
- Quick & Easy: From start to finish, you’re looking at about an hour, plus chilling time. Perfect for last-minute potlucks or when you need dessert and you need it now.
- Simple Ingredients: No weird specialty items. You probably have most of this stuff in your pantry already, which is exactly how I like my recipes.
- Perfect for Parties: This cake feeds a crowd and it travels well. I’ve brought it to birthday parties, summer cookouts, and even a Super Bowl gathering. It disappears every single time.
- Crowd-Pleaser: Kids go nuts for it, adults pretend to be sophisticated while sneaking a second slice. It’s the great equalizer at any gathering.
- Unbelievably Delicious: The combination of warm chocolate cake, cold peanut butter filling, and the crunch of chopped Reese’s cups is honestly next-level comfort food.
What makes this recipe different from all the other poke cakes out there? It’s the ratio. I spent a lot of time figuring out the perfect amount of sweetened condensed milk and peanut butter to soak into the cake without turning it into a pudding. The cake stays structurally sound, but every bite is infused with that peanut butter magic. Plus, I use a simple trick with the frosting that keeps it from being cloyingly sweet. Trust me, you won’t find a better version of this anywhere else.
What Ingredients You Will Need
This recipe uses simple, everyday ingredients to create something that tastes anything but basic. The magic happens when these humble components come together in just the right way. Here’s what you’ll need to grab from your pantry and fridge.
For the Chocolate Cake Base
- 1 box (15.25 oz) devil’s food cake mix (I prefer Duncan Hines or Betty Crocker for consistent results, but any brand works fine)
- 3 large eggs, room temperature (cold eggs can make the batter seize up)
- 1 cup whole milk (use the milk called for on the box, but swap water for milk for a richer cake)
- ½ cup vegetable oil (canola or melted coconut oil also works great)
- 1 tsp vanilla extract (adds warmth and depth to the chocolate flavor)
For the Peanut Butter Filling
- 1 can (14 oz) sweetened condensed milk (this is non-negotiable, don’t try to substitute evaporated milk)
- ½ cup creamy peanut butter (I use Jif or Skippy for the best texture, natural peanut butter can separate and get oily)
- 2 tbsp unsalted butter, melted (adds richness and helps the filling set smoothly)
- ½ tsp salt (trust me on this, it balances the sweetness and makes the peanut butter pop)
For the Chocolate Ganache Topping
- 1 cup semi-sweet chocolate chips (I like Ghirardelli or Guittard, they melt smoother)
- ½ cup heavy cream (you can use half-and-half in a pinch, but the ganache won’t be as glossy)
- 2 tbsp unsalted butter, softened (gives the ganache a beautiful sheen)
For the Garnish
- 1 cup chopped Reese’s Peanut Butter Cups (about 8-10 miniatures or 4 regular-sized cups)
- ¼ cup chopped salted peanuts (optional, but adds amazing crunch)
- Flaky sea salt (a pinch on top takes it from great to unforgettable)
Ingredient Tip: For the best results, use full-fat ingredients wherever possible. Low-fat milk or reduced-fat peanut butter will change the texture and you might end up with a cake that’s less moist. I learned this the hard way when I tried to “healthify” this recipe for a friend. Never again.
Equipment Needed
- 9×13 inch baking pan (glass or metal both work, just adjust baking time slightly for metal pans)
- Mixing bowls (one large for the cake batter, one medium for the filling)
- Hand mixer or stand mixer (you can whisk by hand, but a mixer makes the filling silky smooth)
- Wooden skewer or the handle of a wooden spoon (for poking the holes, a fork is too small)
- Saucepan (for heating the cream for the ganache)
- Rubber spatula (get every last bit of that ganache, you’ll thank me later)
- Measuring cups and spoons
- Parchment paper (optional but makes cleanup a breeze)
If you don’t have a hand mixer, you can absolutely make the peanut butter filling by hand. Just whisk it vigorously until it’s smooth. It’s a little arm workout, but totally doable. For the ganache, a microwave works fine if you don’t want to use a saucepan. Just heat the cream in 30-second intervals and stir between each one.
Preparation Method
- Preheat your oven to 350°F (175°C). Grease your 9×13 inch baking pan with butter or non-stick spray. If you’re using parchment paper, leave some overhang on the sides for easy lifting later.
- Prepare the cake batter according to the box directions. In a large bowl, combine the cake mix, eggs, milk, oil, and vanilla extract. Mix on medium speed for about 2 minutes until everything is smooth and well combined. The batter should be thick and glossy. Don’t overmix it or the cake will be tough.
- Pour the batter into your prepared pan and spread it evenly with a spatula. Give the pan a gentle tap on the counter to release any air bubbles. Bake for 28-32 minutes, or until a toothpick inserted in the center comes out with just a few moist crumbs. The edges should be pulling away from the pan slightly.
- While the cake bakes, make the peanut butter filling. In a medium bowl, whisk together the sweetened condensed milk, creamy peanut butter, melted butter, and salt. Keep whisking until the mixture is completely smooth and has a slightly thick, pourable consistency. It should look like a thick sauce. Set it aside.
- As soon as the cake comes out of the oven, poke holes all over it. This is the most important step, so don’t be shy. Use the handle of a wooden spoon or a wooden skewer to poke holes about 1 inch apart, going all the way down to the bottom of the pan. The more holes you make, the more filling gets absorbed. I usually poke about 40-50 holes across the whole cake.
- Pour the peanut butter filling evenly over the warm cake. Start from the edges and work your way to the center. Don’t just dump it all in one spot. Let it sink in for a minute, then pour any filling that’s pooled on top into the holes again. You want every single hole to be filled with that peanut butter goodness.
- Let the cake cool completely at room temperature. This takes about 45 minutes to an hour. Don’t rush this step. If you put the ganache on a warm cake, it will slide right off and you’ll have a mess. Trust me, I’ve done it. It wasn’t pretty.
- Make the chocolate ganache. In a small saucepan, heat the heavy cream over medium heat until it just starts to simmer. You’ll see tiny bubbles around the edges. Don’t let it boil. Pour the hot cream over the chocolate chips in a bowl and let it sit for 2 minutes without stirring. Then gently whisk until the chocolate is completely melted and the mixture is smooth and glossy. Stir in the softened butter for extra shine.
- Pour the ganache over the cooled cake and spread it evenly with a spatula. It should flow naturally and create a smooth, shiny layer on top. Work quickly before the ganache starts to set.
- Immediately sprinkle the chopped Reese’s cups and peanuts over the ganache. Press them in gently so they stick. Finish with a light sprinkle of flaky sea salt. The salt cuts through all that sweetness and makes the peanut butter flavor sing.
- Refrigerate the cake for at least 2 hours before serving. This is crucial. The filling needs time to set and the flavors need to meld together. I know it’s hard to wait, but this cake is honestly better the next day. The texture gets even more incredible overnight.
Pro Tip: When you’re poking the holes, don’t be afraid to wiggle the skewer around a little. You want the holes to be wide enough for the filling to really get in there. Tiny holes from a fork just won’t cut it for this recipe.
Cooking Tips & Techniques
I’ve made this cake more times than I care to admit, and I’ve learned a few things along the way. Let me save you some of the headaches I had.
Don’t overbake the cake. The first time I made this, I left the cake in the oven for an extra five minutes because I got distracted by a phone call. The result was a dry cake that couldn’t absorb the filling properly. Take the cake out when a toothpick comes out with moist crumbs, not clean. The residual heat will finish the cooking process.
Use room temperature eggs. Cold eggs can cause the batter to seize up and create a denser cake. If you forgot to take them out of the fridge, place them in a bowl of warm water for 5 minutes before using. It makes a real difference in the texture.
Let the filling soak in properly. After you pour the peanut butter mixture over the cake, give it a few minutes to absorb. I sometimes take a spatula and gently press down on the cake to help the filling penetrate deeper. Don’t rush this step. The whole point of a poke cake is that every bite is infused with flavor.
Chill the cake completely. I know you’re going to want to dig in right away, but trust me on this one. A warm poke cake is a messy poke cake. The filling needs time to set and the ganache needs to firm up. Two hours minimum in the fridge, but overnight is even better. The flavors meld together and the texture becomes almost fudge-like.
Use a sharp knife for clean slices. Run your knife under hot water before each cut, then wipe it clean. This gives you those beautiful, Instagram-worthy slices with clean edges and no smearing. It’s a small detail that makes a big difference when you’re serving this to guests.
Variations & Adaptations
One of the best things about this recipe is how customizable it is. I’ve tried several variations, and here are my favorites.
Peanut Butter Cup Explosion: Instead of just chopping Reese’s cups for the top, mix a cup of chopped peanut butter cups into the cake batter before baking. You get pockets of melted chocolate and peanut butter throughout the cake. It’s extra indulgent and absolutely worth the calories.
Gluten-Free Version: Use a gluten-free chocolate cake mix and make sure your peanut butter is certified gluten-free. Everything else in the recipe is naturally gluten-free. I’ve tested this with King Arthur’s gluten-free chocolate cake mix and it turned out fantastic. No one at the party even noticed the difference.
Salted Caramel Peanut Butter Poke Cake: Drizzle half a cup of salted caramel sauce over the cake before adding the ganache. The combination of chocolate, peanut butter, and caramel is ridiculous in the best way possible. I made this version for Thanksgiving one year and it almost upstaged the turkey.
White Chocolate Version: Swap the semi-sweet chocolate chips for white chocolate chips in the ganache. The sweetness of the white chocolate pairs beautifully with the salty peanut butter filling. Top with chopped white chocolate peanut butter cups if you can find them.
Dairy-Free Adaptation: Use a dairy-free cake mix, coconut cream instead of heavy cream, and dairy-free chocolate chips. For the filling, use a dairy-free sweetened condensed milk alternative and natural peanut butter. The texture will be slightly different, but it’s still incredibly delicious.
Serving & Storage Suggestions
This cake is best served cold, straight from the fridge. The filling sets up beautifully when chilled, giving you that perfect creamy texture that contrasts with the tender cake. I like to let it sit at room temperature for about 10 minutes before serving, just to take the chill off. It makes the flavors a little more pronounced.
For presentation, I love serving this cake on a white platter with a few extra chopped Reese’s cups scattered around the base. A dollop of whipped cream on each slice takes it over the top, especially if you’re serving it as a birthday dessert. If you’re feeling fancy, drizzle a little extra chocolate sauce on the plate before adding the slice.
Storage: Cover the cake tightly with plastic wrap or aluminum foil and store it in the refrigerator for up to 5 days. The cake actually gets better after a day or two as the flavors continue to meld. I honestly prefer the leftovers over the fresh cake sometimes.
Freezing: This cake freezes beautifully. Wrap individual slices in plastic wrap, then place them in a freezer-safe bag. They’ll keep for up to 3 months. To thaw, just transfer a slice to the fridge overnight. It’s a great way to have dessert ready whenever a craving hits.
Reheating: If you prefer your cake warm, microwave individual slices for about 15-20 seconds. The filling will get slightly gooey and the chocolate will melt a little. It’s a completely different experience from the cold version, but equally delicious. Serve with a scoop of vanilla ice cream for the ultimate dessert experience.
Nutritional Information & Benefits
Let’s be real for a second. This is not a health food. But it is a dessert that brings people together, and there’s value in that too. That said, here’s the estimated nutritional breakdown per slice (based on 16 servings).
| Nutrient | Amount Per Serving |
|---|---|
| Calories | 485 |
| Total Fat | 28g |
| Saturated Fat | 12g |
| Cholesterol | 55mg |
| Sodium | 410mg |
| Total Carbohydrates | 54g |
| Dietary Fiber | 3g |
| Sugars | 38g |
| Protein | 9g |
On the positive side, peanut butter does provide protein and healthy fats. The dark chocolate in the ganache contains antioxidants, and if you use the salted peanuts on top, you’re getting some extra protein and fiber. But honestly, this cake is about joy, not nutrition. It’s the kind of dessert you make for special occasions when you want to treat yourself and the people you love.
Allergen Note: This recipe contains peanuts, dairy, eggs, and gluten. If you’re serving it at a gathering, make sure to label it clearly for anyone with allergies. The dairy-free and gluten-free variations above are great alternatives for those with dietary restrictions.
Conclusion
This Ultimate Reese’s Peanut Butter Poke Cake is the dessert I turn to when I need a guaranteed crowd-pleaser. It’s the cake my sister asks for every single birthday, the one that gets requested for potlucks and family gatherings, the one that makes people close their eyes and sigh with contentment after the first bite. It’s not fancy or complicated, but it is deeply, unapologetically delicious.
I love that this recipe feels like a secret weapon in my dessert arsenal. It looks impressive enough for a special occasion, but it’s simple enough that I can whip it up on a Tuesday night when I’m craving something indulgent. The combination of textures and flavors is just unbeatable, and the fact that it gets better as it sits in the fridge means I can make it ahead of time and actually enjoy the party instead of being stuck in the kitchen.
I’d love to hear how this cake turns out for you! Did you try any of the variations? Did you add your own twist? Drop a comment below and let me know. And if you’re looking for more indulgent treats, you might also love my cozy bakery-style brown butter chocolate chip cookies or this moist chocolate zucchini dump cake with cream cheese swirl. Happy baking, friends!
Frequently Asked Questions
Can I use a homemade chocolate cake instead of a box mix?
Absolutely! If you have a favorite homemade chocolate cake recipe, feel free to use it instead. Just make sure it’s a sturdy cake that can hold up to the poking and filling. Lighter, airier cakes might fall apart. I’ve used my go-to buttermilk chocolate cake recipe before and it turned out amazing.
Why did my ganache turn out grainy?
Grainy ganache usually happens when the cream is too hot or when water gets into the chocolate. Make sure your bowl is completely dry before you add the chocolate chips. If the cream starts to boil, let it cool for 30 seconds before pouring it over the chocolate. If your ganache does seize up, whisk in a tablespoon of warm milk to bring it back together.
Can I make this cake ahead of time?
Yes, and I actually recommend it! This cake is best when it’s made a day in advance. The filling has time to fully set and the flavors really meld together overnight. Just cover it tightly and keep it in the fridge. Take it out about 15 minutes before serving to take the chill off.
How do I get clean slices without the cake falling apart?
Use a sharp knife and run it under hot water before each cut. Wipe the knife clean between slices. This gives you those beautiful, clean edges. Also, make sure the cake is fully chilled before you try to cut it. A warm poke cake is a messy poke cake.
Can I use natural peanut butter in the filling?
You can, but I don’t recommend it. Natural peanut butter tends to separate and can make the filling oily and grainy. The stabilizers in processed peanut butter like Jif or Skippy help the filling set up smoothly. If you only have natural peanut butter on hand, stir it really well before using and expect a slightly different texture.
Pin This Recipe!
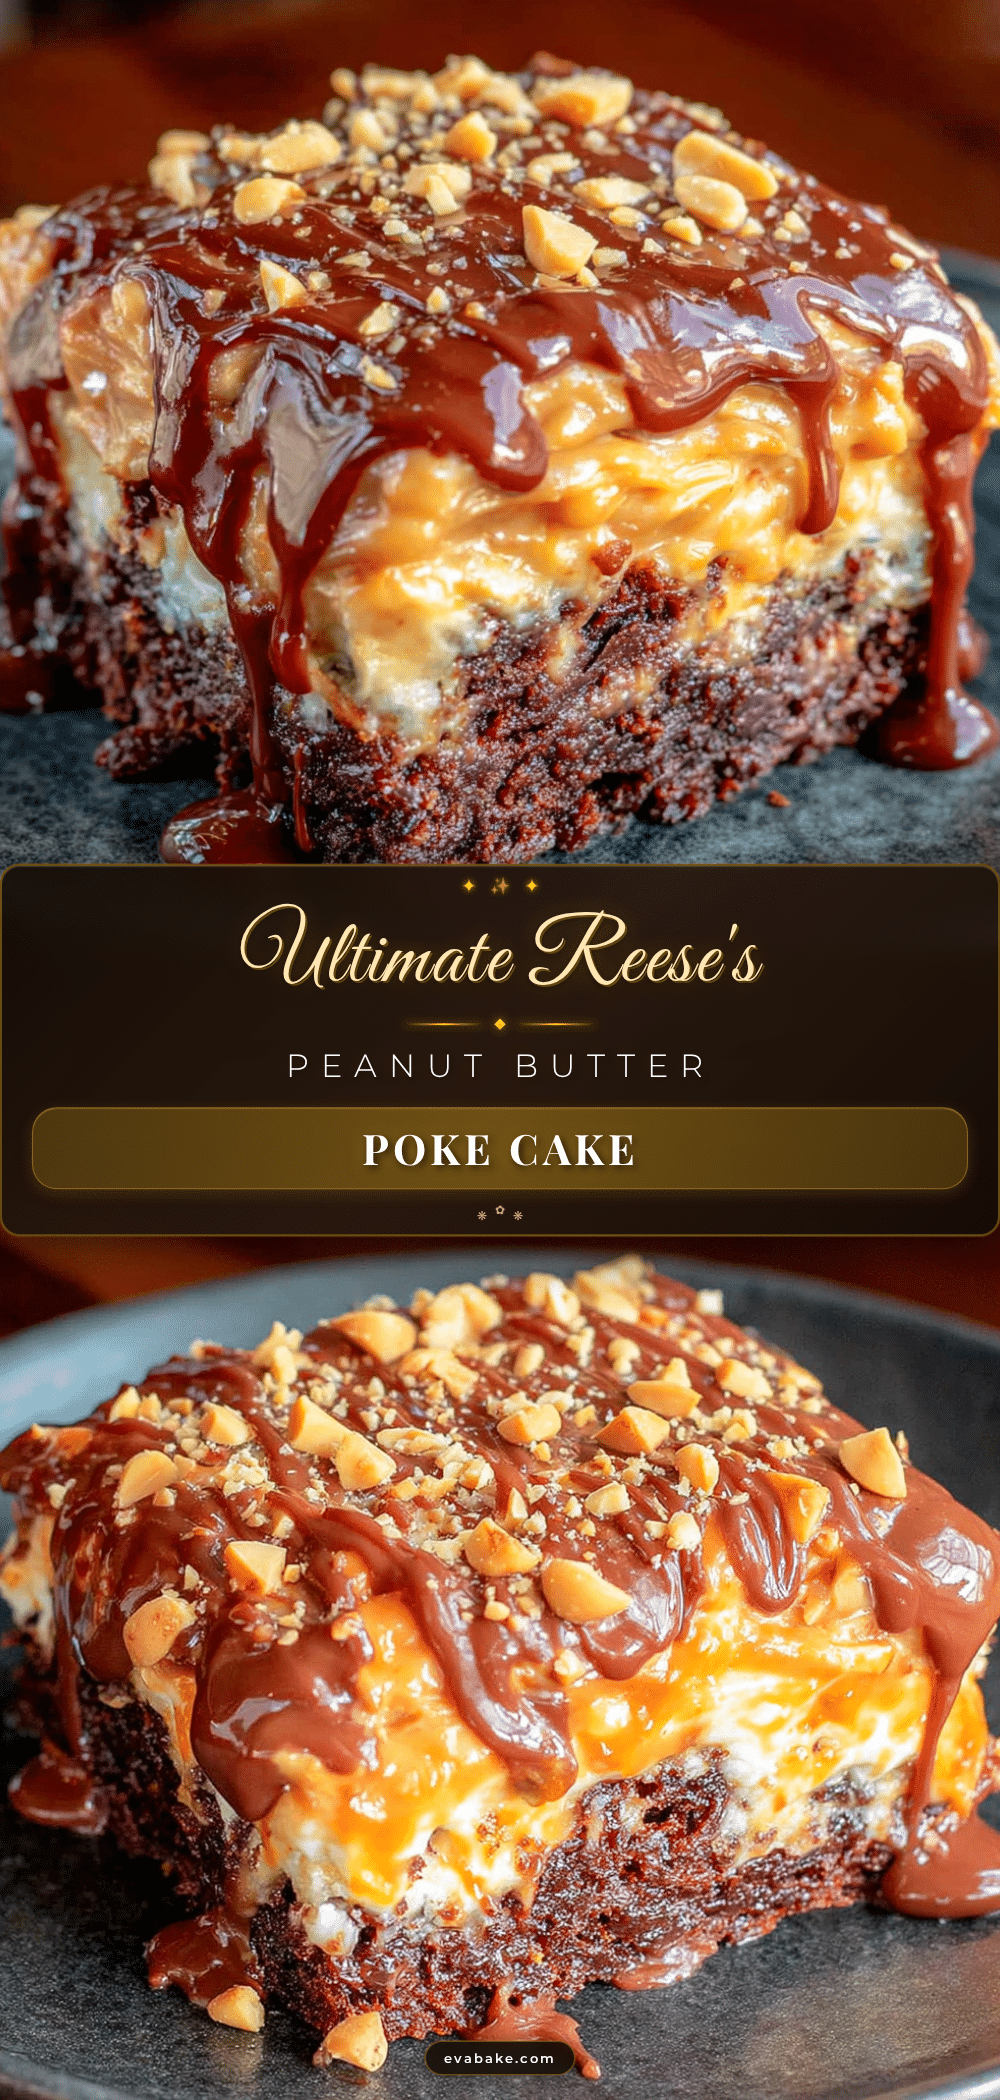
Best Ultimate Reeses Peanut Butter Poke Cake
This Ultimate Reese’s Peanut Butter Poke Cake is a rich, indulgent chocolate-peanut butter masterpiece. With a tender chocolate cake base, creamy peanut butter filling, and a glossy chocolate ganache topping, every bite is a celebration.
- Prep Time: 15 minutes
- Cook Time: 30 minutes
- Total Time: 45 minutes (plus 2 hours chilling)
- Yield: 16 servings 1x
- Category: Dessert
- Cuisine: American
Ingredients
- 1 box (15.25 oz) devil’s food cake mix
- 3 large eggs, room temperature
- 1 cup whole milk
- ½ cup vegetable oil
- 1 tsp vanilla extract
- 1 can (14 oz) sweetened condensed milk
- ½ cup creamy peanut butter
- 2 tbsp unsalted butter, melted
- ½ tsp salt
- 1 cup semi-sweet chocolate chips
- ½ cup heavy cream
- 2 tbsp unsalted butter, softened
- 1 cup chopped Reese’s Peanut Butter Cups (about 8–10 miniatures or 4 regular-sized cups)
- ¼ cup chopped salted peanuts (optional)
- Flaky sea salt (for garnish)
Instructions
- Preheat your oven to 350°F (175°C). Grease a 9×13 inch baking pan with butter or non-stick spray. Optionally, line with parchment paper for easy removal.
- In a large bowl, combine the cake mix, eggs, milk, oil, and vanilla extract. Mix on medium speed for about 2 minutes until smooth and well combined. Do not overmix.
- Pour the batter into the prepared pan and spread evenly. Tap the pan gently on the counter to release air bubbles. Bake for 28-32 minutes, or until a toothpick inserted in the center comes out with a few moist crumbs.
- While the cake bakes, make the peanut butter filling: In a medium bowl, whisk together the sweetened condensed milk, creamy peanut butter, melted butter, and salt until completely smooth and pourable.
- As soon as the cake comes out of the oven, poke holes all over it using the handle of a wooden spoon or a wooden skewer. Poke holes about 1 inch apart, going all the way to the bottom of the pan. Aim for 40-50 holes.
- Pour the peanut butter filling evenly over the warm cake, starting from the edges and working to the center. Let it sink in for a minute, then pour any pooled filling into the holes again.
- Let the cake cool completely at room temperature, about 45 minutes to 1 hour.
- Make the chocolate ganache: In a small saucepan, heat the heavy cream over medium heat until it just starts to simmer (tiny bubbles around the edges, do not boil). Pour the hot cream over the chocolate chips in a bowl and let sit for 2 minutes without stirring. Then gently whisk until smooth and glossy. Stir in the softened butter.
- Pour the ganache over the cooled cake and spread evenly with a spatula.
- Immediately sprinkle the chopped Reese’s cups and peanuts over the ganache, pressing them in gently. Finish with a light sprinkle of flaky sea salt.
- Refrigerate the cake for at least 2 hours before serving. For best results, refrigerate overnight.
Notes
For best results, use full-fat ingredients. Do not overbake the cake. Let the filling soak in properly. Chill the cake completely before serving. Use a sharp knife run under hot water for clean slices. The cake gets better after a day in the fridge.
Nutrition
- Serving Size: 1 slice (1/16 of cak
- Calories: 485
- Sugar: 38
- Sodium: 410
- Fat: 28
- Saturated Fat: 12
- Carbohydrates: 54
- Fiber: 3
- Protein: 9
Keywords: Reese's, peanut butter, poke cake, chocolate cake, easy dessert, potluck, birthday cake, chocolate peanut butter


