Introduction
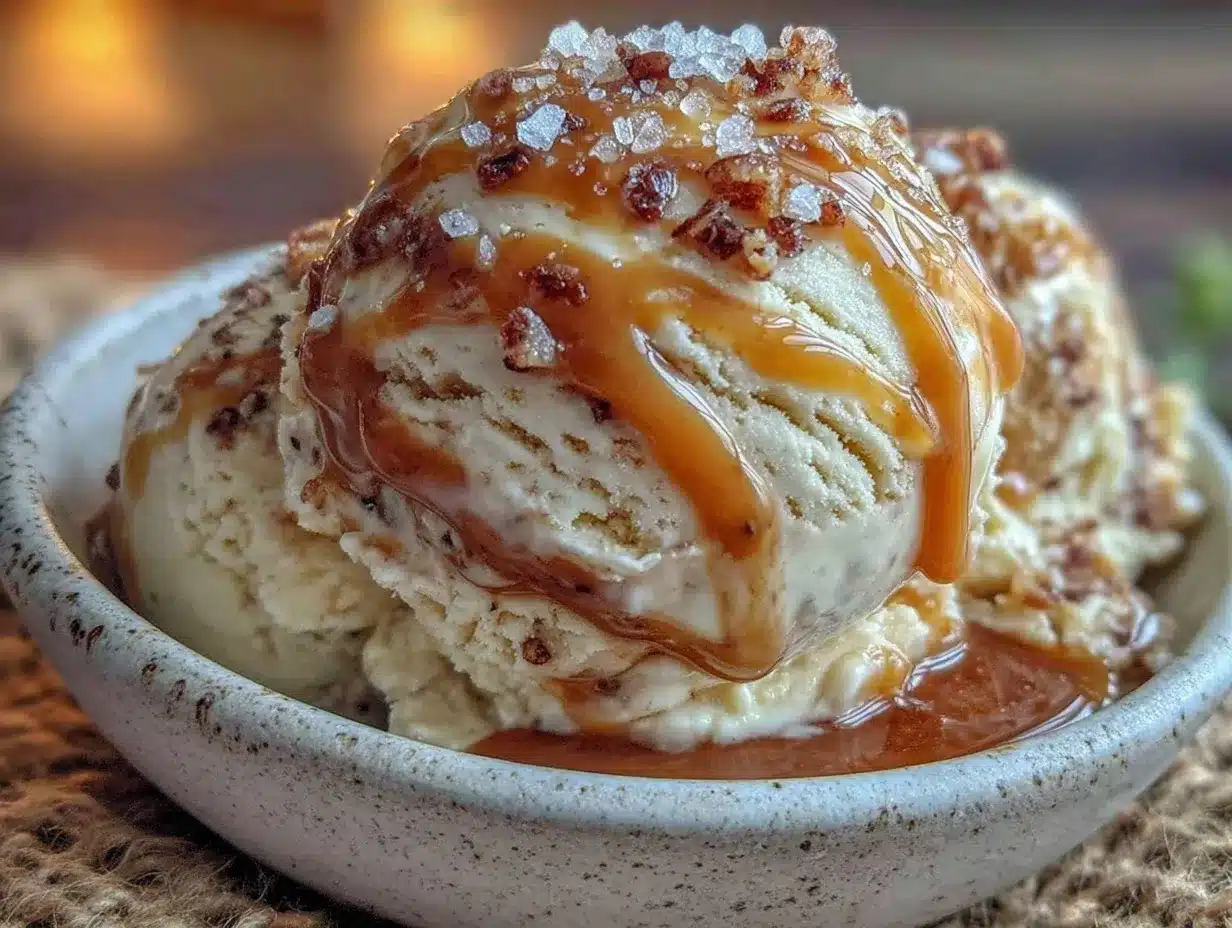
Silky ribbons of salted caramel swirling through clouds of creamy ice cream—that’s what I crave the moment I open the freezer. The way the caramel’s glossy sheen catches the light, pooling in little golden pockets, is what I made this Creamy No-Churn Salted Caramel Ice Cream Recipe for—everything else is secondary. It’s that luscious texture, smooth yet with a subtle chew from the caramel, that hooks you before you even take a bite.
One afternoon, I remember stirring the caramel sauce, watching it thicken just right, and thinking, “This is going to be something special.” The no-churn method meant no fretting over ice cream makers or complicated machines, just pure hands-on kitchen joy. I’ve always been a texture-obsessed cook—sometimes I taste with my fingertips first—and the way this ice cream sets to a perfect scoopable firmness without any icy grit had me sold.
The interplay of creamy softness and salty-sweet bursts is a quiet promise of comfort, a dessert you don’t rush through but savor slowly. This recipe stuck because it’s so simple yet indulgent—honestly, it’s the kind of treat that makes you pause, close your eyes, and melt into the moment. It’s homemade ice cream that feels like a secret treasure in your freezer, waiting for those perfect dessert moments.
Why You’ll Love This Recipe
From countless kitchen experiments and eager taste tests, this Creamy No-Churn Salted Caramel Ice Cream Recipe has proven itself as a reliable crowd-pleaser with a few standout perks:
- Quick & Easy: Comes together in under 20 minutes—no ice cream maker needed—which is perfect for spontaneous cravings or last-minute dinner guests.
- Simple Ingredients: Uses pantry staples like heavy cream, sweetened condensed milk, and caramel sauce. No obscure items, no fuss.
- Perfect for Any Occasion: Whether it’s a cozy family dessert night or a summer BBQ, this creamy treat fits right in (I often bring it along with my creamy loaded potato salad for a well-rounded spread).
- Crowd-Pleaser: Kids, adults, caramel lovers—everyone’s happy. It rarely lasts a day in my house.
- Unbelievably Delicious: That silky, velvety texture combined with the perfect balance of salty and sweet makes it feel like a fancy dessert without the fuss.
What really sets this recipe apart is the no-churn technique that keeps the ice cream ultra-smooth without ice crystals, thanks to the whipped cream folded gently into sweetened condensed milk and caramel. I’ve found that using a homemade salted caramel sauce (but store-bought works great too) gives it that authentic depth. It’s not just ice cream; it’s like a creamy caramel hug in every spoonful.
Honestly, this recipe has become my go-to when I want to impress without stress. It’s the kind of dessert that makes warm evenings feel special—simple, indulgent, and totally satisfying.
What Ingredients You Will Need
This Creamy No-Churn Salted Caramel Ice Cream Recipe uses simple, wholesome ingredients to deliver bold flavor and that unmistakable satisfying smooth texture without any complicated steps.
- Heavy cream (2 cups / 480 ml): Chilled for best whipping results. This is the base that gives the ice cream its creamy, airy texture.
- Sweetened condensed milk (1 can – 14 ounces / 396 grams): Adds sweetness and helps achieve the no-churn creaminess. I prefer Eagle Brand for consistency.
- Salted caramel sauce (3/4 cup / 180 ml): Homemade or good-quality store-bought. If you want to make your own, it’s basically sugar, butter, cream, and salt cooked into a luscious syrup.
- Pure vanilla extract (1 teaspoon): Enhances flavor depth.
- Sea salt (1/2 teaspoon): Just a pinch to boost the salted caramel’s richness.
Optional add-ins:
- Chopped pecans or toasted walnuts (1/2 cup / 60 grams): Adds crunch and nutty contrast.
- Chocolate chips or chunks (1/2 cup / 90 grams): For a caramel-chocolate combo that’s hard to beat.
Ingredient tip: Look for a caramel sauce with a deep amber color and a thick consistency for the best effect. In summer, swapping out the caramel for a berry compote creates a fresh twist. For a dairy-free alternative, you can substitute the heavy cream with coconut cream and use a vegan caramel sauce, though the texture will vary slightly.
Equipment Needed
- Large mixing bowl: For whipping the cream and folding ingredients together.
- Electric hand mixer or stand mixer: Whipping cream to stiff peaks is key for the creamy texture.
- Spatula: For gentle folding to keep the air in the whipped cream.
- Loaf pan or airtight container (at least 8×4 inches / 20×10 cm): To freeze the ice cream evenly.
- Measuring cups and spoons: For precise ingredient amounts.
- Optional: Small saucepan if you want to make homemade caramel sauce.
If you don’t have a stand mixer, an electric hand mixer works just as well. I once tried whipping cream by hand with a whisk—it’s possible but a serious workout and takes way longer! For freezing, any freezer-safe container with a tight lid is fine; just press a piece of parchment paper on the surface before sealing to prevent ice crystals.
Preparation Method
- Chill your mixing bowl and beaters: Place them in the fridge for about 15 minutes before you start. Cold equipment helps whip the cream to stiff peaks faster (about 5-7 minutes with a mixer).
- Whip the heavy cream: Pour the cold heavy cream into your chilled bowl. Beat on medium-high speed until soft peaks form, then continue whipping until stiff peaks appear. The cream should hold its shape but still be smooth and fluffy.
- Mix the base: In a separate large bowl, stir together the sweetened condensed milk, vanilla extract, and sea salt until well combined. This mixture adds sweetness and a rich base flavor.
- Fold in the caramel sauce: Gently fold 1/2 cup (120 ml) of the salted caramel sauce into the sweetened condensed milk mixture using a spatula, preserving as much air as possible.
- Combine cream and base: Carefully fold the whipped cream into the caramel-condensed milk mixture in batches. Use gentle folding motions to keep the mixture light and airy without deflating the cream.
- Swirl in remaining caramel: Pour the remaining 1/4 cup (60 ml) of caramel sauce in ribbons over the mixture and use a knife or skewer to create swirls—don’t overmix, or you’ll lose those beautiful caramel ribbons.
- Add optional mix-ins: If using nuts or chocolate chips, fold them in now, distributing evenly.
- Transfer to container and freeze: Pour the mixture into your loaf pan or airtight container. Smooth the top with a spatula, cover tightly with a lid or plastic wrap, and freeze for at least 6 hours or overnight until firm.
- Serve: Let the ice cream sit at room temperature for 5 minutes before scooping to soften slightly for perfect texture.
Watch out for overfolding, which can make the texture dense. The whipped cream’s airiness is what keeps this no-churn ice cream creamy and soft, so treat it gently! If you want to make homemade salted caramel, be sure to monitor the sugar carefully so it doesn’t burn—once it reaches a deep amber, remove from heat and stir in butter and cream carefully.
Cooking Tips & Techniques
Because this recipe skips the ice cream maker, some tips are important to keep your ice cream creamy and luscious:
- Cold cream and tools: Always chill your bowl and beaters to help the cream whip up properly. Warm equipment can prevent stiff peaks.
- Whip to stiff but not dry peaks: Overwhipping cream turns it grainy and buttery, which wrecks your texture.
- Folding technique: Use a light hand when folding the whipped cream into the base. Fold from the bottom up and rotate the bowl, rather than stirring aggressively.
- Caramel swirl caution: Adding the caramel in two parts (some mixed in, some swirled) ensures flavor bursts without overpowering the creaminess.
- Freezing tips: Use an airtight container and press parchment paper directly on the surface before sealing to prevent ice crystals.
- Timing: Freeze for at least 6 hours, but overnight is best. If it gets too hard, let it sit out for a few minutes before scooping.
- Personal lesson: Once, I added all the caramel at once and mixed it fully in—the ice cream lost that beautiful marbled look and tasted less exciting. Patience with the swirl is worth it!
Variations & Adaptations
This recipe is pretty versatile—here are a few ways I’ve tweaked it to suit different tastes and dietary needs:
- Chocolate Salted Caramel: Add 1/3 cup (30 grams) of cocoa powder to the base mixture for a rich chocolate twist, then swirl in caramel as usual.
- Nutty Crunch: Fold in toasted pecans or walnuts for texture contrast. I often use these when making the ice cream to serve alongside my smoky bourbon ribs for a sweet-savory combo.
- Dairy-Free Version: Swap heavy cream for full-fat coconut cream and use a vegan caramel sauce. The texture will be slightly different but still creamy and decadent.
- Salted Caramel & Coffee: Add 1 tablespoon instant espresso powder to the base for a mocha-inspired flavor.
- Seasonal Fruit Swirl: Replace caramel with a homemade berry compote in warmer months for a fresh fruity version.
One personal favorite variation is mixing in crushed salted caramel pretzels for extra crunch and saltiness, reminiscent of my salted caramel pretzel brownies. It adds complexity and a fun texture surprise.
Serving & Storage Suggestions
This ice cream is best served slightly softened, just after sitting out for 5 minutes. Scoop into chilled bowls or cones for a refreshing treat. I like to drizzle a little extra warm salted caramel sauce on top and sprinkle flaky sea salt for that final touch.
Pair it with desserts like warm fruit crisps, chocolate cake, or simple sugar cookies. It also complements smoky or spicy dishes—try it alongside your favorite BBQ spread with sides like classic southern baked beans or creamy grilled Mexican street corn salad for a full summer feast.
Store the ice cream in an airtight container in the freezer. It will keep well for up to 2 weeks without losing its creamy texture. When reheating leftovers or softening ice cream for serving, avoid microwaving directly—let it thaw at room temperature instead to preserve texture and prevent melting into a puddle.
Over time, the salted caramel flavor intensifies slightly, making it even more irresistible after a day or two in the freezer.
Nutritional Information & Benefits
This no-churn salted caramel ice cream is admittedly a treat, but it uses fewer additives than many store-bought versions. Here’s a rough estimate per 1/2 cup (120 ml) serving:
| Nutrient | Amount |
|---|---|
| Calories | 250-270 |
| Fat | 18g (mostly from heavy cream) |
| Sugar | 20g |
| Protein | 3g |
The heavy cream provides fat for satiety, while the sweetened condensed milk adds protein and sweetness without needing extra refined sugar. Using real ingredients means you avoid artificial stabilizers and preservatives. For those watching sugar intake, you can reduce the caramel or experiment with sugar-free caramel sauces.
From a personal wellness perspective, I see this ice cream as an occasional indulgence that brings joy without guilt because it’s homemade and simple. The balance of salty and sweet feels satisfying, so you don’t overeat.
Conclusion
This Creamy No-Churn Salted Caramel Ice Cream Recipe is the kind of dessert that makes warm nights feel a little more special and everyday moments a bit sweeter. It’s straightforward enough for weeknight cravings yet impressive enough for guests. I love how it balances silky creaminess with that addictive salted caramel swirl—honestly, it’s a texture and flavor combo that’s hard to beat.
Feel free to customize it—add nuts, chocolate, or coffee to suit your mood and pantry. It’s forgiving and flexible, just like a good homemade recipe should be. I hope this ice cream becomes a staple in your freezer, ready to bring a little sweetness whenever you need it.
Let me know how you tweak it or what your favorite add-ins are. Sharing those little kitchen experiments makes this whole blogging journey so much more fun!
FAQs
Can I make this salted caramel ice cream without an ice cream maker?
Yes! This is a no-churn recipe designed specifically to skip the ice cream maker. Whipping the cream and folding it with sweetened condensed milk creates a creamy texture that freezes well.
How do I make homemade salted caramel sauce for this recipe?
Cook sugar over medium heat until it melts and turns amber, then stir in butter and heavy cream carefully. Add sea salt last. Let it cool before folding into the ice cream base.
Can I prepare this ice cream in advance?
Absolutely. You can make it up to a day ahead and freeze it. Just remember to let it soften a bit before serving for the best texture.
Is this ice cream recipe suitable for vegans?
The original uses dairy, but you can substitute coconut cream and vegan caramel sauce to make a dairy-free version. The texture will be slightly different but still creamy.
How should I store leftover ice cream to keep it fresh?
Store in an airtight container in the freezer. Press parchment paper on the surface before sealing to prevent ice crystals. Consume within two weeks for best taste and texture.
Pin This Recipe!
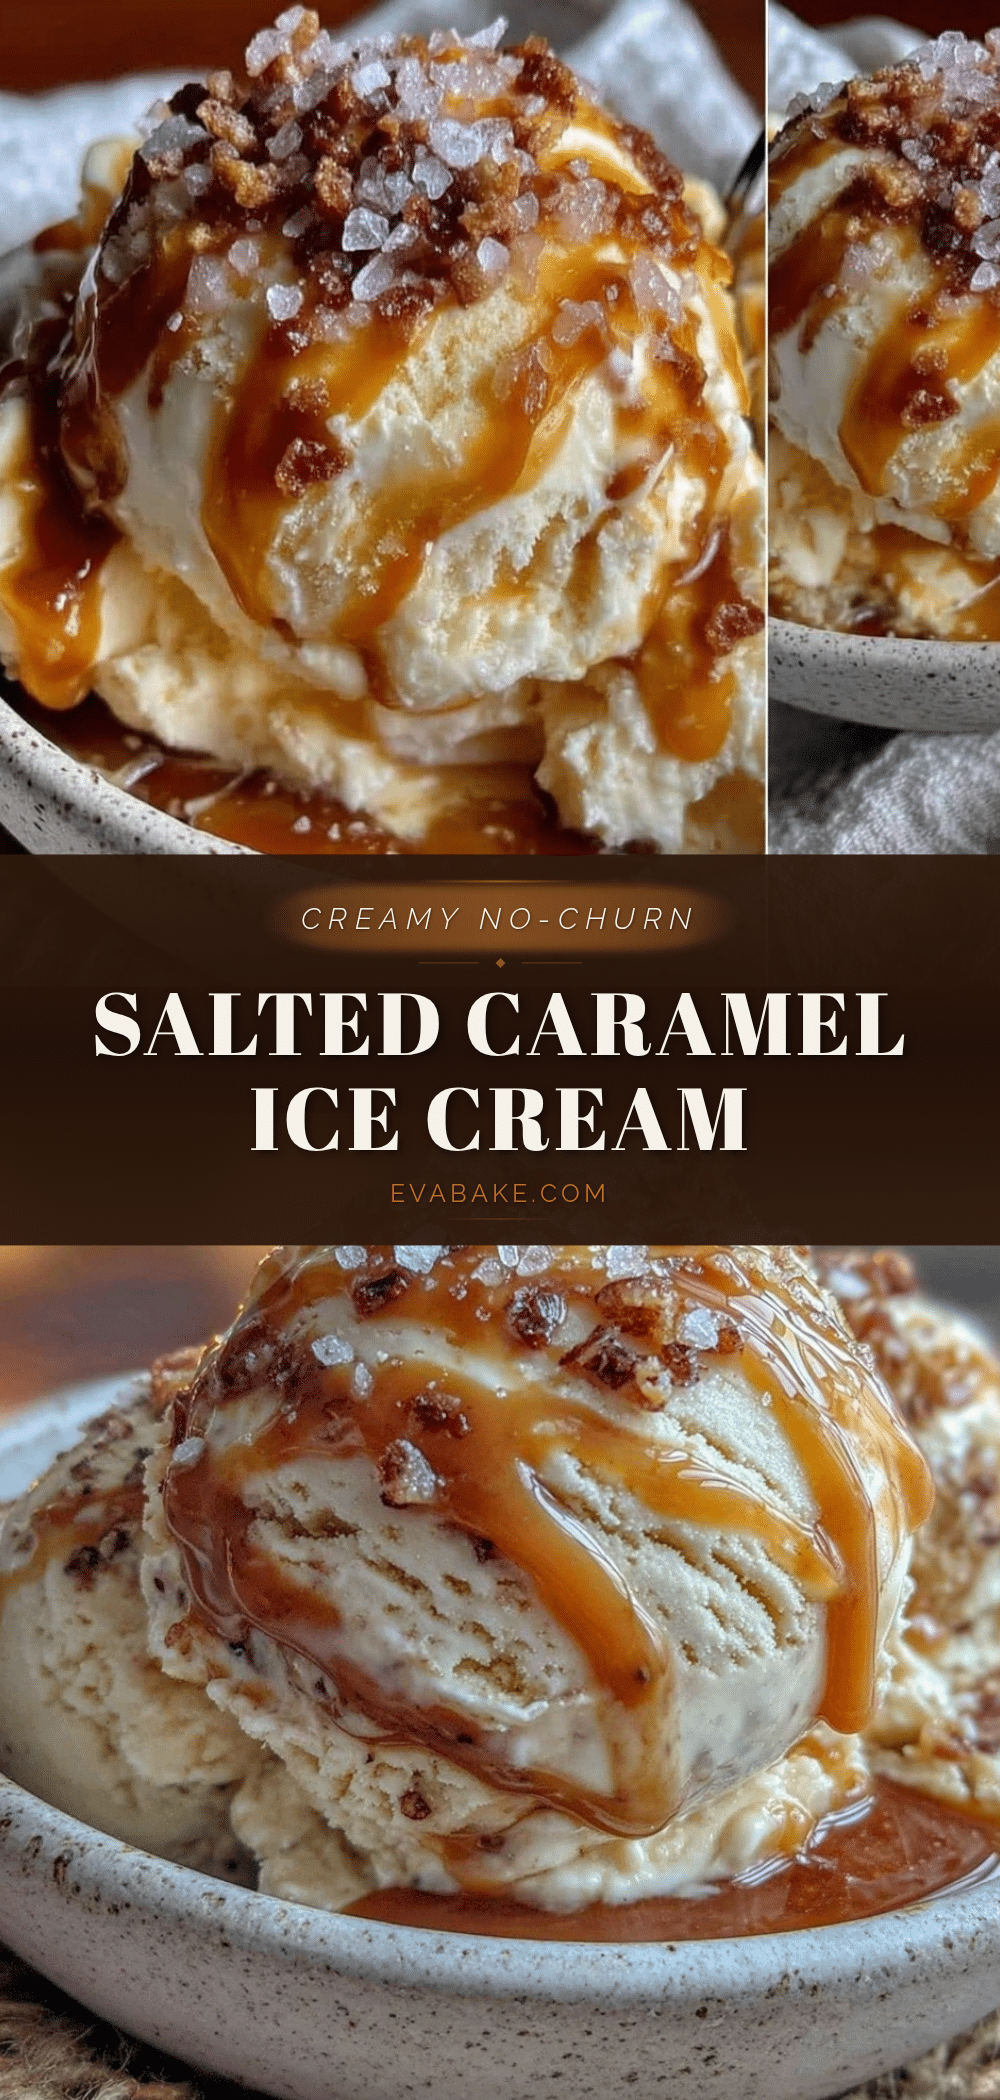
Creamy No-Churn Salted Caramel Ice Cream Recipe Easy Homemade Delight
Silky ribbons of salted caramel swirl through creamy no-churn ice cream, delivering a luscious texture and perfect balance of salty and sweet in an easy homemade treat.
- Prep Time: 15 minutes
- Cook Time: 0 minutes
- Total Time: 6 hours 15 minutes
- Yield: 8 servings 1x
- Category: Dessert
- Cuisine: American
Ingredients
- 2 cups (480 ml) heavy cream, chilled
- 1 can (14 ounces / 396 grams) sweetened condensed milk
- 3/4 cup (180 ml) salted caramel sauce, homemade or store-bought
- 1 teaspoon pure vanilla extract
- 1/2 teaspoon sea salt
- Optional: 1/2 cup (60 grams) chopped pecans or toasted walnuts
- Optional: 1/2 cup (90 grams) chocolate chips or chunks
Instructions
- Chill your mixing bowl and beaters in the fridge for about 15 minutes before starting.
- Pour the cold heavy cream into the chilled bowl and whip on medium-high speed until stiff peaks form, about 5-7 minutes.
- In a separate large bowl, stir together the sweetened condensed milk, vanilla extract, and sea salt until well combined.
- Gently fold 1/2 cup (120 ml) of the salted caramel sauce into the sweetened condensed milk mixture using a spatula.
- Carefully fold the whipped cream into the caramel-condensed milk mixture in batches, using gentle folding motions to keep it light and airy.
- Pour the remaining 1/4 cup (60 ml) of caramel sauce in ribbons over the mixture and swirl gently with a knife or skewer without overmixing.
- Fold in optional nuts or chocolate chips if using, distributing evenly.
- Transfer the mixture into a loaf pan or airtight container, smooth the top, cover tightly, and freeze for at least 6 hours or overnight until firm.
- Before serving, let the ice cream sit at room temperature for 5 minutes to soften slightly for perfect texture.
Notes
Chill bowl and beaters before whipping cream for best results. Fold whipped cream gently to keep airiness. Add caramel in two parts to create swirls without overpowering creaminess. Use airtight container and press parchment paper on surface before sealing to prevent ice crystals. Freeze at least 6 hours or overnight. Let soften 5 minutes before serving. Homemade caramel requires careful sugar monitoring to avoid burning.
Nutrition
- Serving Size: 1/2 cup (120 ml)
- Calories: 260
- Sugar: 20
- Fat: 18
- Protein: 3
Keywords: no-churn ice cream, salted caramel ice cream, easy homemade ice cream, no ice cream maker, creamy dessert, caramel swirl, summer dessert