My neighbor, a guy named Leo who I swear lives on frozen pizza and takeout, asked me last Tuesday why I couldn’t just throw the chicken breasts in the air fryer without all the fussing. I was mid-explanation about the importance of a proper breading station, the egg wash, the seasoned flour, the whole nine yards. I started to explain why that wouldn’t work—then stopped. Honestly, I had no good reason. I was just doing it the way I always had, the way my grandmother taught me, which involved a sputtering pan of hot oil on the stove. I looked at his honest, simple question and realized I was the one being complicated.
So, I handed him the bag of chicken, the bottle of oil, and a jar of my secret spice blend. I told him to go for it. I figured I’d be scraping a sad, dry piece of meat off the air fryer basket in twenty minutes. I was wrong. So, so wrong. He came back an hour later with a plate of the most perfectly golden, shatteringly crispy chicken breast I had ever seen. The kitchen smelled incredible, but there wasn’t a single grease splatter on his counter. He looked smug, and honestly? He had every right to be. That moment, being humbled by a beginner’s instinct, completely changed how I cook chicken.
This isn’t just another chicken recipe. This is the one you make when you want to walk into a room full of people and have them stop talking. It’s the one that makes you look like a hero without breaking a sweat—or, you know, cleaning up a gallon of splattered oil. Maybe you’ve been there, slaving over a hot stove while your guests are having all the fun. This crispy air fryer chicken breast is the party showstopper that lets you be part of the party, too. It’s the recipe that stayed with me because it taught me that sometimes the simplest path is the most delicious one.
Why You’ll Love This Recipe
Let’s be real, we all want to be the host who pulls off an amazing meal without looking like they ran a marathon to do it. This crispy air fryer chicken breast is your secret weapon. It delivers that “wow” factor that makes people think you spent hours in the kitchen, when really, the air fryer did all the heavy lifting. It’s the perfect balance of impressive and effortless.
- Quick & Easy: From fridge to table in under 25 minutes. No preheating a giant oven, no babysitting a skillet. Just a quick prep and the air fryer does its magic.
- Simple Ingredients: You probably have everything in your pantry right now. No weird, hard-to-find ingredients. It’s just good, honest food.
- Perfect for Parties: This is not a weeknight dinner recipe (though it works for that too). This is the main event. Slice it up for a gorgeous platter, serve it whole with a beautiful sauce, or use it to make the best sliders your friends have ever had. It commands attention.
- Crowd-Pleaser: Kids devour it. Adults rave about it. Even your picky-eating uncle will ask for seconds. The texture is so perfect, it wins everyone over.
- Unbelievably Delicious: The secret is in the technique. A light coating of seasoned mayonnaise (trust me) creates a crust that’s incredibly golden and crunchy on the outside, while locking in every drop of juice on the inside. It’s not dry, it’s not bland—it’s the best chicken breast you’ve ever made.
What makes this recipe different from every other air fryer chicken recipe out there? It’s the fat. Most recipes use oil or cooking spray, which can burn off or not create a real crust. Using a thin layer of mayonnaise—a trick I learned from that very same neighbor—creates a perfect environment for browning. It’s a game-changer. It’s the kind of recipe that makes you close your eyes after the first bite. It’s comfort food reimagined—healthier, faster, but with the same soul-soothing satisfaction. Perfect for impressing guests without stress, or turning a simple meal into something memorable.
What Ingredients You Will Need
This recipe uses simple, wholesome ingredients to deliver bold flavor and satisfying texture without the fuss. Most are pantry staples, so you’re likely already set to go.
- Chicken Breasts: 2 large boneless, skinless chicken breasts (about 1.5 lbs or 680g total). Look for breasts that are similar in thickness for even cooking. If they are very thick, consider butterflying them or pounding them to an even 1-inch thickness.
- Mayonnaise: 3 tablespoons of full-fat mayonnaise. This is the magic ingredient. Do not use low-fat or “light” mayonnaise, as they have a higher water content and won’t create the same crispy crust. I prefer Duke’s or Hellmann’s for their rich flavor and thick consistency.
- Panko Breadcrumbs: 1/2 cup (60g) of panko breadcrumbs. They are larger and flakier than regular breadcrumbs, which creates a much crunchier texture. You can find them in the Asian section of most grocery stores.
- Grated Parmesan Cheese: 1/4 cup (25g) of finely grated Parmesan cheese. The kind in the green shaker can is fine, but freshly grated from a block is even better. It adds a salty, nutty, savory depth to the crust.
- Seasoned Salt: 1 teaspoon. I use Lawry’s, but any good seasoned salt blend works. It provides a perfect base of salt, garlic, and onion powder.
- Garlic Powder: 1/2 teaspoon of granulated garlic powder, not garlic salt. This adds a gentle, aromatic flavor that doesn’t burn in the air fryer.
- Paprika: 1/2 teaspoon of smoked paprika for a subtle smokiness and beautiful color. Regular sweet paprika works too.
- Black Pepper: 1/4 teaspoon of freshly cracked black pepper.
- Avocado Oil Spray: Optional, but highly recommended. A light spritz over the breaded chicken helps the panko brown evenly and get extra crispy. Avocado oil has a high smoke point, perfect for air frying.
Equipment Needed
You don’t need a professional kitchen to pull this off. Just a few key tools will make the process smooth and easy.
- Air Fryer: Any model will work. I use a 6-quart basket-style air fryer, which fits two large chicken breasts perfectly. If yours is smaller, you may need to cook in batches to avoid overcrowding.
- Meat Mallet or Rolling Pin: For pounding the chicken to an even thickness. A heavy-bottomed skillet works in a pinch.
- Two Shallow Bowls: One for the mayonnaise mixture and one for the breadcrumb coating. A pie plate or a wide, shallow bowl works great.
- Tongs: For handling the chicken without getting your fingers too messy.
- Instant-Read Thermometer: This is non-negotiable for perfect chicken. It takes the guesswork out of cooking and ensures your chicken is juicy, not dry. A digital one is best and quite affordable.
- Cutting Board and Sharp Knife: For prepping the chicken and slicing it after it rests.
If you don’t have a meat mallet, a rolling pin or even a sturdy wine bottle (wrap it in plastic wrap first!) will do the job. For the air fryer, budget-friendly models from brands like Cosori or Ninja work just as well as the pricier ones. Just make sure it has a good circulation fan.
Preparation Method
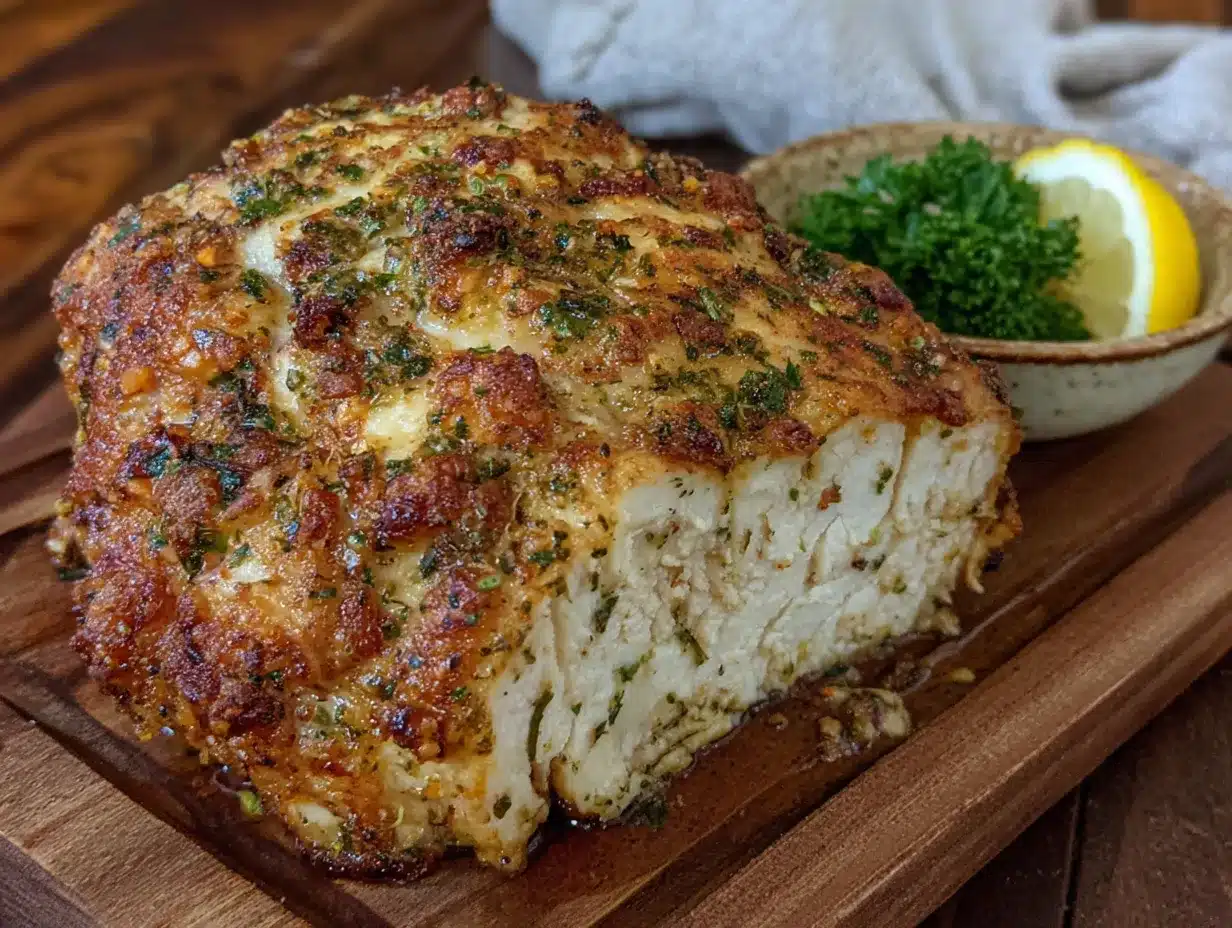
Follow these steps closely, and you will be rewarded with the crispiest, juiciest chicken breast of your life. It’s all about the technique.
- Prep the Chicken: Place one chicken breast on a cutting board. Cover it with a piece of plastic wrap or parchment paper. Using a meat mallet or rolling pin, gently pound the thickest part of the breast until it is an even 1-inch (2.5 cm) thickness. Repeat with the second breast. This is the most important step for even cooking. Pat the chicken completely dry with paper towels. Season both sides lightly with a pinch of salt and pepper.
- Make the “Glue” Mixture: In a shallow bowl, combine the 3 tablespoons of mayonnaise, 1/2 teaspoon of garlic powder, 1/2 teaspoon of smoked paprika, and 1/4 teaspoon of black pepper. Mix until it forms a smooth, pale pink paste. This isn’t just a binder; it’s a flavor-packed coating that will help the breadcrumbs stick and create an incredible crust.
- Prepare the Breading: In a second shallow bowl, combine the 1/2 cup of panko breadcrumbs, 1/4 cup of grated Parmesan cheese, and 1 teaspoon of seasoned salt. Mix well with a fork to distribute everything evenly.
- Coat the Chicken: Using a spoon or a silicone brush, spread a thin, even layer of the mayonnaise mixture over the entire surface of one chicken breast—top, bottom, and sides. Don’t glop it on; a thin, even coat is all you need. Immediately transfer the coated breast to the bowl of breadcrumbs. Press the breadcrumbs firmly onto the chicken, turning to coat all sides. You want a thick, even layer. Shake off any excess. Place the breaded breast on a plate. Repeat with the second breast.
- Preheat the Air Fryer: Set your air fryer to 380°F (193°C) and let it preheat for 3-5 minutes. A hot start is key for that initial sizzle that creates a crust.
- Air Fry the Chicken: Lightly spray the air fryer basket with avocado oil. Carefully place the breaded chicken breasts in the basket, making sure they are not touching. If they are too close, they will steam instead of fry. Depending on the size of your air fryer, you may need to cook them one at a time. Lightly spray the top of the chicken with a bit more oil.
- Cook to Perfection: Air fry for 10 minutes. Carefully flip the chicken using tongs. Spray the other side lightly with oil. Cook for another 5-8 minutes, or until the internal temperature reaches 165°F (74°C) in the thickest part of the breast. For my air fryer, 16 minutes total is the sweet spot, but yours may vary. This is where the instant-read thermometer is worth its weight in gold.
- Rest and Slice: Once cooked, carefully remove the chicken from the air fryer and place it on a clean cutting board. Let it rest for at least 5 minutes. This is non-negotiable. Resting allows the juices to redistribute throughout the meat, ensuring it is incredibly moist. If you slice it immediately, all those beautiful juices will run out onto the board. After resting, slice against the grain for the most tender bites.
Cooking Tips & Techniques
I’ve made this recipe more times than I can count, and I’ve learned a few things the hard way. Here are my best tips to guarantee success every single time.
- Don’t Skip Pounding: I once thought I could skip this step. The result? A chicken breast that was dry on the outside and undercooked in the middle. Pounding to an even thickness ensures that the entire piece of meat cooks at the same rate. It’s the single most important step for juicy chicken.
- Pat it Bone Dry: Moisture is the enemy of crispiness. After you pound the chicken, use several paper towels to pat it completely dry. Any surface moisture will create steam in the air fryer, preventing that beautiful golden crust from forming.
- The Mayo is a Must: I know it sounds weird. I was skeptical too. But the mayonnaise is pure fat and eggs. It creates a perfect emulsion that browns beautifully in the air fryer, much better than oil alone. It also helps the breadcrumbs stick like a dream. Don’t substitute it with yogurt or sour cream, which have too much water.
- Don’t Overcrowd the Basket: This is the number one mistake people make with air fryers. If the chicken pieces are touching, they will steam. You need hot air to circulate all around each piece. If you have to cook in batches, do it. The extra few minutes are worth it for the perfect texture.
- Use a Thermometer, Not a Timer: Air fryers can vary wildly in temperature. The timer on your machine is a guide, not a promise. The only way to know for sure that your chicken is perfectly cooked and safe to eat is to use an instant-read thermometer. Pull it out at 165°F (74°C).
- Let It Rest: I know you’re hungry. Your guests are hungry. But cutting into that chicken immediately is a tragedy. The five-minute rest period is when the magic happens. The juices that have been forced to the center by the heat slowly migrate back out, making every bite perfectly moist.
Variations & Adaptations
This recipe is a fantastic base, and you can easily change it up to match your mood, your guests, or what you have in the pantry.
- Spicy Buffalo: Add 1 tablespoon of your favorite hot sauce (like Frank’s RedHot) to the mayonnaise mixture. After cooking, toss the sliced chicken in a little more hot sauce or serve it with a side of blue cheese or ranch dressing. This is a huge hit for game day.
- Herb & Garlic: To the panko mixture, add 1 tablespoon of dried Italian seasoning or 2 tablespoons of finely chopped fresh herbs like parsley, thyme, and rosemary. The aroma while it cooks is incredible.
- Lemon Pepper: Replace the seasoned salt with 1 tablespoon of lemon pepper seasoning. Add the zest of one lemon to the mayonnaise mixture. This version is bright, zesty, and perfect for a lighter summer meal.
- Gluten-Free Adaptation: This is incredibly easy. Simply swap the panko breadcrumbs for gluten-free panko. Everything else in the recipe is already gluten-free. I’ve done this for friends with celiac disease, and they couldn’t tell the difference.
- Cheesy Crusted: Increase the Parmesan cheese in the breading to 1/2 cup (50g). You can also add 1/4 cup of finely shredded cheddar or mozzarella to the panko mixture for an extra cheesy, melty crust. Just be careful not to let it burn.
Serving & Storage Suggestions
This chicken is a star on its own, but a few thoughtful accompaniments can turn it into a full-blown feast.
- Serving Temperature & Presentation: Serve the chicken hot, right after its 5-minute rest. For a party, I love to slice it into thick strips and fan them out on a large wooden platter. It looks incredibly elegant and makes it easy for guests to grab a piece. Squeeze a little fresh lemon juice over the top and sprinkle with a few flakes of flaky sea salt right before serving for a pro touch.
- What to Serve With It: This chicken is a blank canvas. It’s fantastic with a simple side salad, roasted vegetables, or a creamy mashed potato. For a party, consider serving it alongside a trio of dipping sauces: a classic honey mustard, a spicy sriracha mayo, and a cool herb-yogurt sauce. It also makes the most incredible chicken sandwiches on toasted brioche buns with lettuce, tomato, and pickles.
- Storage: Leftover chicken (if you have any!) can be stored in an airtight container in the refrigerator for up to 3 days. The key to storing it is to let it cool completely before sealing the container, otherwise, the steam will make the crust soggy.
- Reheating: The air fryer is the only way to reheat this chicken. Do not microwave it. Place the leftover chicken in the air fryer at 350°F (177°C) for 3-4 minutes, or until it is heated through and the crust is crispy again. It won’t be quite as good as fresh, but it will be a solid 90% of the way there!
- Flavor Development: Honestly, this chicken is best eaten fresh. The crust is at its absolute peak of crispiness right out of the air fryer. While it’s still delicious the next day, the texture will have softened slightly. So, plan to make enough for your guests to finish it off!
Nutritional Information & Benefits
This recipe is a fantastic way to enjoy a “fried” chicken experience without the heavy grease and extra calories of deep frying. It’s a protein powerhouse that fits into a balanced diet.
- Estimated Nutritional Values (per serving, based on 2 servings): Calories: 450-500, Fat: 22g, Saturated Fat: 5g, Cholesterol: 165mg, Sodium: 800mg, Carbohydrates: 12g, Fiber: 1g, Sugar: 1g, Protein: 52g. These are estimates and can vary based on the specific brands and sizes of ingredients you use.
- Health Benefits: Chicken breast is an excellent source of lean protein, which is essential for muscle building and repair. It’s also rich in B vitamins, particularly B6 and niacin, which support energy metabolism. Using the air fryer significantly reduces the amount of oil needed compared to traditional frying, making this a lower-fat option.
- Dietary Considerations: This recipe can be made gluten-free by using gluten-free panko. It is naturally low-carb and keto-friendly, especially if you swap the panko for crushed pork rinds or almond flour. It is not suitable for a dairy-free diet due to the Parmesan cheese, though you could try using a dairy-free nutritional yeast alternative in the breading.
- Potential Allergens: This recipe contains eggs (in the mayonnaise) and dairy (Parmesan cheese). Please check your specific mayonnaise and breadcrumb brands for any other potential allergens.
Conclusion
This crispy air fryer chicken breast isn’t just a recipe; it’s a lesson in trusting the process—and sometimes, trusting your neighbor’s wild idea. It’s the dish that turns a simple Tuesday into a celebration and makes you the host who always delivers. It’s forgiving, it’s fast, and it’s undeniably delicious. I love it because it proves that you don’t need a deep fryer, a pile of dishes, or hours of your time to create something truly spectacular.
Now, I want you to make this your own. Throw in your favorite spices, serve it with your go-to sauce, and watch your friends’ faces light up. Don’t be afraid to experiment—that’s where the real magic happens. Have you tried this recipe? Did you add a secret twist? I’d love to hear about it in the comments below! Share this post with a friend who needs a new party trick, and let’s get cooking. You’ve got this!
Frequently Asked Questions
Can I use chicken thighs instead of chicken breasts?
Absolutely! Boneless, skinless chicken thighs work wonderfully with this method. They are more forgiving and stay incredibly moist. You may need to adjust the cooking time slightly, as thighs are typically smaller and cook faster. Start checking for an internal temperature of 175°F (80°C) at around 12-14 minutes total.
Why is my air fryer chicken breast dry?
The most common reasons for dry chicken are overcooking and uneven thickness. Make sure you are using an instant-read thermometer and pulling the chicken out at exactly 165°F (74°C). Also, don’t skip the pounding step! An even thickness ensures the whole breast cooks at the same rate, preventing the thin end from drying out while the thick part finishes cooking.
Can I prepare these chicken breasts ahead of time?
You can bread the chicken breasts up to a few hours ahead of time. Place them on a plate or baking sheet in a single layer, cover them loosely with plastic wrap, and store them in the refrigerator. Do not add the oil spray until just before air frying. You can also freeze the breaded, uncooked chicken for up to a month. Cook from frozen, adding 5-7 minutes to the cooking time.
Do I really need to use mayonnaise?
Yes, for the best results. It’s the secret to the ultra-crispy crust and juicy interior. The fat in the mayonnaise browns perfectly and creates a barrier that seals in moisture. If you absolutely cannot use mayonnaise, you can try a thick paste made from Dijon mustard and olive oil, but the texture will be different and not quite as crispy.
How do I get the breading to stick better?
The key is a dry surface and a good “glue.” Make sure you pat the chicken completely dry before applying the mayonnaise mixture. Don’t be shy with the mayonnaise—a thin, even coating over the entire surface is essential. Finally, press the breadcrumbs firmly onto the chicken. Don’t just roll it in the bowl; use your hands to gently press the crumbs into the mayo coating.
Pin This Recipe!
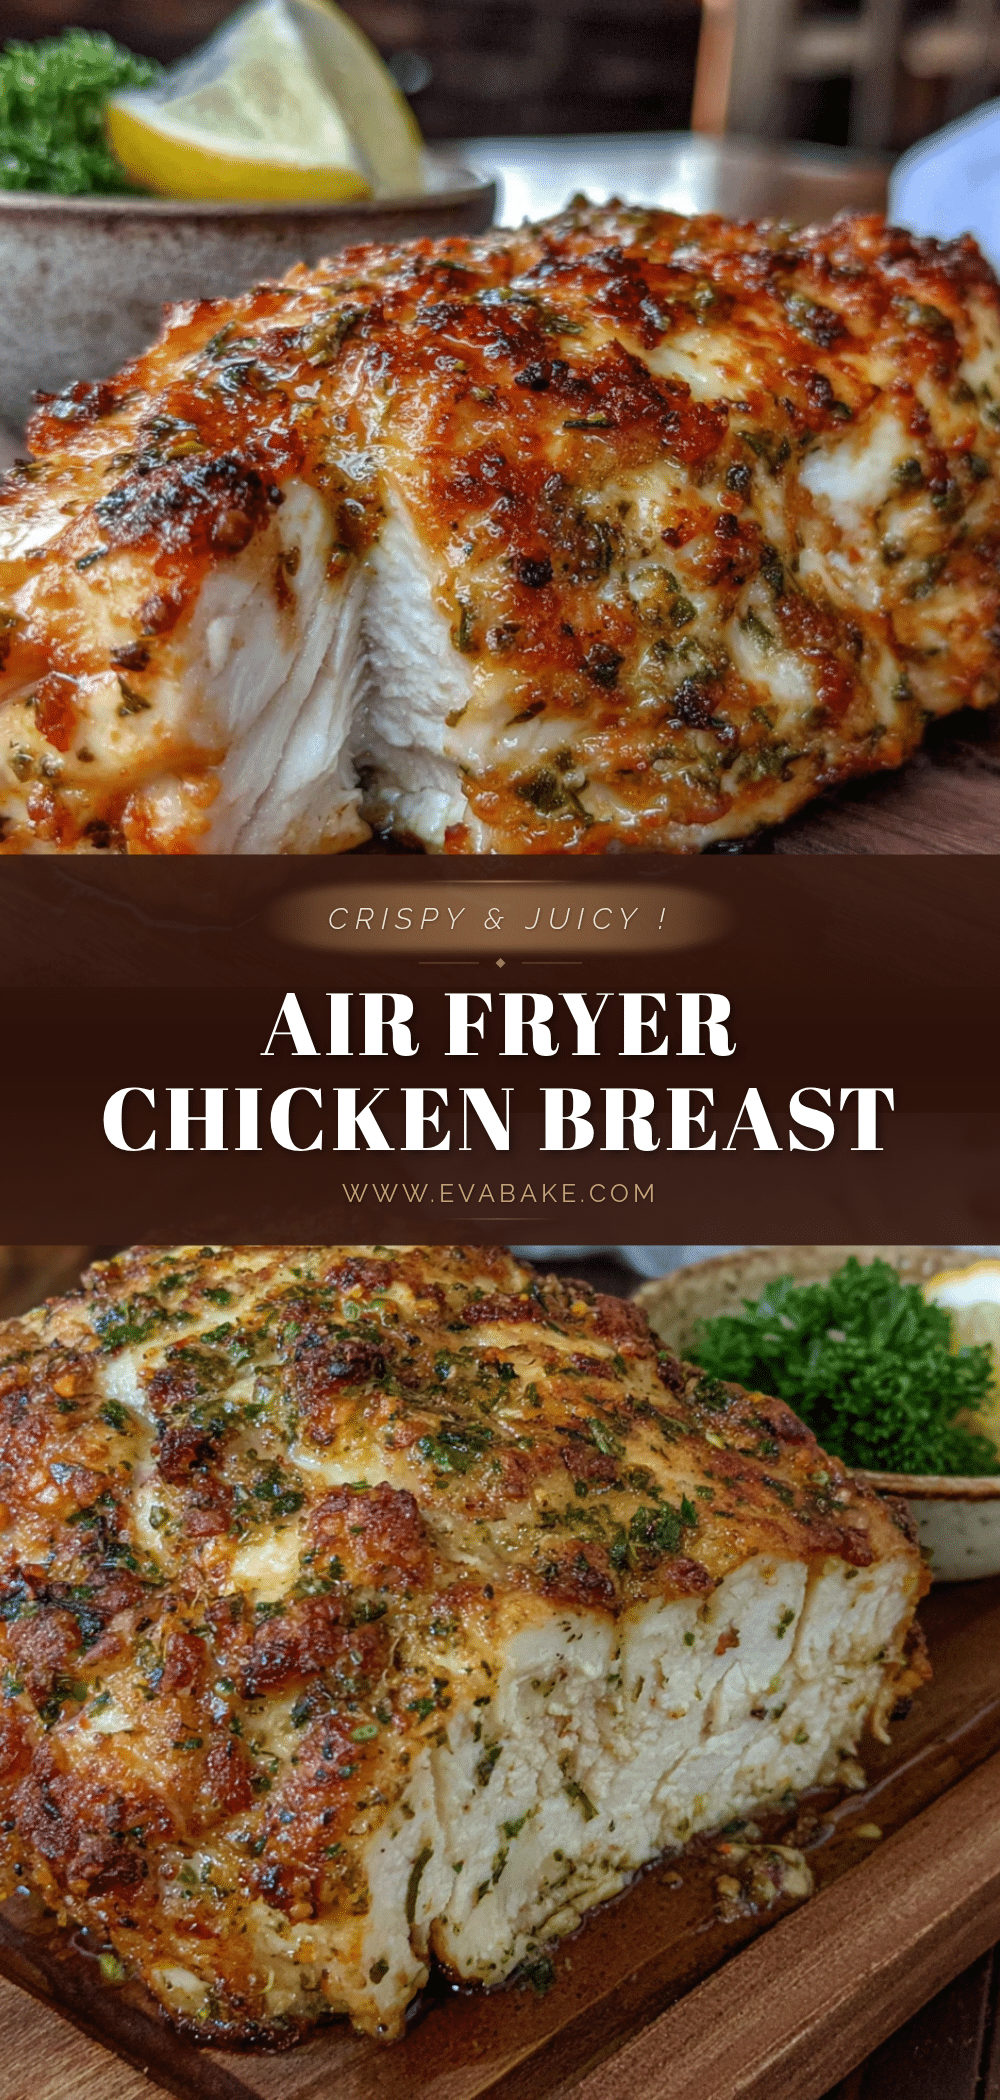
Crispy Air Fryer Chicken Breast: Easy Best Party Showstopper
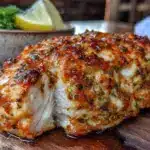
This crispy air fryer chicken breast is the party showstopper that lets you be part of the party, too. It delivers that ‘wow’ factor that makes people think you spent hours in the kitchen, when really, the air fryer did all the heavy lifting.
- Prep Time: 15 minutes
- Cook Time: 16 minutes
- Total Time: 31 minutes
- Yield: 2 servings 1x
- Category: Main Course
- Cuisine: American
Ingredients
- 2 large boneless, skinless chicken breasts (about 1.5 lbs or 680g total)
- 3 tablespoons full-fat mayonnaise
- 1/2 cup (60g) panko breadcrumbs
- 1/4 cup (25g) finely grated Parmesan cheese
- 1 teaspoon seasoned salt
- 1/2 teaspoon garlic powder
- 1/2 teaspoon smoked paprika
- 1/4 teaspoon black pepper
- Avocado oil spray (optional, for extra crispiness)
Instructions
- Prep the Chicken: Place one chicken breast on a cutting board. Cover it with a piece of plastic wrap or parchment paper. Using a meat mallet or rolling pin, gently pound the thickest part of the breast until it is an even 1-inch (2.5 cm) thickness. Repeat with the second breast. Pat the chicken completely dry with paper towels. Season both sides lightly with a pinch of salt and pepper.
- Make the ‘Glue’ Mixture: In a shallow bowl, combine the 3 tablespoons of mayonnaise, 1/2 teaspoon of garlic powder, 1/2 teaspoon of smoked paprika, and 1/4 teaspoon of black pepper. Mix until it forms a smooth, pale pink paste.
- Prepare the Breading: In a second shallow bowl, combine the 1/2 cup of panko breadcrumbs, 1/4 cup of grated Parmesan cheese, and 1 teaspoon of seasoned salt. Mix well with a fork.
- Coat the Chicken: Using a spoon or a silicone brush, spread a thin, even layer of the mayonnaise mixture over the entire surface of one chicken breast—top, bottom, and sides. Immediately transfer the coated breast to the bowl of breadcrumbs. Press the breadcrumbs firmly onto the chicken, turning to coat all sides. Shake off any excess. Place the breaded breast on a plate. Repeat with the second breast.
- Preheat the Air Fryer: Set your air fryer to 380°F (193°C) and let it preheat for 3-5 minutes.
- Air Fry the Chicken: Lightly spray the air fryer basket with avocado oil. Carefully place the breaded chicken breasts in the basket, making sure they are not touching. Lightly spray the top of the chicken with a bit more oil.
- Cook to Perfection: Air fry for 10 minutes. Carefully flip the chicken using tongs. Spray the other side lightly with oil. Cook for another 5-8 minutes, or until the internal temperature reaches 165°F (74°C) in the thickest part of the breast.
- Rest and Slice: Once cooked, carefully remove the chicken from the air fryer and place it on a clean cutting board. Let it rest for at least 5 minutes. After resting, slice against the grain for the most tender bites.
Notes
Don’t skip pounding the chicken to an even thickness for even cooking. Pat the chicken completely dry before coating. Use full-fat mayonnaise for the best crust. Do not overcrowd the air fryer basket. Use an instant-read thermometer to ensure the chicken reaches 165°F (74°C). Let the chicken rest for 5 minutes before slicing to keep it juicy.
Nutrition
- Serving Size: 1 chicken breast
- Calories: 475
- Sugar: 1
- Sodium: 800
- Fat: 22
- Saturated Fat: 5
- Carbohydrates: 12
- Fiber: 1
- Protein: 52
Keywords: air fryer chicken breast, crispy chicken, party chicken, easy chicken recipe, air fryer recipe, chicken breast recipe