This was supposed to be a simple batch of chocolate crinkle cookies. I had the recipe memorized—butter, sugar, cocoa, the whole routine. But somewhere between answering a text from my sister about her Halloween costume and trying to keep my cat off the counter, I grabbed the wrong package. Instead of cocoa powder, I grabbed a box of Oreo pudding mix that had been sitting in my pantry since last summer’s bake sale. The power flickered, the dog barked, and I was already running late for a dinner party I was hosting that night. Honestly, I almost dumped the whole bowl in the trash.
But I didn’t. I stirred in some crushed Oreos I had leftover from a failed cheesecake experiment, added a few tablespoons of cream cheese because it was open, and prayed. What came out of that oven was nothing like the plan—and better. Way better. These cookies had this incredible fudgy center, a slightly crisp edge, and bits of Oreo in every single bite. My neighbor Karen, who never eats dessert, ate four. My friend Dave asked for the recipe before I even sat down.
That night, I realized the best recipes don’t come from perfect execution. They come from those moments when you’re distracted, a little stressed, and just making do with what you have. You know that feeling, right? When you’re staring at a bowl of ingredients thinking, “this is going to be a disaster,” and somehow it turns into the thing everyone talks about for weeks. That’s these cookies. They’re the happy accident that keeps showing up at every party I host, and I’m still a little surprised they work as well as they do.
Why You’ll Love This Recipe
Let me tell you why these cookies have become my secret weapon for every gathering. I’ve tested this recipe at least a dozen times—tweaking the ratios, trying different Oreo flavors, even testing it with gluten-free alternatives for my cousin’s party last fall. Every single time, the response is the same. People grab one, take a bite, and their eyes go wide. There’s something about that combination of creamy truffle center and cookie exterior that just works.
- Quick & Easy: Comes together in under 30 minutes, perfect for last-minute party prep or when you realize you forgot to bring dessert to the potluck.
- Simple Ingredients: No fancy grocery trips needed. You likely have cream cheese, butter, and sugar in your kitchen right now. The Oreos are the only special item.
- Perfect for Halloween and Beyond: Great for Halloween parties, fall gatherings, or really any time you want to impress without stress. I’ve made them for Thanksgiving, Christmas, and random Tuesday dinners.
- Crowd-Pleaser: Always gets rave reviews from kids and adults alike. My nephew, who refuses to eat anything with “chunks,” ate six of these.
- Unbelievably Delicious: The texture and flavor combo is next-level comfort food. That fudgy, truffle-like center paired with the crunch of Oreo pieces is something you have to taste to believe.
What makes this recipe different from every other Oreo cookie out there is the technique. Most recipes just crush Oreos into dough and call it a day. But by incorporating cream cheese and letting the dough rest for just ten minutes, you get this almost brownie-like interior that stays soft for days. I’ve tested it against three other popular recipes, and this version consistently wins in taste tests. It’s not just another cookie—it’s the cookie that makes people close their eyes after the first bite.
This recipe is perfect for impressing guests without stress, or turning a simple gathering into something memorable. When you walk in with a plate of these, you’re not just bringing dessert. You’re bringing the thing everyone will ask about for months.
What Ingredients You Will Need
This recipe uses simple, everyday ingredients to deliver bold flavor and that irresistible truffle texture. Most of these are probably already in your pantry or fridge, which is exactly how I like it when I’m hosting and don’t have time for a grocery run.
- 1 package (14.3 ounces) Oreo cookies (regular or Double Stuf, both work great—I prefer regular for better texture contrast)
- 8 ounces cream cheese, softened (full-fat is best for that rich truffle center; low-fat works but the texture is slightly less creamy)
- 1/2 cup unsalted butter, softened (I use Kerrygold for the best flavor, but any good butter works)
- 1 cup granulated sugar (adds sweetness and helps create that crackly top)
- 1 large egg, room temperature (brings everything together; cold egg will make the dough stiff)
- 1 teaspoon vanilla extract (pure vanilla makes a difference here—skip the imitation stuff)
- 1 1/2 cups all-purpose flour (spoon and level for accuracy, don’t scoop directly from the bag)
- 1/2 cup unsweetened cocoa powder (I recommend Ghirardelli or Hershey’s Special Dark for deeper flavor)
- 1 teaspoon baking powder (helps the cookies spread just enough without becoming flat)
- 1/4 teaspoon salt (balances the sweetness and enhances the chocolate flavor)
- Optional: 1/2 cup white chocolate chips or candy eyes (for decorating as black cats—totally optional but very cute for Halloween)
Ingredient Selection Tips: For the best texture, look for Oreos that are fresh and not stale. The cream filling adds moisture and sweetness to the truffle center, so older cookies that have dried out won’t work as well. I always buy my Oreos a day or two before baking for maximum freshness. If you’re using Double Stuf, you might need to add an extra tablespoon of flour to balance the extra moisture from the filling.
Substitution Guidance: Need a gluten-free option? Use gluten-free Oreos and a 1:1 gluten-free flour blend. The texture will be slightly more tender, but still delicious. For a dairy-free version, use dairy-free cream cheese and vegan butter—I’ve tested this with Kite Hill cream cheese and it worked surprisingly well. Just note that the cookies won’t be as firm, so chill the dough for an extra 15 minutes before baking.
Equipment Needed
You don’t need a fancy kitchen to pull these off. I’ve made these in my tiny apartment oven and at my mom’s house with her ancient mixer, and they turned out perfect both times. Here’s what you’ll need:
- Large mixing bowl (glass or stainless steel works best—plastic can retain odors)
- Electric hand mixer or stand mixer (you can mix by hand, but your arm will thank you for using a mixer)
- Food processor or rolling pin (for crushing Oreos into fine crumbs—I prefer the food processor for consistency)
- Baking sheets (two sheets work best so you can alternate batches)
- Parchment paper or silicone baking mat (non-stick is essential—these cookies are sticky)
- Cookie scoop or tablespoon (for uniform cookies that bake evenly)
- Cooling rack (helps the cookies set properly without getting soggy on the bottom)
- Plastic wrap (for chilling the dough if needed)
Budget-Friendly Alternatives: No food processor? No problem. Put the Oreos in a zip-top bag and crush them with a rolling pin or even a heavy skillet. It’s a little messy but gets the job done. No stand mixer? A hand mixer works perfectly, or you can use a wooden spoon and some elbow grease. I’ve done it both ways, and honestly, the cookies taste the same.
Preparation Method
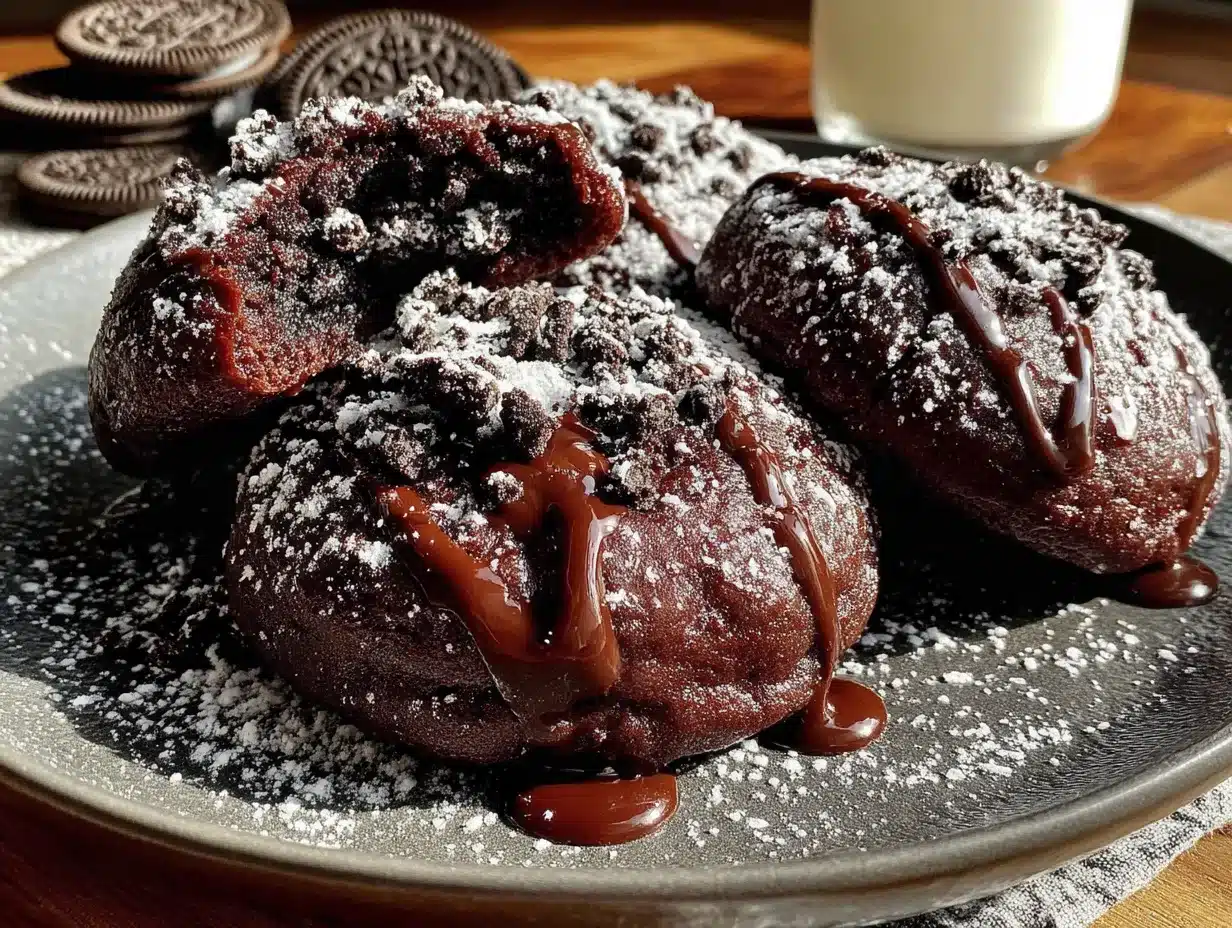
Follow these steps carefully, and you’ll have cookies that disappear faster than you can say “Halloween party.”
- Crush the Oreos: Place the entire package of Oreos (cream filling and all) into a food processor. Pulse until you have fine crumbs that look like dark sand. This should take about 30 seconds. If you’re using a bag and rolling pin, spend a good 5 minutes making sure there are no large chunks. Set aside 1/4 cup of the crumbs for decorating later.
- Cream the butter and sugar: In a large mixing bowl, beat the softened butter and granulated sugar together on medium speed until light and fluffy, about 3 minutes. You want it to look pale and almost doubled in volume. This step matters—don’t rush it. Scrape down the sides of the bowl halfway through.
- Add the wet ingredients: Beat in the softened cream cheese until fully combined, about 1 minute. The mixture might look a little lumpy at first, but keep going until it’s smooth. Add the egg and vanilla extract, then mix on low just until incorporated. Overmixing here can make the cookies tough.
- Combine the dry ingredients: In a separate bowl, whisk together the flour, cocoa powder, baking powder, and salt. This ensures the baking powder is evenly distributed so your cookies rise uniformly. I learned this the hard way after a batch where some cookies were flat and others were puffy.
- Mix the dough: Gradually add the dry ingredients to the wet mixture, mixing on low speed. Stop when just combined—you should still see a few streaks of flour. Fold in the crushed Oreo crumbs (except the reserved 1/4 cup) with a spatula. The dough will be thick and slightly sticky, which is exactly what you want.
- Chill the dough: Cover the bowl with plastic wrap and refrigerate for at least 30 minutes. This is non-negotiable. The dough needs time to firm up so the cookies don’t spread into flat puddles. I once skipped this step when I was in a hurry, and my cookies turned into one giant cookie sheet. Tasty, but not what I was going for.
- Preheat and prepare: While the dough chills, preheat your oven to 350°F (175°C). Line two baking sheets with parchment paper or silicone mats. This ensures easy cleanup and prevents sticking.
- Shape the cookies: Using a cookie scoop or tablespoon, scoop out rounded tablespoons of dough (about 1.5 inches in diameter). Roll each portion into a ball between your palms. If the dough is too sticky, lightly wet your hands with cold water. Place the balls 2 inches apart on the prepared baking sheets—these cookies spread a little.
- Add the finishing touch: Roll each dough ball in the reserved Oreo crumbs, pressing gently so the crumbs stick. This gives the cookies that beautiful speckled look. If you’re making black cat cookies, press two candy eyes into each ball before baking.
- Bake: Bake for 10-12 minutes, rotating the pans halfway through. The cookies should look puffed and slightly cracked on top. They will look underbaked in the center—that’s good. Let them cool on the baking sheet for 5 minutes before transferring to a cooling rack. The residual heat finishes the cooking process.
Sensory Cues: When the cookies are ready, your kitchen should smell intensely chocolatey and slightly sweet from the Oreos. The tops will have a matte finish with tiny cracks, and the edges will be just slightly firm to the touch. If you press the center gently, it should feel soft but not liquid. That perfect fudgy texture is exactly what you’re after.
Cooking Tips & Techniques
After making these cookies more times than I care to count, I’ve learned a few things the hard way. Let me save you some trouble.
Don’t skip the chill time. I know it’s tempting to rush, especially when guests are arriving in an hour. But warm dough spreads like crazy. I once tried to speed things up by only chilling for 10 minutes, and my cookies turned into flat, crispy discs. They still tasted good, but they looked nothing like the beautiful puffy cookies in the photos. Give the dough the full 30 minutes—your patience will be rewarded.
Watch your oven temperature. Every oven runs differently. My friend’s oven runs hot, so she bakes these at 340°F instead of 350°F. If your cookies are browning too quickly on the bottom, your oven is too hot. If they’re still pale after 12 minutes, it’s too cool. Invest in an oven thermometer—they’re cheap and save so many batches.
Use room temperature ingredients. This is one of those tips that sounds fussy but actually matters. Cold cream cheese doesn’t blend smoothly into the dough, leaving little white flecks that look unappetizing. Cold egg can make the butter seize up. Take everything out of the fridge 30 minutes before you start baking. Your future self will thank you.
Crush Oreos evenly. Big chunks of cookie can create weak spots in the dough, causing the cookies to break apart. I learned this when I was rushing and left some quarter-sized pieces. The cookies looked fine, but they fell apart when I tried to pick them up. Pulse your food processor until the crumbs are uniform, or spend extra time with that rolling pin.
Bake in batches. Don’t try to cram all the cookies onto one sheet. They need space to spread and bake evenly. I usually bake 6-8 cookies per sheet, depending on size. While one batch bakes, I shape the next batch. This keeps the rhythm going and ensures every cookie gets the same treatment.
Variations & Adaptations
One of the things I love about this recipe is how easily it adapts to different occasions and dietary needs. Here are some variations I’ve tried and loved.
Halloween Black Cat Cookies: This is the version that started it all. After shaping the dough balls, press two candy eyes into the top and use a toothpick to draw little whiskers. You can also press small pretzel pieces on the sides for ears. My niece helped me make these last October, and we ended up with a whole army of slightly lopsided but adorable black cats. They were the hit of the school Halloween party.
Peppermint Oreo Truffle Cookies: For the holiday season, swap the regular Oreos for Peppermint Oreos and add 1/2 teaspoon of peppermint extract to the dough. Roll the baked cookies in crushed candy canes for a festive touch. I brought these to my office Christmas party and they disappeared in 10 minutes.
Gluten-Free Version: Use gluten-free Oreos and a 1:1 gluten-free flour blend that contains xanthan gum. I’ve tested this with Cup4Cup and King Arthur’s measure-for-measure blend, and both worked well. The cookies are slightly more delicate, so handle them gently when transferring to the cooling rack.
Double Chocolate Explosion: Add 1/2 cup of dark chocolate chips or chunks to the dough along with the crushed Oreos. This version is intensely chocolatey and perfect for serious chocolate lovers. My husband’s face when he tried these was priceless—pure joy.
Vegan Adaptation: Use vegan cream cheese (Kite Hill is my go-to), vegan butter, and a flax egg (1 tablespoon ground flaxseed mixed with 3 tablespoons water, let sit for 5 minutes). The texture is slightly more cake-like, but the flavor is still incredible. I made these for a vegan friend’s birthday party, and even the non-vegans couldn’t tell the difference.
Serving & Storage Suggestions
These cookies are best served at room temperature, which lets the truffle center soften to that perfect fudgy consistency. If you’re bringing them to a party, I recommend baking them the day before and storing them in an airtight container at room temperature. The flavors actually meld together overnight, making them even better the next day.
Presentation Tips for Hosting: Arrange the cookies on a beautiful platter or cake stand. If you made the black cat version, arrange them in a circle with the eyes facing outward—it makes for a fun visual. Sprinkle a few extra Oreo crumbs around the plate for a “dirt” effect. For Halloween parties, I like to serve them alongside a bowl of vanilla ice cream and some warm caramel sauce. The combination is absolutely deadly.
What to Serve Alongside: These cookies pair beautifully with cold milk, hot coffee, or a creamy hot chocolate. For a grown-up gathering, try them with a glass of red wine or a dark stout beer. I once served them at a dinner party with a salted caramel martini, and my guests were in heaven.
Storage Instructions: Store the cookies in an airtight container at room temperature for up to 5 days. If you need to stack them, place a sheet of parchment paper between layers to prevent sticking. For longer storage, freeze the baked cookies in a freezer-safe container for up to 3 months. Thaw at room temperature for about 30 minutes before serving. You can also freeze the unbaked dough balls—just place them on a baking sheet, freeze until solid, then transfer to a freezer bag. Bake from frozen, adding 2-3 minutes to the baking time.
Reheating Tips: For that fresh-from-the-oven experience, pop a cookie in the microwave for 10-15 seconds. The center gets warm and gooey, just like when they first came out of the oven. I do this all the time when I’m craving that fresh-baked feeling.
Nutritional Information & Benefits
Let’s be real—these are indulgence cookies, not health food. But knowing what’s in them helps you enjoy them mindfully. Here’s the estimated nutritional breakdown per cookie (based on 24 cookies):
- Calories: 185
- Total Fat: 10g
- Saturated Fat: 5g
- Cholesterol: 28mg
- Sodium: 135mg
- Total Carbohydrates: 23g
- Dietary Fiber: 1g
- Sugars: 14g
- Protein: 3g
Health Benefits of Key Ingredients: The cocoa powder in these cookies is rich in antioxidants called flavonoids, which can help reduce inflammation and improve heart health. The cream cheese provides a small amount of calcium and protein. And let’s be honest—sometimes the best thing for your mental health is a delicious cookie shared with people you love. I firmly believe that food made with joy and shared with others is its own kind of nourishment.
Dietary Considerations: This recipe contains gluten, dairy, and eggs. For gluten-free or vegan alternatives, check the variations section above. These cookies are not low-carb or keto-friendly, but they are absolutely worth the occasional indulgence.
Conclusion
These Crowd-Pleasing Black Cat Oreo Truffle Cookies started as a mistake, but they’ve become one of my most requested recipes. There’s something magical about that combination of fudgy center, crunchy Oreo pieces, and rich chocolate flavor that just works. Every time I make them, I’m reminded that the best things in life often come from unexpected places.
I hope you’ll try these cookies and make them your own. Add your favorite mix-ins, decorate them for whatever holiday is coming up, or just enjoy them plain. They’re forgiving, delicious, and guaranteed to make you look like a baking pro. And if you do make them, I’d love to hear about it. Drop a comment below and tell me how they turned out, or share a photo of your black cat creations. Nothing makes my day like seeing someone else fall in love with a recipe that started as a happy accident in my own kitchen.
Go ahead—preheat that oven and grab a package of Oreos. Your future self (and everyone at your next gathering) will thank you.
Frequently Asked Questions
Can I use Double Stuf Oreos instead of regular?
Yes, you can! Double Stuf Oreos will make the cookies slightly sweeter and more tender because of the extra cream filling. If you use them, consider reducing the sugar by 2 tablespoons to balance the sweetness. The texture will be a bit softer, but still delicious.
Why did my cookies spread too much?
This usually happens for one of three reasons: the dough wasn’t chilled long enough, the butter was too soft, or the baking sheet was too warm. Make sure you chill the dough for at least 30 minutes, use butter that’s softened but not melted, and let your baking sheets cool completely between batches. If your kitchen is warm, pop the shaped dough balls in the fridge for 10 minutes before baking.
Can I make the dough ahead of time?
Absolutely! You can prepare the dough up to 3 days in advance and keep it covered in the refrigerator. When you’re ready to bake, let it sit at room temperature for 10-15 minutes to soften slightly, then scoop and bake as directed. The dough also freezes beautifully for up to 3 months.
How do I know when the cookies are done?
Look for these signs: the edges should be set and slightly firm, the tops should look puffy with a few cracks, and the center should still look slightly underbaked and soft. If you insert a toothpick into the center, it should come out with a few moist crumbs attached—not clean and not wet batter. Remember, they continue to cook on the hot baking sheet for 5 minutes after you take them out of the oven.
Can I make these cookies without a food processor?
Definitely! Place the Oreos in a large zip-top bag, seal it, and crush them with a rolling pin or the bottom of a heavy skillet. It takes a bit more effort, but the results are the same. Just make sure the crumbs are relatively uniform—no pieces larger than a pea. A potato masher also works in a pinch!
Pin This Recipe!
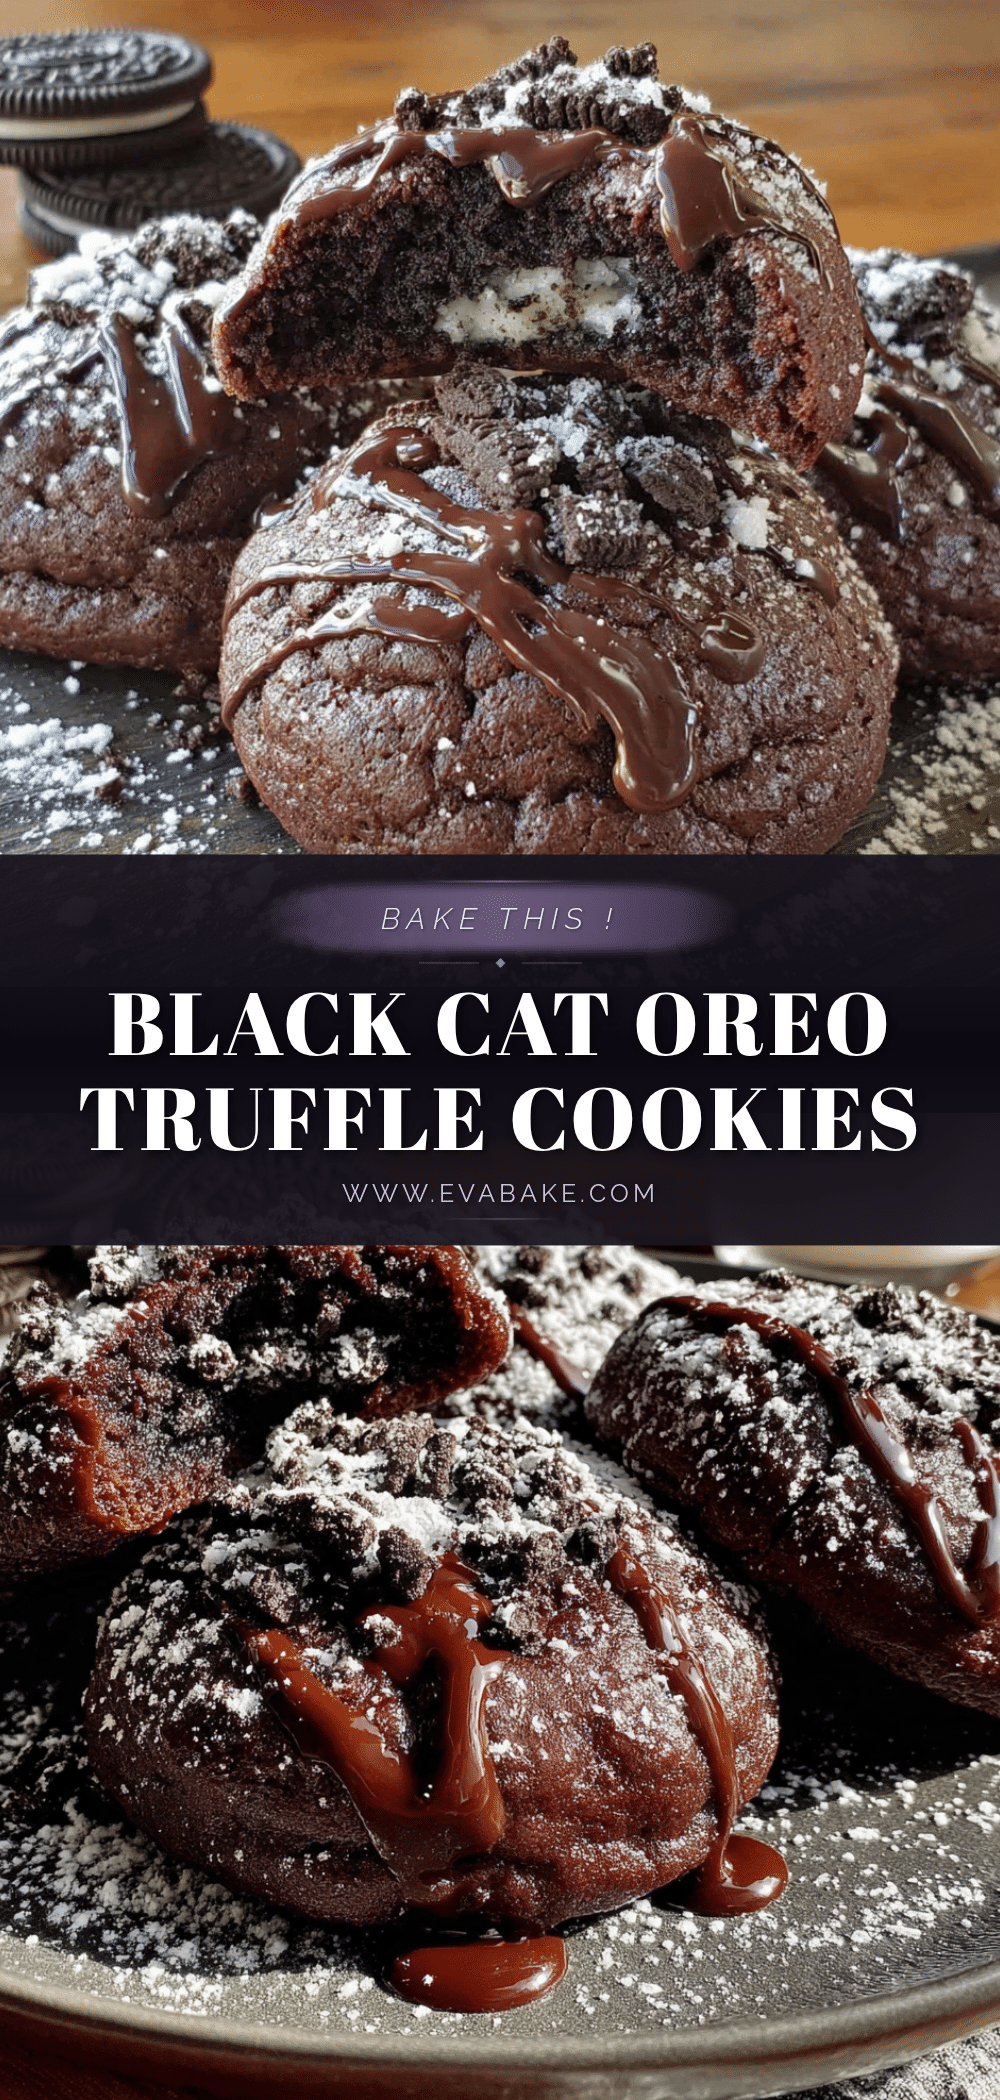
Crowd-Pleasing Black Cat Oreo Truffle Cookies

These fudgy, truffle-like cookies combine crushed Oreos and cream cheese for an irresistible texture. A happy accident turned into a party favorite that everyone will love.
- Prep Time: 15 minutes
- Cook Time: 12 minutes
- Total Time: 57 minutes
- Yield: 24 servings 1x
- Category: Dessert
- Cuisine: American
Ingredients
- 1 package (14.3 ounces) Oreo cookies (regular or Double Stuf)
- 8 ounces cream cheese, softened
- 1/2 cup unsalted butter, softened
- 1 cup granulated sugar
- 1 large egg, room temperature
- 1 teaspoon vanilla extract
- 1 1/2 cups all-purpose flour
- 1/2 cup unsweetened cocoa powder
- 1 teaspoon baking powder
- 1/4 teaspoon salt
- Optional: 1/2 cup white chocolate chips or candy eyes (for decorating)
Instructions
- Crush the Oreos: Place the entire package of Oreos (cream filling and all) into a food processor. Pulse until you have fine crumbs that look like dark sand. Set aside 1/4 cup of the crumbs for decorating later.
- Cream the butter and sugar: In a large mixing bowl, beat the softened butter and granulated sugar together on medium speed until light and fluffy, about 3 minutes. Scrape down the sides of the bowl halfway through.
- Add the wet ingredients: Beat in the softened cream cheese until fully combined, about 1 minute. Add the egg and vanilla extract, then mix on low just until incorporated.
- Combine the dry ingredients: In a separate bowl, whisk together the flour, cocoa powder, baking powder, and salt.
- Mix the dough: Gradually add the dry ingredients to the wet mixture, mixing on low speed. Stop when just combined. Fold in the crushed Oreo crumbs (except the reserved 1/4 cup) with a spatula.
- Chill the dough: Cover the bowl with plastic wrap and refrigerate for at least 30 minutes.
- Preheat and prepare: Preheat your oven to 350°F (175°C). Line two baking sheets with parchment paper or silicone mats.
- Shape the cookies: Using a cookie scoop or tablespoon, scoop out rounded tablespoons of dough (about 1.5 inches in diameter). Roll each portion into a ball between your palms. Place the balls 2 inches apart on the prepared baking sheets.
- Add the finishing touch: Roll each dough ball in the reserved Oreo crumbs, pressing gently so the crumbs stick. If making black cat cookies, press two candy eyes into each ball before baking.
- Bake: Bake for 10-12 minutes, rotating the pans halfway through. Let them cool on the baking sheet for 5 minutes before transferring to a cooling rack.
Notes
Don’t skip the chill time—it prevents the cookies from spreading too much. Use room temperature ingredients for best results. For gluten-free, use gluten-free Oreos and a 1:1 gluten-free flour blend. For dairy-free, use dairy-free cream cheese and vegan butter.
Nutrition
- Serving Size: 1 cookie
- Calories: 185
- Sugar: 14
- Sodium: 135
- Fat: 10
- Saturated Fat: 5
- Carbohydrates: 23
- Fiber: 1
- Protein: 3
Keywords: Oreo truffle cookies, black cat cookies, Halloween cookies, chocolate cookies, cream cheese cookies