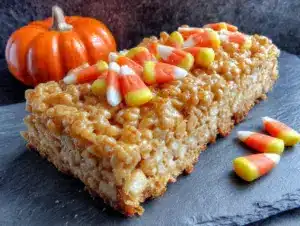
My neighbor Carol wasn’t trying to impress anyone. I’d stopped by to borrow a lug wrench—don’t ask—and the smell hit me before I even made it past her screen door. That warm, buttery, marshmallow scent that makes you stop mid-sentence and just breathe in. She was standing at her counter in an old t-shirt, casually dropping candy corn onto a pan of golden squares like it was no big deal. “Oh, these?” she said when I asked, barely looking up. “Just the usual Rice Krispie treats. I throw some candy corn on top for the kids.” Just the usual. Like she hadn’t just created the most perfect, festive, ridiculously easy Halloween treat I’d ever seen. I stood there holding that lug wrench, watching her work, and honestly, I felt a little embarrassed by how excited I got over something so simple. But that’s the thing about the best recipes, right? They don’t announce themselves. They just show up, unassuming, and somehow become the thing you think about all October long. Maybe you’ve been there—standing in someone’s kitchen, watching them make something that looks like nothing, and realizing you’re about to ask for the recipe before you even taste it. That was me, lug wrench and all. And I’ve been making these Easy Halloween Rice Krispie Treats with Candy Corn ever since.
Why You’ll Love This Recipe
Let me tell you why these little squares have become my go-to for every Halloween gathering, classroom party, and “I need something festive but I have zero time” moment. They’re honestly the easiest thing you’ll make all season.
- Quick & Easy: We’re talking 15 minutes from start to finish. Fifteen. That’s less time than it takes to decide what to watch on Netflix.
- Simple Ingredients: Butter, marshmallows, Rice Krispies cereal, and candy corn. That’s it. You probably have three of those things right now.
- Perfect for Halloween: Whether it’s a school party, a trunk-or-treat event, or just a fun afternoon with your kids, these treats scream Halloween without any complicated decorating.
- Crowd-Pleaser: I’ve yet to meet a kid—or adult, honestly—who can resist a Rice Krispie treat. Add candy corn and suddenly they’re magical.
- Unbelievably Delicious: The salty-buttery marshmallow base with those little bursts of chewy, sweet candy corn? It’s a texture and flavor combo that just works.
What makes these different from every other Halloween dessert out there? It’s the ratio. I’ve tested this more times than I care to admit, and I’ve landed on the perfect balance of marshmallow to cereal so your treats stay soft and chewy, not rock hard. Plus, I’ll show you my trick for pressing the candy corn in so it stays put instead of falling off when you cut them.
This is the kind of recipe that makes you look like you put in way more effort than you actually did. And honestly, isn’t that the dream?
What Ingredients You Will Need
This recipe uses simple, budget-friendly ingredients that you can grab on any grocery run. No fancy baking supplies, no specialty stores. Just good old-fashioned pantry staples that come together in something special.
- 3 tablespoons unsalted butter (plus a little extra for greasing the pan) — I use salted butter in a pinch and just skip the extra salt, but unsalted gives you more control. Land O’Lakes is my go-to.
- 1 package (10 ounces) regular marshmallows — Not the mini ones, not the jumbo. The standard 10-ounce bag. Jet-Puffed works perfectly. If you only have mini marshmallows, use 4 cups.
- 6 cups Rice Krispies cereal — The original is best for that classic snap, but store brands work fine too. Just make sure it’s fresh and crispy.
- 1 cup candy corn — About half a standard bag. Brach’s is the classic choice. You can also use autumn mix or pumpkin-shaped candies if you prefer. I’ve even used the little candy pumpkins and they’re adorable.
- 1/4 teaspoon vanilla extract (optional) — This isn’t traditional, but I add it because it rounds out the sweetness. Trust me on this one.
- Pinch of salt (optional) — If you’re using unsalted butter, a tiny pinch of flaky salt takes these from good to “what did you put in these?”
Here’s a little tip I learned the hard way: don’t use stale marshmallows. If your bag has been sitting in the pantry for months, they won’t melt smoothly and your treats will be grainy. Fresh marshmallows = silky, smooth treats. Also, if you’re making these for a school event with allergy concerns, check your candy corn label—some brands are processed in facilities that handle nuts.
Equipment Needed
You don’t need a fancy kitchen for these, which is part of the beauty. Here’s what you’ll need:
- 9×13-inch baking pan — This is the standard size for a good thick treat. If you only have an 8×8, your treats will be thicker and need a little more pressing time.
- Large saucepan — Bigger than you think you need. The marshmallow mixture expands, and you don’t want it bubbling over. A 4-quart pot works great.
- Spatula or wooden spoon — I prefer a silicone spatula for scraping every last bit of marshmallow goodness. A wooden spoon works too, but it’s harder to get clean.
- Parchment paper or wax paper — For pressing the mixture into the pan without it sticking to your hands. Trust me, this is non-negotiable.
- Sharp knife — A chef’s knife or a large serrated knife works best for clean cuts. Don’t use a butter knife—you’ll just squish everything.
If you don’t have a 9×13 pan, you can use a rimmed baking sheet. The treats will be thinner, but they’ll still taste amazing. Just adjust your pressing technique so they’re even.
Preparation Method
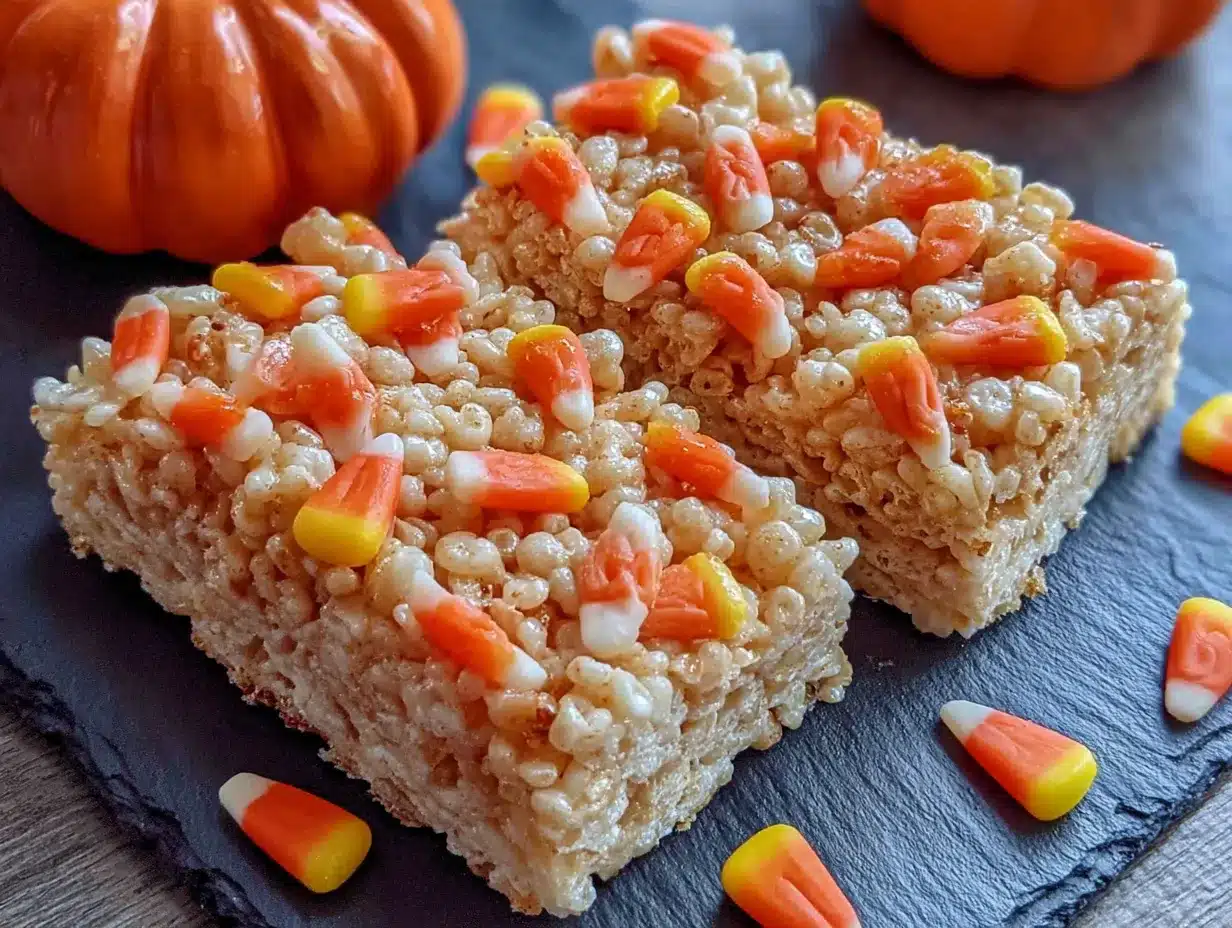
Alright, let’s get to it. This is the fun part. I’ll walk you through every step so you get perfect treats every single time.
- Prep your pan. Grease your 9×13-inch baking pan generously with butter or non-stick spray. Then line it with parchment paper, leaving some overhang on two sides. This makes lifting the whole block out later so much easier. Grease the parchment too—just a light swipe.
- Melt the butter. Place your large saucepan over medium-low heat. Add the 3 tablespoons of butter and let it melt slowly. Don’t rush this—if your heat is too high, the butter will brown and your treats will taste toasted instead of sweet and creamy. Swirl the pan occasionally as it melts.
- Add the marshmallows. Once the butter is fully melted, pour in the entire bag of marshmallows. Stir constantly with your spatula or wooden spoon. The marshmallows will start to soften and puff up. Keep stirring until they’re about 75% melted—you’ll still see some lumps. At this point, remove the pan from the heat.
- Add vanilla and salt. If you’re using the vanilla and salt, stir them in now. The residual heat will incorporate them without cooking them off. Keep stirring until the mixture is completely smooth and silky. This should take about 30 seconds.
- Add the cereal. Pour in the 6 cups of Rice Krispies all at once. Fold gently until the cereal is evenly coated. Don’t overmix—you want every piece coated, but you don’t want to crush the cereal. If you see a few dry spots, that’s okay. Just fold a couple more times gently.
- Press into the pan. Scrape the mixture into your prepared pan. Here’s the trick: wet your hands slightly with cold water, or use a piece of wax paper lightly greased with butter. Press the mixture firmly and evenly into the pan. Don’t press too hard or your treats will be dense and hard. Just firm, even pressure. Make sure the corners are filled in.
- Add the candy corn. While the mixture is still warm and slightly sticky, gently press the candy corn into the top. I like to arrange mine in rows or a fun pattern, but you can just scatter them randomly. Press them just enough so they’re embedded—about halfway in. If you push them all the way down, they’ll disappear into the treat. If you leave them too loose, they’ll fall off when you cut.
- Let them set. Let the treats cool at room temperature for at least 30 minutes. Don’t rush this and don’t put them in the fridge—they’ll get hard and lose their chewiness. Patience, friend.
- Cut and serve. Once completely cool, lift the whole block out using the parchment overhang. Place on a cutting board. Use a sharp knife to cut into squares. I like 2-inch squares, but go with whatever size works for you. Wipe the knife clean between cuts for neater edges.
One thing I learned the hard way: if your candy corn starts sliding off when you cut, your treats might have cooled too much before you added them. Next time, add the candy corn while the mixture is still quite warm. You’ll get the hang of the timing after one batch.
Cooking Tips & Techniques
I’ve made more batches of Rice Krispie treats than I can count, and I’ve definitely made my share of mistakes. Here’s what I’ve learned so you don’t have to repeat my failures.
Low and slow is your friend. I cannot stress this enough. Medium-low heat for melting the butter and marshmallows. High heat will scorch the marshmallows and give you a grainy, burnt-tasting mess. I learned this when I was rushing for a school party and ended up with brown, sad treats. Never again.
Don’t overmix the cereal. I know it’s tempting to keep stirring until everything looks perfect, but the more you mix, the more the cereal crushes. Crushed cereal means dense, hard treats. Fold just until everything is coated, then stop. A few dry spots are better than crushed cereal.
The water trick for pressing. Wet your hands with cold water before pressing the mixture into the pan. The cold water keeps the marshmallow from sticking to your fingers. Just shake off the excess water first—you don’t want to add water to the treats. This trick changed my life, honestly.
Cut with confidence. Use a sharp knife and cut straight down. Don’t saw back and forth. One clean cut per line. If your knife starts sticking, wipe it clean and wet it slightly. For the cleanest edges, I sometimes spray my knife with non-stick spray.
Timing is everything. Work quickly once the marshmallow mixture is ready. It starts setting as soon as it cools, so have your pan prepped and your candy corn ready to go before you start melting. I learned this the hard way when I was scrambling to find the candy corn while my mixture was turning into a solid block.
Variations & Adaptations
One of the best things about this recipe is how easy it is to switch up. Here are some of my favorite variations.
Chocolate Drizzle: Melt 1/2 cup of dark or milk chocolate chips with a teaspoon of coconut oil and drizzle it over the top before adding the candy corn. The chocolate sets up as the treats cool, and it adds a whole new layer of decadence. I did this for a Halloween party and people lost their minds.
Spooky Swirl: Add a few drops of orange food coloring to the marshmallow mixture before adding the cereal. Swirl it in gently so you get streaks of orange throughout. It looks so festive and the kids love it. Just use gel food coloring, not liquid, so you don’t add extra moisture.
Nutty Crunch: Fold in 1/2 cup of chopped peanuts or pecans along with the cereal. The crunch is amazing and it balances the sweetness of the candy corn. My husband requests this version every year.
Gluten-Free Option: Rice Krispies are naturally gluten-free, but check the label to make sure your specific box is certified if you need it. Most are, but some store brands might have cross-contamination risks. Also check your candy corn—most brands are gluten-free too.
Mini Mummy Bites: Instead of a full pan, press the mixture into a mini muffin tin sprayed with non-stick spray. Press a candy corn into each one. You get these adorable little bite-sized treats that are perfect for parties. Just reduce the pressing time—they set up faster in smaller portions.
I’ve also tried using different cereals—Froot Loops make a colorful version, and Cocoa Pebbles give you a chocolate base. Both are delicious, but nothing beats the classic crunch of Rice Krispies with the candy corn.
Serving & Storage Suggestions
These treats are best served at room temperature. The texture is perfectly chewy, not too hard and not too soft. If they’ve been in the fridge, let them sit out for about 10 minutes before serving.
For presentation, I like to arrange them on a platter lined with orange or black napkins. You can also stack them in a jar tied with a ribbon for a cute Halloween gift. For parties, I sometimes cut them into smaller bite-sized squares and put them in a bowl—they disappear fast.
Storage: Keep them in an airtight container at room temperature for up to 3 days. Layer them with parchment paper between each layer so they don’t stick together. Do NOT refrigerate them—the cold makes them hard and the candy corn gets weirdly chewy. If your kitchen is hot and humid, they might get a little sticky, but they’ll still taste great.
Freezing: You can freeze these for up to a month. Wrap each square individually in plastic wrap, then place them in a freezer bag. To thaw, just leave them at room temperature for about 30 minutes. The texture won’t be quite as perfect as fresh, but they’re still delicious. I’ve done this for Halloween parties where I wanted to prep ahead, and no one knew the difference.
One thing I love about these treats is that the flavors actually meld together a bit after a day. The marshmallow absorbs a tiny bit of the candy corn sweetness, and everything just comes together. They’re good fresh, but they’re even better the next day.
Nutritional Information & Benefits
Let’s be real—these are a treat, not a health food. But here’s the breakdown so you know what you’re working with. Per square (based on 24 squares from one batch):
- Calories: Approximately 150-170 calories per square
- Fat: About 4 grams (mostly from butter)
- Carbohydrates: Around 30 grams
- Sugar: About 18 grams (includes marshmallows and candy corn)
- Protein: 1-2 grams
- Sodium: Around 100-120 milligrams
On the plus side, Rice Krispies are fortified with iron and B vitamins, so there’s a tiny nutritional silver lining. The butter provides a small amount of vitamin A. But honestly? These are about joy, not nutrition. They’re a Halloween treat meant to be enjoyed in moderation.
Allergen Note: This recipe contains dairy (butter). Rice Krispies are made from rice and are gluten-free, but check your box for certification if needed. Candy corn is typically gluten-free and nut-free, but always read labels if you’re serving someone with allergies. Some candy corn is made in facilities that process peanuts.
If you’re looking for a lower-sugar option, you can use a sugar-free marshmallow alternative and sugar-free candy corn. The texture will be slightly different, but it’s a decent swap. I’ve tried it and honestly, the regular version is better, but the option is there.
Conclusion
These Easy Halloween Rice Krispie Treats with Candy Corn are the kind of recipe that makes you look like a hero with almost zero effort. They’re quick, they’re festive, and they use ingredients you probably already have in your pantry. Whether you’re making them for a school party, a Halloween gathering, or just a fun afternoon with your kids, they never disappoint.
What I love most about this recipe is how customizable it is. You can go classic with just candy corn, or you can dress it up with chocolate drizzle, food coloring, or different cereals. The base recipe is so forgiving that you really can’t mess it up. And honestly, even if you do—even if your treats are a little too hard or the candy corn falls off—they’ll still taste amazing. I promise.
So go ahead, give these a try. I’d love to hear how they turn out for you. Did you add your own twist? Did your kids help press them in? Drop a comment below and let me know. And if you share a photo on Pinterest, tag me—I want to see your beautiful Halloween creations!
Happy Halloween, and happy snacking!
Frequently Asked Questions
Can I use mini marshmallows instead of regular?
Yes, absolutely. If you’re using mini marshmallows, use 4 cups instead of the standard 10-ounce bag. Mini marshmallows melt a little faster, so keep an eye on them and stir constantly.
How do I keep the candy corn from falling off?
Press the candy corn into the mixture while it’s still warm and sticky. Push them in about halfway. If you wait too long and the mixture has cooled, the candy corn won’t stick as well. Also, make sure you’re using fresh marshmallows—stale ones don’t get as sticky.
Can I make these ahead of time?
Yes! You can make them up to 2 days ahead. Store them in an airtight container at room temperature. Don’t refrigerate them, or they’ll get hard. If you’re making them for a party, I actually think they taste even better the next day.
How do I cut them without making a mess?
Use a sharp knife and cut straight down—don’t saw back and forth. Wipe the knife clean between cuts. For extra clean edges, spray your knife with non-stick cooking spray before cutting. Let the treats cool completely before cutting, too.
Can I freeze these treats?
Yes, you can freeze them for up to a month. Wrap each square individually in plastic wrap, then place them in a freezer bag. Thaw at room temperature for about 30 minutes before serving. The texture won’t be quite as perfect as fresh, but they’re still delicious.
Pin This Recipe!
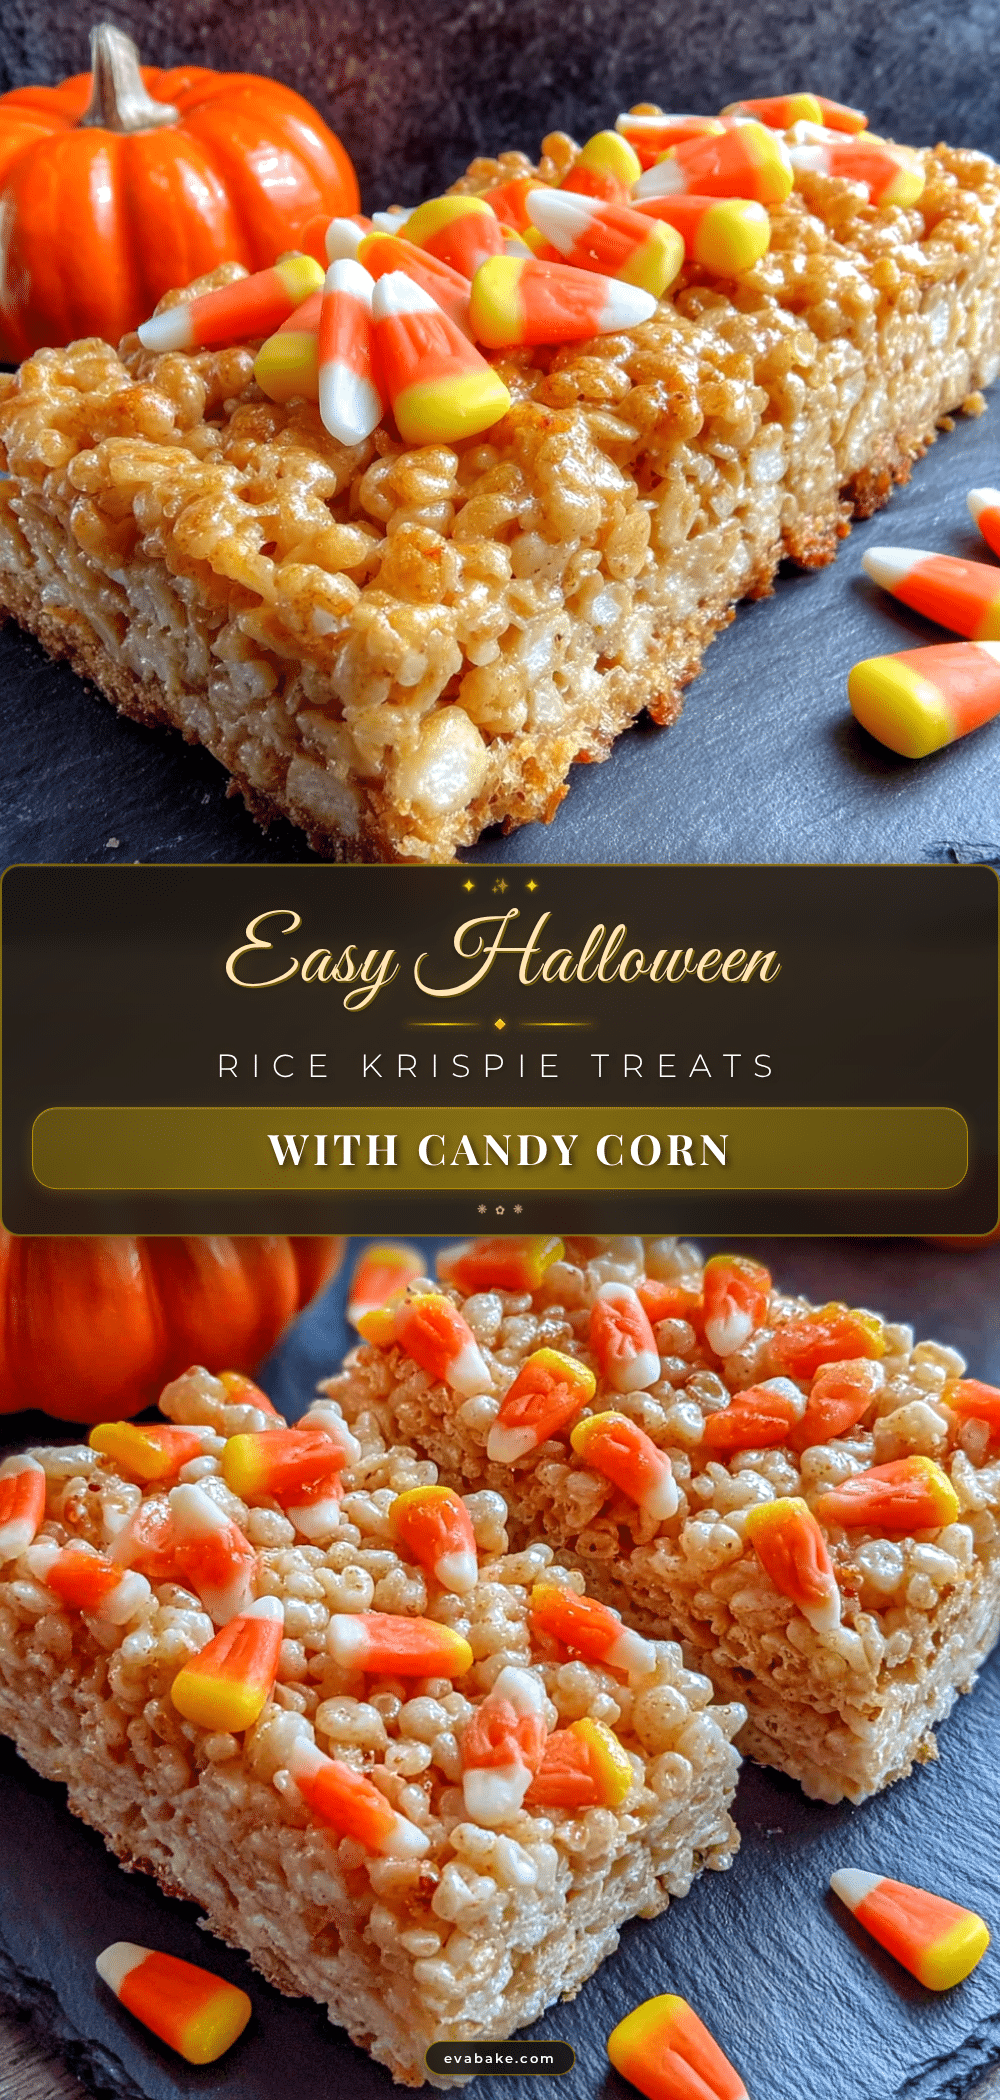
Easy Halloween Rice Krispie Treats with Candy Corn
These quick and easy Halloween Rice Krispie treats are topped with candy corn for a festive, no-fuss dessert that’s perfect for parties and classroom gatherings.
- Prep Time: 10 minutes
- Cook Time: 5 minutes
- Total Time: 15 minutes
- Yield: 24 servings 1x
- Category: Dessert
- Cuisine: American
Ingredients
- 3 tablespoons unsalted butter (plus extra for greasing)
- 1 package (10 ounces) regular marshmallows
- 6 cups Rice Krispies cereal
- 1 cup candy corn
- 1/4 teaspoon vanilla extract (optional)
- Pinch of salt (optional)
Instructions
- Grease a 9×13-inch baking pan with butter or non-stick spray. Line with parchment paper, leaving overhang on two sides. Grease the parchment lightly.
- In a large saucepan over medium-low heat, melt 3 tablespoons of butter slowly. Do not let it brown.
- Add the entire bag of marshmallows. Stir constantly until about 75% melted, then remove from heat.
- If using, stir in vanilla extract and salt until smooth and silky.
- Pour in 6 cups of Rice Krispies cereal. Fold gently until evenly coated. Do not overmix.
- Scrape the mixture into the prepared pan. With wet hands or greased wax paper, press firmly and evenly into the pan.
- While still warm, gently press candy corn into the top, embedding them about halfway.
- Let cool at room temperature for at least 30 minutes. Do not refrigerate.
- Lift the block out using parchment overhang. Cut into squares with a sharp knife, wiping clean between cuts.
Notes
Use fresh marshmallows for best results. Add candy corn while mixture is still warm to prevent them from falling off. Do not refrigerate; store in an airtight container at room temperature for up to 3 days. For freezing, wrap individually and thaw at room temperature.
Nutrition
- Serving Size: 1 square
- Calories: 160
- Sugar: 18
- Sodium: 110
- Fat: 4
- Saturated Fat: 2
- Carbohydrates: 30
- Protein: 1
Keywords: Halloween treats, Rice Krispie treats, candy corn, easy dessert, no-bake, kid-friendly