I was standing in the frozen foods aisle of our local grocery store last December when a woman walked past me carrying a box of hot cocoa bombs. The crinkle of the cellophane wrapper, the faint scent of chocolate that escaped from the box—and suddenly I was seven years old in my Aunt Clara’s tiny kitchen. She had this chipped yellow mixing bowl that she’d owned since the 1970s, and every Christmas Eve she’d let me help her make what she called “magic snowballs.” They were just chocolate spheres filled with powdered hot cocoa mix and tiny marshmallows, but to me, they were actual wizardry. I’d stand on a step stool, my fingers dusted with cocoa powder, watching her pour warm milk over one of those balls while the marshmallows erupted to the surface. She passed away five years ago, and I haven’t thought about those snowballs in maybe a decade. But there in that grocery store aisle, I could feel the weight of that wooden spoon in my hand again. So I bought a bag of chocolate melting wafers, a set of silicone molds, and spent the next three evenings trying to get it right. Let me tell you—my first batch looked like a chocolate disaster zone. But by the fourth try, I had it. And honestly, that first perfect sphere cracking open under a stream of hot milk? It was like being seven again, but this time I was the one making the magic.
Why You’ll Love This Recipe
These easy hot cocoa bombs with marshmallows are the kind of recipe that makes you look like a kitchen rockstar with almost zero effort. I mean that sincerely—I’ve made these for holiday parties, cozy nights in, and even as last-minute hostess gifts, and every single time people act like I spent hours slaving away. The secret is that the process is actually pretty forgiving once you get the hang of it, and the payoff is absolutely stunning.
- Quick & Easy: From start to finish, you’re looking at about 30 minutes of active work. The rest is just waiting for chocolate to set.
- Simple Ingredients: You need exactly four main ingredients—chocolate, hot cocoa mix, marshmallows, and a tiny bit of coconut oil. That’s it.
- Perfect for Winter Gatherings: Whether it’s a Christmas party, a New Year’s Eve celebration, or a snow day with the kids, these bombs are guaranteed to steal the show.
- Crowd-Pleaser: I’ve served these to everyone from picky toddlers to my uncle who claims he “doesn’t do sweets,” and they disappear every time.
- Unbelievably Delicious: The combination of rich chocolate shell, creamy hot cocoa, and fluffy marshmallows is next-level comfort in a mug.
What makes these different from every other hot cocoa bomb recipe out there? It’s the little tricks I learned from my failed batches. Using a tiny bit of coconut oil in the chocolate makes the shells shinier and less likely to crack. Freezing the molds for exactly 10 minutes between coats creates a perfectly even shell. And I’ve tested three different brands of cocoa mix to find the one that dissolves fastest without clumping. This isn’t just another version—it’s the version I’d make for my own holiday table, the one that makes people close their eyes after that first sip.
What Ingredients You Will Need
This recipe uses simple, pantry-friendly ingredients to create something that feels genuinely luxurious. I’ve tested each one to make sure they work together perfectly, and I’ll share a few brand preferences and substitution notes along the way.
- 12 ounces (340g) high-quality chocolate melting wafers or chopped chocolate – I personally prefer Ghirardelli melting wafers for their smooth consistency and glossy finish. You can use milk chocolate, dark chocolate, or even white chocolate depending on your preference. If you’re using chopped chocolate bars, make sure they’re finely chopped so they melt evenly. Avoid chocolate chips if possible—they contain stabilizers that can make the shells grainy.
- 1 teaspoon coconut oil (optional but recommended) – This tiny addition makes the chocolate shells more pliable and gives them a beautiful shine. You can substitute with vegetable shortening if that’s what you have on hand.
- 1/2 cup (60g) hot cocoa mix – I’ve tested this with Swiss Miss, Ghirardelli, and Starbucks hot cocoa mixes, and they all work well. Swiss Miss dissolves the fastest, which is nice. If you’re using a gourmet mix, just make sure it’s finely powdered—some artisanal mixes have larger crystals that don’t dissolve as quickly.
- 1/2 cup (about 60g) mini marshmallows – You want the tiny ones here. Regular-sized marshmallows won’t fit well inside the spheres. Jet-Puffed mini marshmallows are my go-to because they’re soft and fluffy without being too dense.
- Optional decorations: Sprinkles, crushed candy canes, edible glitter, or drizzled white chocolate for the outside. These are purely for presentation, but they do make the bombs look extra festive.
Ingredient Selection Tips: When choosing chocolate, look for something you’d actually enjoy eating on its own. The quality of the chocolate really matters here because it’s the star of the show. For the cocoa mix, avoid sugar-free or low-sugar versions—they don’t dissolve as well and can leave a gritty texture. And if you’re making these for a crowd, consider buying the large bag of mini marshmallows because you’ll probably snack on a few while you work. I always do.
Substitution Guidance: For a dairy-free version, use dairy-free chocolate and a dairy-free hot cocoa mix. Coconut oil works perfectly as the fat additive. For a lower-sugar option, you can use sugar-free chocolate and a reduced-sugar cocoa mix, though the texture of the shell might be slightly different. I’ve tried both and they work, but the full-sugar version is definitely more satisfying.
Equipment Needed
You don’t need a lot of fancy tools for this recipe, which is part of why I love it. Here’s what you’ll need to have on hand:
- Silicone sphere mold – I use a 2.5-inch diameter mold that makes six spheres at a time. You can find these on Amazon or at most craft stores for under $10. The silicone is important because it allows the chocolate shells to release easily without cracking.
- Microwave-safe bowl – For melting the chocolate. Glass or ceramic works best.
- Small spoon or offset spatula – For spreading the chocolate inside the molds.
- Baking sheet – To hold the mold while it sets in the freezer.
- Piping bag or small zip-top bag – For drizzling decorative chocolate on top if you’re going that route.
- Pastry brush (optional) – Some people prefer brushing the chocolate into the molds instead of using a spoon. I’ve tried both and honestly, the spoon method is faster and less messy.
Budget-Friendly Tip: If you don’t want to buy a silicone mold, you can use a regular muffin tin lined with paper liners. The bombs won’t be perfectly spherical—they’ll be more like domed cups—but they’ll still taste amazing and look cute. I’ve done this in a pinch and nobody complained.
Preparation Method
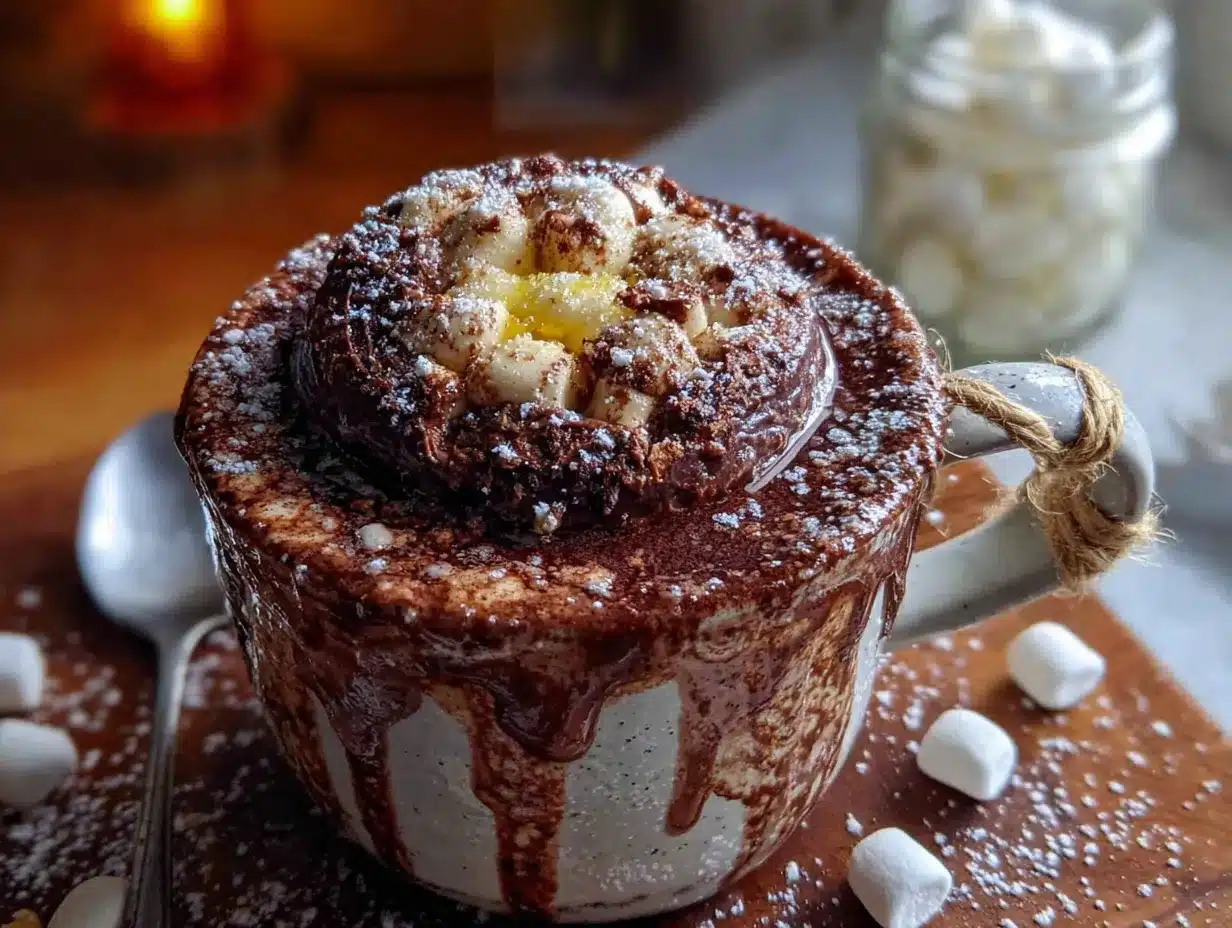
Let’s walk through this step by step. I’ve included all the little details I wish someone had told me before my first attempt.
- Melt the chocolate – Place the chocolate melting wafers and coconut oil in a microwave-safe bowl. Microwave in 30-second intervals, stirring thoroughly between each interval, until the chocolate is completely smooth and glossy. This usually takes about 2 minutes total. Be careful not to overheat the chocolate—if it seizes or becomes grainy, you’ll need to start over. I’ve ruined two batches this way, and it’s frustrating.
- Prepare the molds – Using a small spoon, add about 1 tablespoon of melted chocolate to each cavity of the silicone mold. Use the back of the spoon to spread the chocolate up the sides, making sure to cover the entire surface evenly. You want the chocolate layer to be about 1/8 inch thick. Don’t worry if it’s not perfect—you’ll add a second coat later.
- First chill – Place the mold on a baking sheet and put it in the freezer for exactly 10 minutes. The chocolate should be firm to the touch but not rock hard. If it cracks when you try to work with it, it’s been in too long. If it’s still soft, give it another 2-3 minutes.
- Second coat – Remove the mold from the freezer. Using your spoon, add another thin layer of melted chocolate to each cavity, making sure to reinforce any thin spots. This second coat is what makes the shells sturdy enough to handle. Return to the freezer for another 10 minutes.
- Remove the shells – Gently flex the silicone mold to release the chocolate hemispheres. They should pop out easily. If they’re sticking, let them sit at room temperature for 1-2 minutes and try again. Place the hemispheres on a parchment-lined baking sheet.
- Fill the bombs – Take half of the chocolate hemispheres and fill each one with about 1 tablespoon of hot cocoa mix and 1 tablespoon of mini marshmallows. Don’t overfill—you need room to seal the two halves together. I learned this the hard way when my first batch exploded in the microwave.
- Seal the bombs – Warm a small plate in the microwave for 30 seconds. Place the empty hemisphere (the one you’re using as the top) on the warm plate for about 5 seconds to slightly melt the edge. Immediately press it onto the filled hemisphere, gently smoothing the seam with your finger. The warmth should create a perfect seal. If the seam is visible, you can run a warm knife along it to smooth it out.
- Final chill – Place the sealed bombs back in the freezer for 5 minutes to set the seam. This step is crucial—if you skip it, the bombs might fall apart when you handle them.
- Decorate (optional) – If you want to add sprinkles, crushed candy canes, or a drizzle of white chocolate, do it now while the shells are still cold. The decorations will stick better. Let the bombs sit at room temperature for about 10 minutes to set completely.
Cooking Tips & Techniques
I’ve made about sixty of these bombs over the past few weeks, and I’ve learned a few things the hard way. Let me save you some trouble.
Temperature is everything. If your kitchen is warm (above 75°F), the chocolate might not set properly. In that case, work in smaller batches and keep the molds in the freezer between steps. I made the mistake of trying to rush through a batch on a warm afternoon, and the shells never firmed up properly.
Don’t skip the coconut oil. I know it seems like an extra step, but that tiny amount of fat makes the chocolate shells flexible enough to remove from the mold without cracking. Without it, you’ll end up with broken hemispheres and a lot of swearing. Trust me on this.
Work quickly but carefully. Once you start filling and sealing the bombs, the chocolate warms up from your hands pretty fast. If the shells start feeling soft, pop them back in the freezer for 5 minutes before continuing. I keep a small bowl of ice water nearby to cool my fingers if they get too warm.
The seam is the weak point. If your bombs crack anywhere, it’s almost always along the seam. To reinforce it, I sometimes run a thin line of melted chocolate along the seam after sealing and let it set in the freezer. It’s an extra step, but it makes the bombs practically indestructible.
Multitasking strategy: While the first coat of chocolate is setting in the freezer, I prep the fillings and decorations. This keeps the whole process moving efficiently. I’ve also learned to make the chocolate in two batches—melting all of it at once can cause it to thicken as it cools, making it harder to work with toward the end.
Variations & Adaptations
One of the best things about this recipe is how easy it is to customize. Here are a few variations I’ve tried and loved:
- Peppermint Hot Cocoa Bombs: Add 1/4 teaspoon of peppermint extract to the melted chocolate and crush candy canes to mix into the cocoa powder filling. Top the finished bombs with crushed candy cane pieces. These are my personal favorite for Christmas morning.
- White Chocolate Raspberry Bombs: Use white chocolate for the shells and add a few freeze-dried raspberries to the cocoa mix inside. The tartness of the raspberries cuts through the sweetness beautifully. I made these for Valentine’s Day and they were a huge hit.
- Spiced Mexican Hot Cocoa Bombs: Mix 1/2 teaspoon of cinnamon and a pinch of cayenne pepper into the cocoa powder. The warmth of the spices pairs perfectly with the rich chocolate shell. This one’s for the adventurous eaters in your crowd.
- Dairy-Free/Vegan Version: Use dairy-free chocolate (Enjoy Life is my go-to brand), a dairy-free hot cocoa mix, and vegan mini marshmallows (Dandies makes great ones). The coconut oil is already dairy-free, so that’s one less thing to worry about.
- Kid-Friendly Decorating Station: Set up a decorating station with sprinkles, edible glitter, and colored drizzles. Let the kids decorate their own bombs before sealing them. It’s messy but so much fun—and the results are always charmingly imperfect.
Serving & Storage Suggestions
These hot cocoa bombs are best served immediately after making them, but they store surprisingly well too.
How to serve: Place one bomb in a mug and pour 8-10 ounces of hot milk (or water) over it. Watch as the chocolate shell melts and the marshmallows erupt to the surface—it’s genuinely magical. Stir well to combine the melted chocolate with the milk. I recommend warming the mugs beforehand by filling them with hot water for a minute and then emptying them. This helps the bomb melt more evenly.
What to serve alongside: These bombs are rich enough on their own, but they pair beautifully with a plate of shortbread cookies, gingerbread, or even a simple buttered toast for dipping. For a grown-up gathering, set out a small pitcher of Baileys or peppermint schnapps for guests to add to their mugs.
Storage instructions: Store the finished bombs in an airtight container at room temperature for up to 2 weeks. Do not refrigerate them—the chocolate can develop condensation, which will make the shells sticky and dull. If you live in a warm climate, store them in a cool, dark cupboard. For longer storage, you can freeze the bombs for up to 3 months. Place them in a single layer in a freezer-safe container with parchment paper between layers. Thaw at room temperature for 30 minutes before serving.
Flavor development: Interestingly, the bombs actually taste better after a day or two. The flavors meld together, and the chocolate shell develops a slightly softer texture that melts more evenly in hot milk. So if you’re making these for a party, making them a day ahead is actually ideal.
Nutritional Information & Benefits
Let’s be honest—these are a treat, not a health food. But knowing what’s in them can help you enjoy them mindfully.
One hot cocoa bomb (made with milk chocolate and whole milk) contains approximately:
- Calories: 280-320
- Fat: 16-20g
- Carbohydrates: 32-38g
- Sugar: 24-28g
- Protein: 4-6g
Health highlights: Dark chocolate (if you choose that option) is rich in antioxidants and contains minerals like iron, magnesium, and zinc. The cocoa powder in the mix also provides flavonoids, which are beneficial plant compounds. And yes, there’s a small amount of calcium from the milk you use to prepare the drink.
Dietary considerations: This recipe can easily be made gluten-free (most hot cocoa mixes are naturally gluten-free, but always check the label). For a lower-sugar version, use sugar-free chocolate and a reduced-sugar cocoa mix. The coconut oil adds healthy fats, and if you use dark chocolate, you’ll get more antioxidants with less sugar.
My personal perspective: I believe in enjoying treats in moderation. These bombs are special—they’re not an everyday thing. When I serve them, I want everyone to savor every sip without guilt. So I focus on quality ingredients and mindful portions. One bomb per person is plenty, and the joy it brings is worth every calorie.
Conclusion
These easy hot cocoa bombs with marshmallows are more than just a winter treat—they’re a little piece of magic you can hold in your hands. Whether you’re making them for a holiday party, a cozy night in, or as gifts for friends and family, they never fail to bring smiles. The process is forgiving enough for beginners but satisfying enough for experienced bakers, and the result is genuinely impressive.
I love that this recipe lets me recreate that feeling I had in Aunt Clara’s kitchen—the warmth, the sweetness, the sense of creating something special. And now I get to share that feeling with everyone I serve. I hope you’ll make these bombs your own, experiment with flavors and decorations, and find your own version of that magic.
Have you tried making hot cocoa bombs? I’d love to hear about your creations! Drop a comment below sharing your favorite flavor combination or any tips you discovered along the way. And if you loved this recipe, please share it with a friend who needs a little winter warmth. Happy sipping!
Frequently Asked Questions
Can I use chocolate chips instead of melting wafers?
You can, but I don’t recommend it. Chocolate chips contain stabilizers that prevent them from melting smoothly, which can make your shells grainy or lumpy. If that’s all you have, add an extra teaspoon of coconut oil to help them melt more evenly.
Why did my chocolate shells crack when I tried to remove them from the mold?
This usually happens for one of three reasons: the chocolate layer was too thin, the shells were in the freezer too long and became brittle, or you didn’t use enough coconut oil. Next time, add a second coat of chocolate and try removing the shells after exactly 10 minutes in the freezer.
Can I make these without a silicone mold?
Yes! Use a regular muffin tin lined with paper liners. The bombs will be dome-shaped instead of spherical, but they’ll taste just as good. You can also use plastic Easter egg molds if you have them—just make sure they’re food-safe.
How far in advance can I make hot cocoa bombs?
You can make them up to 2 weeks ahead and store them in an airtight container at room temperature. For longer storage, freeze them for up to 3 months. Just make sure they’re completely sealed so they don’t absorb any odors from the freezer.
What’s the best way to reheat leftover hot cocoa?
If you have leftover prepared hot cocoa, store it in the fridge and reheat it gently on the stovetop or in the microwave. The chocolate might separate slightly, so give it a good stir before drinking. Honestly, though, these bombs are best enjoyed fresh—the magic is in watching them melt!
Pin This Recipe!
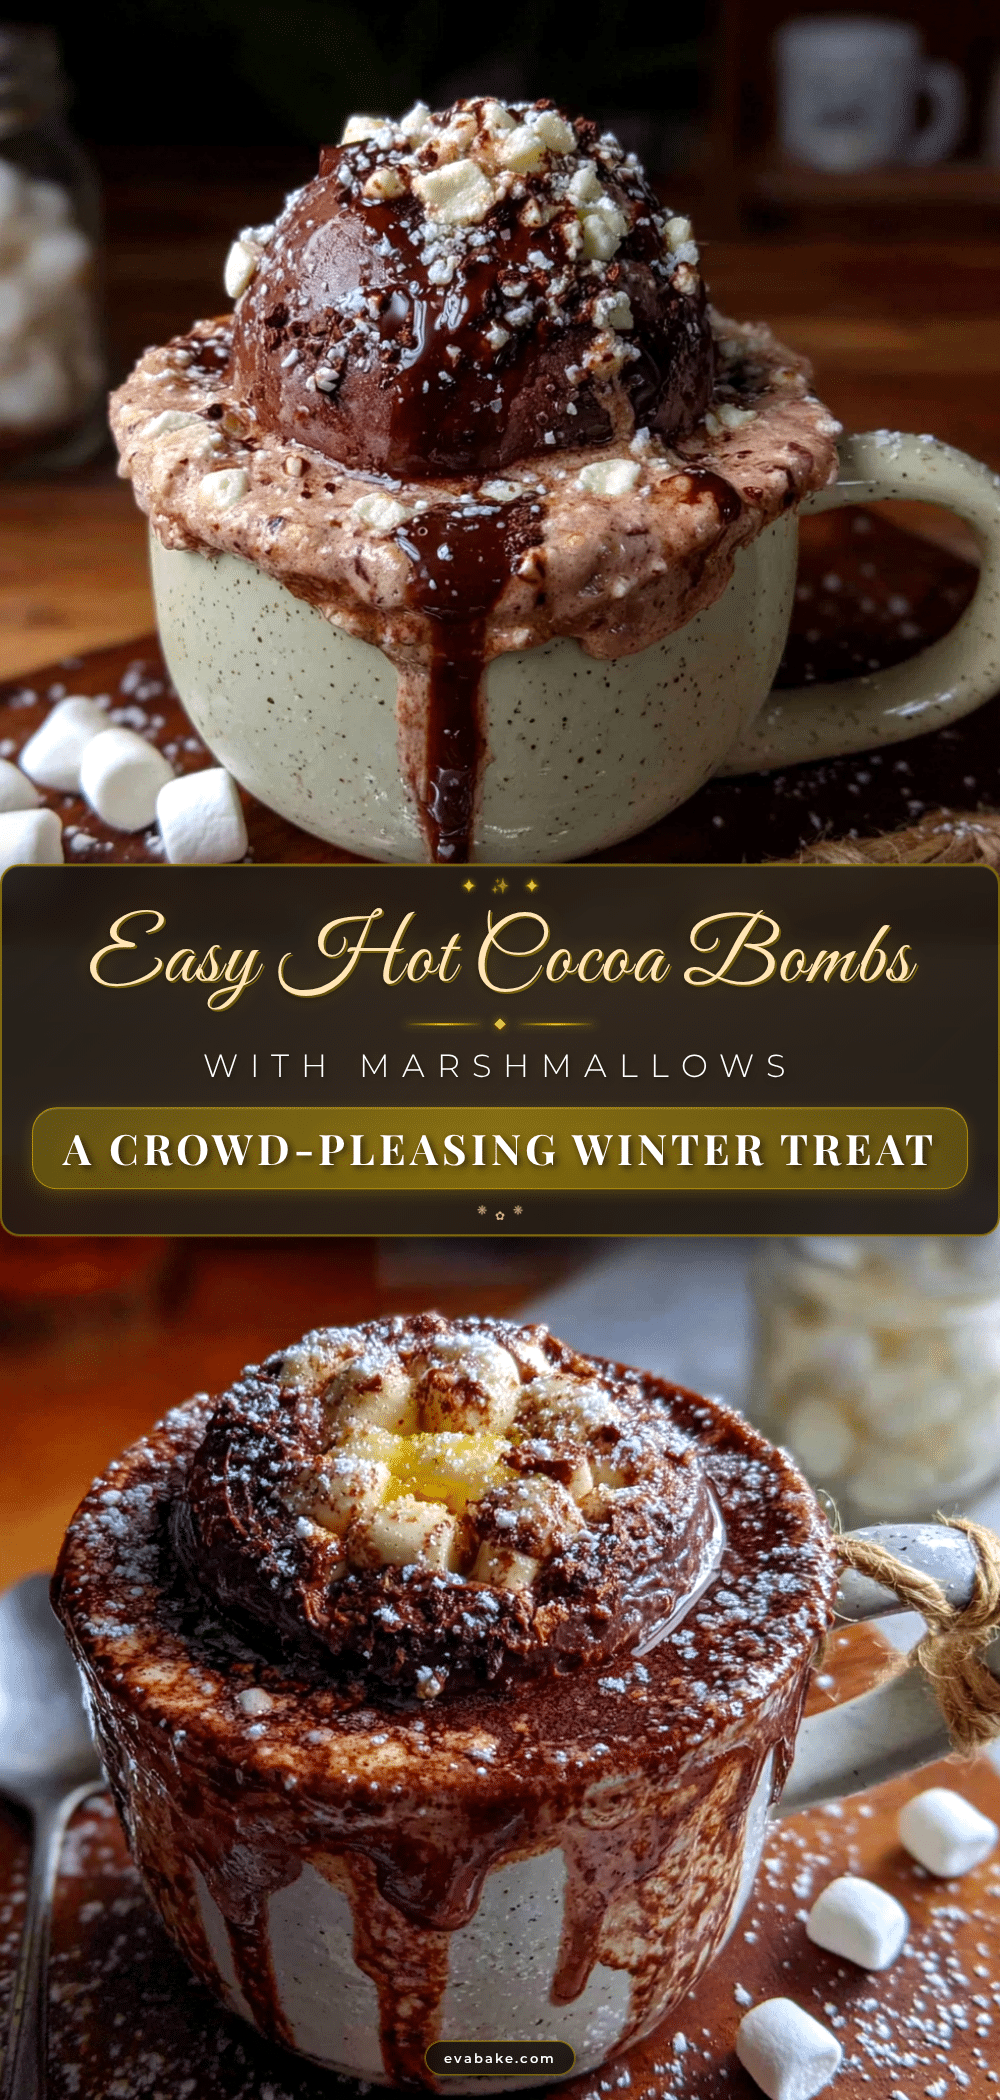
Easy Hot Cocoa Bombs with Marshmallows – Best Winter Treat
These easy hot cocoa bombs with marshmallows are a magical winter treat that looks impressive with minimal effort. Made with just four main ingredients, they create a rich chocolate shell that erupts with marshmallows when hot milk is poured over.
- Prep Time: 30 minutes
- Cook Time: 0 minutes
- Total Time: 30 minutes active, plus chilling time
- Yield: 6 servings 1x
- Category: Dessert
- Cuisine: American
Ingredients
- 12 ounces (340g) high-quality chocolate melting wafers or chopped chocolate
- 1 teaspoon coconut oil (optional but recommended)
- 1/2 cup (60g) hot cocoa mix
- 1/2 cup (about 60g) mini marshmallows
- Optional decorations: sprinkles, crushed candy canes, edible glitter, or drizzled white chocolate
Instructions
- Melt the chocolate: Place the chocolate melting wafers and coconut oil in a microwave-safe bowl. Microwave in 30-second intervals, stirring thoroughly between each interval, until the chocolate is completely smooth and glossy (about 2 minutes total).
- Prepare the molds: Using a small spoon, add about 1 tablespoon of melted chocolate to each cavity of the silicone mold. Use the back of the spoon to spread the chocolate up the sides, covering the entire surface evenly to about 1/8 inch thick.
- First chill: Place the mold on a baking sheet and put it in the freezer for exactly 10 minutes until firm but not rock hard.
- Second coat: Remove the mold from the freezer. Add another thin layer of melted chocolate to each cavity, reinforcing any thin spots. Return to the freezer for another 10 minutes.
- Remove the shells: Gently flex the silicone mold to release the chocolate hemispheres. Place them on a parchment-lined baking sheet.
- Fill the bombs: Take half of the chocolate hemispheres and fill each with about 1 tablespoon of hot cocoa mix and 1 tablespoon of mini marshmallows. Do not overfill.
- Seal the bombs: Warm a small plate in the microwave for 30 seconds. Place an empty hemisphere on the warm plate for about 5 seconds to slightly melt the edge. Immediately press it onto the filled hemisphere, smoothing the seam with your finger.
- Final chill: Place the sealed bombs back in the freezer for 5 minutes to set the seam.
- Decorate (optional): Add sprinkles, crushed candy canes, or a drizzle of white chocolate while shells are still cold. Let sit at room temperature for about 10 minutes to set completely.
Notes
Temperature is crucial—work in a cool kitchen (below 75°F). Don’t skip the coconut oil as it prevents cracking. Work quickly when filling and sealing as the chocolate warms from your hands. The seam is the weak point; reinforce with a thin line of melted chocolate if needed. Bombs taste even better after a day or two as flavors meld.
Nutrition
- Serving Size: 1 bomb with 8-10 oz
- Calories: 300
- Sugar: 26
- Sodium: 150
- Fat: 18
- Saturated Fat: 10
- Carbohydrates: 35
- Fiber: 2
- Protein: 5
Keywords: hot cocoa bombs, hot chocolate bombs, winter treat, Christmas dessert, homemade hot cocoa, chocolate spheres, marshmallow hot cocoa


