The first time I packed a lunch for my oldest, I stared at those flimsy plastic trays in the grocery store aisle and just couldn’t do it. The processed meat, the chalky crackers, the tiny portion of dessert that felt more like a bribe than a treat. I wanted something better for her, but I also needed it to be just as fast. I had been looking for a lunch solution that actually felt like a treat to open but didn’t require me to cook a single thing. For a while, I just accepted that packing a fun, balanced lunch for a picky kid meant either spending a fortune on pre-packaged kits or standing over a hot stove at 7 AM. Neither option felt right. Then, on a particularly chaotic Tuesday morning when the cereal box was empty and the bananas had turned overnight, I grabbed whatever was in the fridge—some cheese cubes, leftover salami, a handful of grapes—and threw them into a little compartment container. My daughter came home with an empty box and a huge smile. That was the moment I realized the best lunches aren’t always the ones you spend the most time on. They’re the ones you build with intention, not stress.
This easy DIY Lunchable bento box for kids (no-cook) is the direct result of that Tuesday morning scramble. It’s not fancy. It doesn’t require a special trip to the store. But honestly, it’s the lunch I reach for again and again because it actually works. Kids love the variety, and I love that I can put it together in about five minutes flat. If you’ve ever felt that little pang of guilt when your kid asks for a store-bought lunch kit, this is your answer. It’s the same concept, but better—fresher, cheaper, and completely customizable to what your child actually likes. And the best part? You don’t have to turn on the stove or the oven.
Why You’ll Love This Recipe
Let’s be real for a second. Mornings are hard enough without adding a gourmet cooking project to the list. This DIY lunchable idea was born out of pure survival mode, and it has honestly changed the way I approach lunch packing. Here’s why you’ll love it as much as I do:
- No Cooking Required: This is a true no-cook recipe. Zero heat, zero prep time beyond chopping a few things. You can literally assemble it while your coffee is brewing.
- Way Cheaper Than Store-Bought: Those little plastic trays cost a fortune per serving. When you buy your ingredients in bulk and make your own, you save serious money. And you get way more food for the price.
- Totally Customizable: Does your kid hate turkey but love ham? No problem. Allergic to dairy? Swap the cheese for hummus. The beauty of this easy DIY Lunchable bento box for kids (no-cook) is that you are in complete control.
- Perfect for Picky Eaters: The bento style lets kids see everything at once. They can eat in any order they want, which sounds small but makes a huge difference for a child who feels overwhelmed by a mixed-up sandwich.
- Built for School or Home: Whether it’s a school lunch, a picnic in the park, or a quick lunch on a busy Saturday, this box travels beautifully. It’s sturdy, stays fresh, and doesn’t get soggy.
This isn’t just another lunch idea. It’s the one your kid will actually look forward to opening. It’s the kind of lunch that makes them feel special without you having to stress. Trust me, the first time they come home with an empty container and ask for “the lunch with the little compartments,” you’ll know you’ve won.
What Ingredients You Will Need
This recipe is all about simplicity. You don’t need a long list of obscure ingredients. In fact, you probably have most of these in your fridge and pantry right now. The key is to pick things that hold up well in a lunchbox without getting mushy or weird by lunchtime. Here’s what I usually reach for:
For the Protein
- Deli Meat: Sliced turkey, ham, or roast beef work perfectly. I prefer nitrate-free brands like Applegate or Boar’s Head. Roll them up into little pinwheels or cut them into fun shapes with a small cookie cutter.
- Cheese: Cheddar cubes, mozzarella string cheese, or Swiss slices. Harder cheeses hold up better than soft ones. I cut them into cubes or use a crinkle cutter for a fun edge.
- Hard-Boiled Eggs: If you have a few minutes on Sunday, boil a batch. They’re a great protein option and keep well in the fridge.
For the Crunch
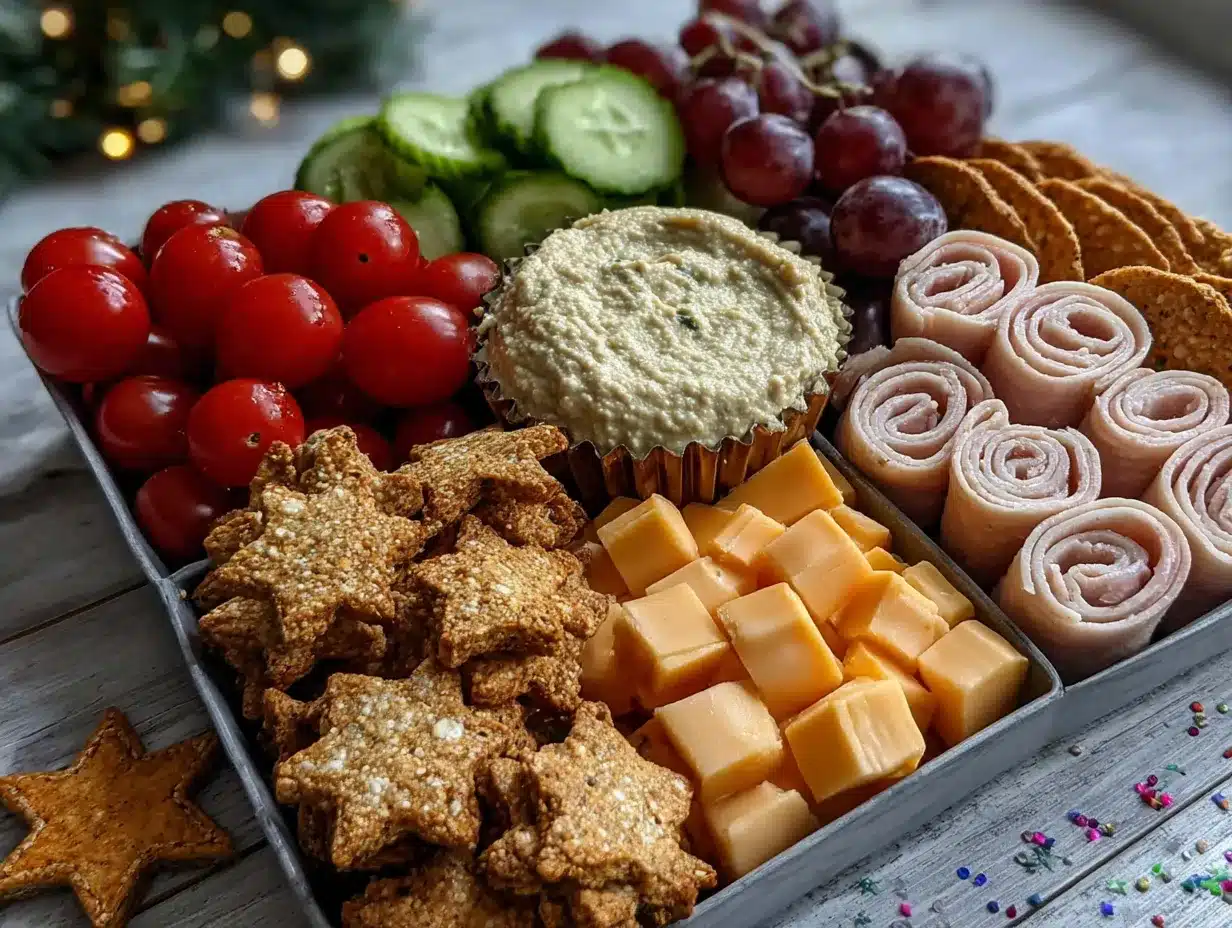
- Crackers: Whole wheat butter crackers, mini pretzels, or even plain rice cakes. I love using the little fish-shaped crackers or mini bagel chips for variety. Avoid anything too thin or fragile.
- Veggie Sticks: Baby carrots, cucumber rounds, or bell pepper strips. They add a fresh crunch and are easy to prep ahead. You can also add a few cherry tomatoes if your kid likes them.
For the Sweet & Fun Factor
- Fresh Fruit: Grapes (halved for little ones), apple slices (tossed in a little lemon juice to prevent browning), or berries. Seasonal fruit like melon balls or peach slices are always a hit.
- Dried Fruit: Raisins, dried cranberries, or apricot halves. These are great for a sweet bite that doesn’t get squished.
- A Treat: A few dark chocolate chips, a mini cookie, or a small square of a homemade brown butter pumpkin chocolate chip blondie. Just a little something to make it feel special.
For the Dip (Optional but Recommended)
- Hummus: A small container of plain or roasted red pepper hummus is a great way to get kids to eat their veggies. I usually use Sabra or make my own.
- Yogurt Dip: A little Greek yogurt mixed with a drizzle of honey is perfect for fruit.
- Nut-Free Butter: Sunflower seed butter or WowButter are safe for school environments and taste great with apple slices or pretzels.
This is the beauty of the easy DIY Lunchable bento box for kids (no-cook)—the ingredient list is less of a strict rulebook and more of a suggestion. You can swap, add, or subtract based on what you have and what your child loves. The only rule is to keep it balanced and fun!
Equipment Needed
One of the best things about this recipe is that you don’t need any fancy gadgets. If you have a knife and a cutting board, you’re basically ready to go. However, a few specific tools make the process even easier and more fun for the kids.
- A Bent-Style Lunch Box: This is the star of the show. Look for a container with 3 to 5 compartments. I personally love the Bentgo brand for their leak-proof lids and dishwasher-safe design. You can also find great budget-friendly options on Amazon or at Target.
- Small Cookie Cutters: These are not essential, but they are a game-changer for making food fun. A star, dinosaur, or heart shape can turn a boring cheese slice into something exciting. I keep a set of mini metal cutters just for lunch prep.
- Crinkle Cutter: This is another small tool that adds a lot of visual appeal. Cutting cucumber or carrot sticks with a crinkle edge makes them feel more like a snack and less like a vegetable.
- Small Silicone Cups: These are perfect for holding dips, sauces, or small treats like berries. They keep everything separated and prevent sogginess. You can find packs of 12 for a few dollars.
- A Good Knife and Cutting Board: A sharp chef’s knife makes quick work of cheese and fruit. I use a wooden cutting board, but any clean, stable surface works fine.
If you don’t have a bento box, don’t worry. You can use any container with a tight-fitting lid. Just use small cups or parchment paper dividers to keep the food separated. The goal is fun, not perfection.
Preparation Method
This is the easiest part. Seriously, you can do this in your sleep. Here’s the step-by-step process for building the perfect easy DIY Lunchable bento box for kids (no-cook):
- Prep Your Ingredients (5 minutes): Start by washing your fruit and vegetables. If you’re using apples, slice them into wedges and toss them in a little lemon juice or pineapple juice to stop them from turning brown. Cut your cheese into cubes or use a cookie cutter to make shapes. Roll your deli meat into tight little cylinders or fold them into quarters.
- Assemble the Base (2 minutes): Open your bento box. Place the crackers in one of the larger compartments. They should sit flat and not be stacked too high, or they might break. I usually put them in the top left compartment.
- Add the Protein (2 minutes): Place the rolled meat and cheese cubes in another compartment. If you’re using a dip, put it in a small silicone cup and place it in the center of the box or in a dedicated compartment. This keeps the crackers from getting soft.
- Add the Veggies and Fruit (3 minutes): Fill the remaining compartments with your fresh produce. I like to put the veggies in one spot and the fruit in another to keep flavors separate. A few grapes and some cucumber rounds look beautiful together.
- Add the Treat (1 minute): This is the fun part. Place a small treat in the smallest compartment. A single chocolate chip cookie, a few dark chocolate chips, or a small square of brown butter pumpkin chocolate chip blondie works perfectly. It’s a little surprise that makes the whole lunch feel special.
- Seal and Store (1 minute): Close the lid tightly. If you’re making it the night before, store it in the refrigerator. If you’re making it in the morning, it can go straight into a lunch bag with an ice pack. The box should stay fresh for up to 24 hours in the fridge.
Pro Tip: If you’re using a dip like hummus or yogurt, always pack it in a separate container or a silicone cup. Direct contact with crackers or veggies will make them soggy by lunchtime. Trust me, I learned this the hard way after a few very sad, mushy lunches.
Cooking Tips & Techniques
Even though this is a no-cook recipe, there are a few tricks I’ve learned over the years that make a big difference. These tips come from my own trials and errors (and a few lunchbox disasters).
- Keep It Cold: An ice pack is your best friend. Even if the ingredients are shelf-stable, a cold lunch tastes better and stays fresher longer. I use reusable gel packs and freeze them overnight.
- Don’t Overfill: It’s tempting to cram as much food as possible into the box, but a packed lunch can get crushed. Leave a little space for the food to breathe. It also helps keep the crackers from breaking.
- Prep Ahead on Sunday: Wash and cut all your fruit and veggies for the week. Store them in separate airtight containers. Then, in the morning, you just grab and go. It saves at least 10 minutes per lunch.
- Use a Variety of Textures: Kids love a mix of crunchy, soft, and chewy. A box with only soft food can be boring. Make sure you have at least one crunchy element (crackers, carrots) and one soft element (cheese, fruit).
- Let Them Help: If your kid is old enough, let them assemble their own lunch. They can choose the crackers, pick the fruit, and place the treat. Kids are way more likely to eat something they helped make. It’s a great way to build independence and reduce morning stress.
Variations & Adaptations
This recipe is a blank canvas. You can change it up every single day and never get bored. Here are some of my favorite variations:
- The Italian Job: Use salami, provolone cheese, marinated artichoke hearts, and a few olives. Add some mini breadsticks instead of crackers. It’s like a mini antipasto platter.
- The Healthy Green Box: Skip the crackers and use cucumber slices or bell pepper strips as the base. Add turkey or chicken slices, avocado chunks (tossed in lime juice), and a side of ranch dip. It’s low-carb and packed with veggies.
- The Breakfast-for-Lunch Box: Use mini pancakes or waffles as the base. Add a hard-boiled egg, a few turkey sausage links (pre-cooked), and a small container of maple syrup or yogurt for dipping. It’s a fun twist kids love.
- The PB&J Deconstructed: For nut-free schools, use sunflower seed butter. Pack the butter in a small cup, add a few whole-grain crackers, and include some apple slices or celery sticks. It’s the classic sandwich, but way more fun to eat.
- The Sweet Tooth Box: For a special treat, make a dessert-style box. Use graham crackers, a small container of chocolate hummus, strawberries, and a few marshmallows. It’s perfect for a birthday lunch or a Friday surprise.
One of my personal favorites is the “Taco Tuesday” box. I use a few crispy mini chicken quesadilla wedges (made ahead and chilled), some shredded lettuce, diced tomatoes, and a small cup of sour cream. It’s a full meal in a box and my kids go crazy for it.
Serving & Storage Suggestions
This lunch is designed to be eaten cold, straight from the box. But there are a few things you can do to make it even better.
- Serving Temperature: Serve cold. If you’re making it the night before, take it out of the fridge about 10 minutes before packing to take the chill off. Kids don’t love ice-cold food, but it needs to stay safe.
- Presentation: A little presentation goes a long way. Use colorful silicone cups. Cut fruit into fun shapes. Arrange the food in a visually appealing way. It sounds silly, but a pretty box makes a kid feel special.
- Storage: Store the assembled box in the refrigerator for up to 24 hours. Do not freeze it, as the texture of the fruit and veggies will suffer. If you’re prepping for the week, store the components separately and assemble in the morning.
- Reheating: There is no reheating needed for this recipe. It’s a cold lunch. If you want to add a warm element, you can pack a small thermos with heated soup or pasta, but keep the bento box separate.
- Flavor Development: This is one of those rare lunches that actually gets better after a few hours in the fridge. The flavors meld together, and the crackers stay crunchy if you keep them away from the wet ingredients. It’s a perfect make-ahead meal.
Nutritional Information & Benefits
While exact nutritional values depend on your specific ingredient choices, here is an estimate for a typical box containing turkey, cheddar, whole wheat crackers, carrots, grapes, and a small treat:
- Calories: Approximately 350-450 calories
- Protein: 20-25 grams (from the turkey and cheese)
- Carbohydrates: 30-40 grams (from crackers, fruit, and treat)
- Fat: 15-20 grams (from cheese and crackers)
- Fiber: 5-7 grams (from fruit and veggies)
This lunch is a balanced meal in a box. It provides protein for sustained energy, healthy carbohydrates for brain function, and fiber for digestion. The fresh fruit and vegetables are packed with vitamins and antioxidants. By making it yourself, you control the sodium and sugar content, which is a huge win over store-bought kits. It’s naturally gluten-free if you use gluten-free crackers, and it’s easy to make dairy-free by swapping the cheese for hummus or avocado. It’s a lunch that fuels their body and their day.
Conclusion
This easy DIY Lunchable bento box for kids (no-cook) is more than just a lunch. It’s a small act of love that takes almost no time at all. It’s the kind of meal that makes your kid feel seen and cared for, even on the busiest mornings. You don’t need to be a gourmet chef or a Pinterest-perfect parent to pull this off. You just need a few simple ingredients, a container, and the willingness to try something new. I promise you, the first time you see that empty box come home, you’ll feel a little burst of pride. And your kid will feel a little burst of happiness. That’s a win for everyone.
I’d love to hear how your lunch turned out! What did your kid love most? What variations did you try? Drop a comment below and share your favorite combos. And if you found this helpful, please share it with a friend who’s tired of the same old lunch routine. Let’s make lunchtime fun again, one bento box at a time.
Frequently Asked Questions
Can I make this lunch the night before?
Absolutely! This is a perfect make-ahead meal. Just assemble the box the night before, seal it tightly, and store it in the refrigerator. It will stay fresh for up to 24 hours. Just remember to add the ice pack to the lunch bag in the morning.
What if my kid doesn’t like crackers?
No problem at all! You can swap the crackers for anything crunchy. Try mini rice cakes, pretzel sticks, veggie straws, or even a handful of popcorn. The goal is to have something to dip or eat alongside the protein.
How do I keep apple slices from turning brown?
The best trick is to toss them in a little bit of lemon juice or pineapple juice. You can also use a solution of water and a pinch of salt. Just rinse them off before packing. Another option is to use apple varieties that brown less, like Honeycrisp or Fuji.
Is this lunch safe for school nut-free policies?
Yes, it can be! Just make sure to use nut-free products. For the protein, use sunflower seed butter or WowButter instead of peanut butter. Check the labels on crackers and treats to ensure they are processed in a nut-free facility. It’s very easy to keep this lunch completely nut-free.
Can I add a warm element to this lunch?
Definitely! You can pack a small thermos with a warm soup, like a cozy pumpkin cream cheese swirl muffin (not soup, but a warm treat!), or some leftover pasta. Just keep the thermos separate from the bento box to avoid condensation making the crackers soggy. It’s a great way to add variety.
Pin This Recipe!
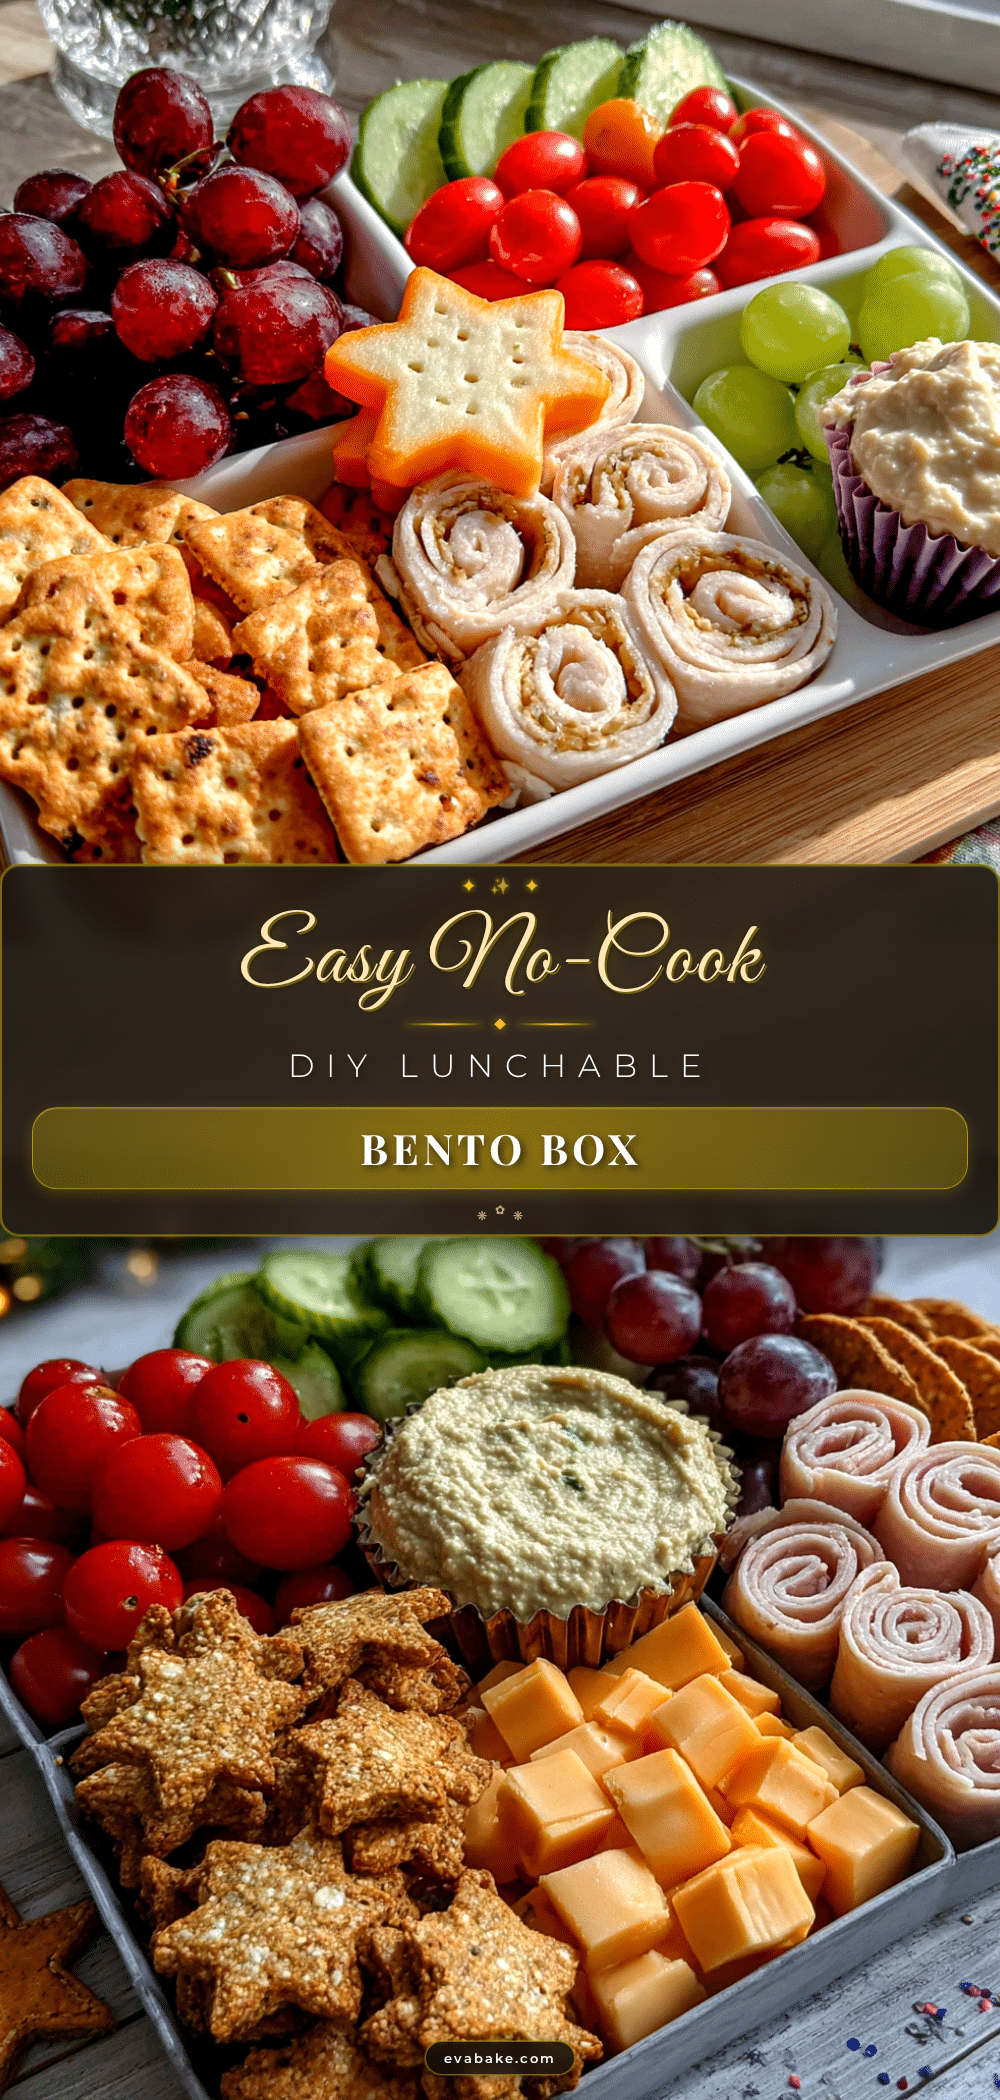
Easy No-Cook DIY Lunchable Bento Box for Kids
A quick, customizable, and no-cook lunch solution that’s healthier and cheaper than store-bought lunch kits. Perfect for picky eaters and busy mornings, this bento box is assembled in minutes with simple ingredients.
- Prep Time: 5 minutes
- Cook Time: 0 minutes
- Total Time: 5 minutes
- Yield: 1 serving
- Category: Lunch
- Cuisine: American
Ingredients
- Deli meat (turkey, ham, or roast beef)
- Cheese (cheddar cubes, mozzarella string cheese, or Swiss slices)
- Hard-boiled eggs (optional)
- Crackers (whole wheat butter crackers, mini pretzels, or rice cakes)
- Veggie sticks (baby carrots, cucumber rounds, or bell pepper strips)
- Fresh fruit (grapes, apple slices, berries, or melon balls)
- Dried fruit (raisins, dried cranberries, or apricot halves)
- A treat (dark chocolate chips, mini cookie, or brown butter pumpkin chocolate chip blondie)
- Hummus (optional)
- Yogurt dip (optional)
- Nut-free butter (sunflower seed butter or WowButter, optional)
Instructions
- Prep your ingredients: Wash fruit and vegetables. Slice apples and toss with lemon juice to prevent browning. Cut cheese into cubes or shapes. Roll deli meat into cylinders or fold into quarters.
- Assemble the base: Open bento box. Place crackers in one large compartment, laying flat.
- Add the protein: Place rolled meat and cheese cubes in another compartment. If using dip, put it in a small silicone cup and place in a dedicated compartment.
- Add veggies and fruit: Fill remaining compartments with fresh produce, keeping veggies and fruit separate.
- Add the treat: Place a small treat in the smallest compartment.
- Seal and store: Close lid tightly. Refrigerate if making ahead, or pack in a lunch bag with an ice pack.
Notes
Keep crackers away from wet ingredients to prevent sogginess. Use an ice pack to keep lunch cold. Prep ingredients on Sunday for quicker assembly during the week. Let kids help assemble their own lunch to encourage eating.
Nutrition
- Serving Size: 1 bento box
- Calories: 350450
- Sugar: 1520
- Sodium: 600800
- Fat: 1520
- Saturated Fat: 810
- Carbohydrates: 3040
- Fiber: 57
- Protein: 2025
Keywords: DIY lunchable, bento box, no-cook lunch, kids lunch, school lunch, easy lunch, healthy lunch, picky eater


