My neighbor, a retired baker named Frank, asked me why I couldn’t just roll the cake while it was still hot. I stared at him, spatula in hand, and started explaining the science—how warm cake is fragile, how it cracks, how you have to wait for it to cool completely. He just shrugged and said, “That’s not what my grandmother did.” I started to explain why that wouldn’t work—then stopped. Frank had been baking since before I was born. Maybe, just maybe, he knew something I didn’t.
So I tried it. Pulled that fragrant, spiced pumpkin sheet cake out of the oven, let it rest for exactly two minutes—honestly, I was terrified—and then carefully rolled it up in a clean kitchen towel while it was still warm. The kitchen smelled like autumn in a bottle, all cinnamon and nutmeg and something deeply comforting. I held my breath the whole time. And you know what? It worked. Perfectly. No cracks, no breaks, just a beautiful spiral waiting to be filled.
That moment of being wrong—really, completely wrong—stayed with me. I mean, here I was, thinking I had this recipe all figured out, and a casual comment from a neighbor completely changed my approach. Let me tell you, there’s something humbling about learning a better technique from someone who just… knows. This cozy pumpkin roll with cream cheese filling became my go-to fall dessert after that day. It’s the kind of recipe that makes you look like a pastry chef without actually being one. Maybe you’ve been there too—stubbornly doing something one way until someone gently shows you a better path.
Why You’ll Love This Recipe
This isn’t just another pumpkin roll recipe floating around the internet. After testing this version at least a dozen times—and yes, I have the flour-dusted countertops to prove it—I can confidently say this is the one you’ll come back to year after year. Here’s what makes it special:
- Foolproof Technique: Rolling while warm (thank you, Frank!) means zero cracks and a perfect spiral every single time. No more crossed fingers when you unroll it.
- Simple Pantry Ingredients: You likely have everything already—canned pumpkin, basic baking staples, and cream cheese. No specialty store runs required.
- Perfect for Fall Gatherings: This pumpkin roll screams autumn. It’s the star of Thanksgiving dessert tables, cozy Friendsgiving dinners, and those crisp October afternoons when you just want something sweet.
- Make-Ahead Magic: Actually gets better after a day in the fridge. The flavors meld together, and the filling sets up beautifully. One less thing to stress about on the big day.
- Unbelievably Delicious: The combination of spiced pumpkin cake and tangy cream cheese filling is pure comfort. That first bite? Honestly, it’s worth every bit of effort.
What makes this recipe different from the rest is the warm-rolling technique combined with a perfectly balanced cream cheese filling that’s not too sweet. It’s the kind of dessert that makes people close their eyes after the first bite—I’ve seen it happen. Comfort food reimagined, if you will, with the same soul-soothing satisfaction but a technique that actually works.
What Ingredients You Will Need
This recipe uses simple, wholesome ingredients to deliver that cozy pumpkin flavor and luscious cream cheese filling. Most of these are pantry staples, especially if you’re a fall baker like me.
For the Pumpkin Cake
- 3 large eggs (room temperature—this matters for proper emulsification)
- 1 cup granulated sugar (200g)
- ⅔ cup canned pumpkin puree (not pumpkin pie filling—make sure it’s 100% pure pumpkin)
- 1 teaspoon vanilla extract
- ¾ cup all-purpose flour (95g)
- 1 teaspoon baking powder
- 1 teaspoon ground cinnamon
- ½ teaspoon ground nutmeg (freshly grated if you have it—the difference is real)
- ½ teaspoon ground ginger
- ¼ teaspoon ground cloves
- ½ teaspoon salt
- Powdered sugar (for dusting the towel and rolling—about 2 tablespoons)
For the Cream Cheese Filling
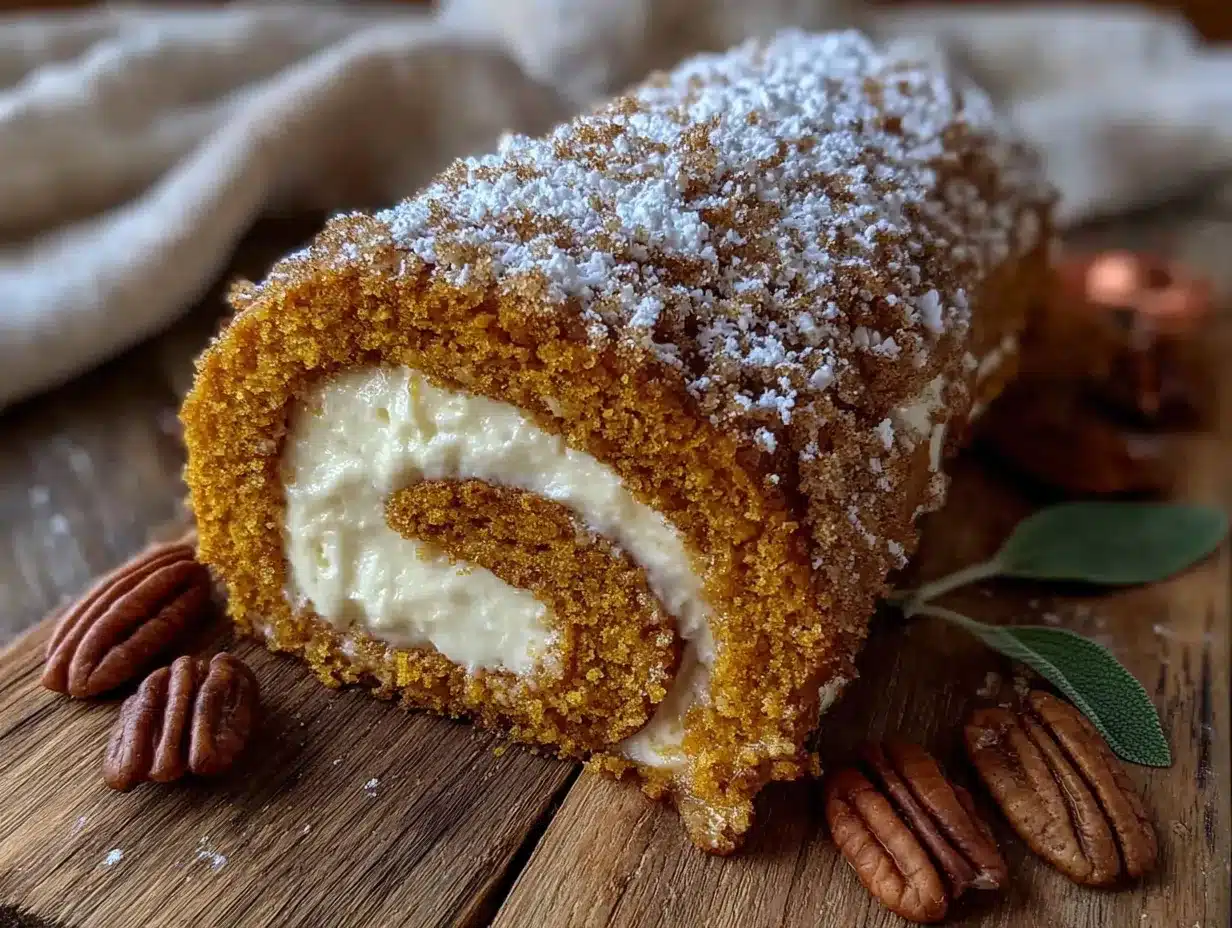
- 8 ounces cream cheese (full-fat, softened—I prefer Philadelphia for consistent results)
- ¼ cup unsalted butter (softened, 57g)
- 1 cup powdered sugar (120g, sifted to avoid lumps)
- 1 teaspoon vanilla extract
A few notes on ingredients: I recommend using Libby’s canned pumpkin for the most consistent texture—it’s less watery than some store brands. If you’re feeling adventurous, you can substitute the all-purpose flour with a gluten-free 1:1 baking blend, though I haven’t tested this personally. For the cream cheese, please use the block style, not the spreadable tub variety—the filling needs that firmer texture to hold its shape when you roll the cake.
If you don’t have all the individual spices, you can substitute 2 teaspoons of pumpkin pie spice for the cinnamon, nutmeg, ginger, and cloves. Works like a charm and saves you from buying five different jars.
Equipment Needed
You don’t need a professional bakery setup for this recipe. Here’s what you’ll need:
- 15×10-inch jelly roll pan (also called a half-sheet pan—this is non-negotiable for the right thickness)
- Parchment paper (for lining the pan—don’t skip this or you’ll regret it)
- Electric mixer (handheld or stand mixer both work fine)
- Clean kitchen towel (a thin cotton one works best—avoid terry cloth or anything fuzzy)
- Fine-mesh sieve (for sifting powdered sugar)
- Offset spatula (makes spreading the filling so much easier, but a butter knife works in a pinch)
- Large mixing bowls (one for wet ingredients, one for dry)
- Wire cooling rack
If you don’t have a jelly roll pan, you can try using a similar-sized baking sheet, but the cake might be thinner or thicker depending on the dimensions. I’ve made this recipe in a 13×9-inch pan before, and the cake was too thick to roll properly—learn from my mistake!
Preparation Method
Take your time with this one. The actual hands-on work is quick, but the resting and cooling periods are where the magic happens.
- Preheat your oven to 375°F (190°C). Line your 15×10-inch jelly roll pan with parchment paper, leaving a little overhang on the long sides. Lightly spray the parchment with non-stick cooking spray—this guarantees the cake releases without a fight.
- In a large mixing bowl, beat the eggs and sugar together on medium-high speed for about 3-4 minutes. You’re looking for a thick, pale mixture that ribbons off the beaters—this is your emulsification base. It should look like thick pancake batter when you lift the whisk.
- Add the pumpkin puree and vanilla extract to the egg mixture. Beat on low until just combined. Don’t overmix here—you want to keep all that air you just incorporated.
- In a separate bowl, whisk together the flour, baking powder, cinnamon, nutmeg, ginger, cloves, and salt. Make sure there are no lumps—clumps of baking powder will create weird spots in your cake.
- Gradually add the dry ingredients to the wet ingredients, mixing on low speed until just combined. Stop as soon as you don’t see any more flour streaks. Overmixing at this stage will make your cake tough—and nobody wants a tough pumpkin roll.
- Pour the batter into the prepared pan and spread it evenly using your offset spatula. The batter will be thick—that’s normal. Take your time spreading it all the way to the corners. Give the pan a gentle tap on the counter to release any air bubbles.
- Bake for 13-15 minutes, or until the top springs back when lightly touched. The edges should be slightly pulling away from the pan. Don’t overbake—dry cake equals cracked cake when you try to roll it.
- Here’s the Frank-approved step: As soon as the cake comes out of the oven, let it rest in the pan for exactly 2 minutes. While it’s resting, lay your clean kitchen towel flat on the counter and dust it generously with powdered sugar.
- Carefully invert the warm cake onto the sugared towel and peel off the parchment paper. Starting from one of the short ends, roll the cake up in the towel, rolling it as tightly as you can without squishing it. Let it cool completely, seam-side down, on a wire rack. This takes about 1-2 hours—don’t rush it.
- While the cake cools, make the filling. Beat the softened cream cheese and butter together until smooth and creamy—about 2 minutes. Add the sifted powdered sugar and vanilla extract, then beat until the filling is light and fluffy. Scrape down the sides of the bowl at least once.
- Once the cake is completely cool, gently unroll it. Spread the cream cheese filling evenly over the cake, leaving about a ½-inch border on all sides. This keeps the filling from squishing out when you re-roll it.
- Carefully re-roll the cake, this time without the towel. Use the towel to help guide the roll if needed. Wrap the finished pumpkin roll tightly in plastic wrap and refrigerate for at least 1 hour before slicing. This chilling step is crucial—it sets the filling and makes clean slices possible.
Cooking Tips & Techniques
Let me save you from some of my own kitchen disasters. First and foremost—the warm rolling technique. I know it feels wrong. I know every instinct tells you to let it cool completely. But trust me on this one. The residual heat makes the cake pliable, and the powdered sugar on the towel prevents sticking. I’ve tried rolling cold cakes, and let’s just say I’ve had my share of pumpkin crumbs.
Another mistake I’ve made? Using low-fat cream cheese. Don’t do it. The filling needs the fat content to set properly, and low-fat versions tend to make the filling runny. Full-fat cream cheese, room temperature, beaten until smooth—that’s the winning combination.
Timing is everything with this recipe. I like to bake the cake the day before, roll it with the towel, and let it cool overnight. Then I make the filling and assemble it the next morning. This breaks up the work and ensures the cake is completely cool before you add the filling. Plus, the flavors actually improve overnight—the spices mellow and meld together beautifully.
If you’re nervous about cracking, here’s a pro tip: even if a small crack appears during rolling, don’t panic. The cream cheese filling acts like glue, and once it’s chilled and sliced, nobody will ever know. I’ve served pumpkin rolls with hairline cracks that disappeared completely after a night in the fridge.
Variations & Adaptations
This recipe is surprisingly flexible. Here are some variations I’ve tried and loved:
- Gluten-Free Version: Substitute the all-purpose flour with a high-quality 1:1 gluten-free baking blend. I’ve had good results with Bob’s Red Mill. The texture is slightly more delicate, so handle the cake gently when rolling.
- Spiced-Up Filling: Add a pinch of cinnamon and a tablespoon of maple syrup to the cream cheese filling for a fall-forward twist. The maple pairs beautifully with the pumpkin—trust me on this one.
- Chocolate Pumpkin Roll: Replace 2 tablespoons of flour with unsweetened cocoa powder for a chocolate-pumpkin combination that’s absolutely decadent. The chocolate adds richness without overwhelming the pumpkin flavor.
- Dairy-Free Adaptation: Use dairy-free cream cheese (I like Kite Hill) and vegan butter. The texture will be slightly softer, so chill the roll for at least 2 hours before slicing.
- Nutty Crunch: Sprinkle ¼ cup of finely chopped pecans or walnuts over the cream cheese filling before rolling. The crunch adds a lovely textural contrast to the soft cake and creamy filling.
My personal favorite variation? The maple-spiced version. I add 2 tablespoons of maple syrup to the filling and a pinch of extra cinnamon. It tastes like autumn on a plate, and it’s become my signature Thanksgiving contribution.
Serving & Storage Suggestions
This pumpkin roll is best served chilled, straight from the refrigerator. The filling firms up beautifully, making clean slices easy. I like to use a sharp, serrated knife and wipe it clean between cuts for the prettiest presentation.
For serving, I dust the top with a light snowfall of powdered sugar and sometimes add a dollop of whipped cream on the side. It pairs beautifully with a hot cup of coffee or a spiced chai latte. If you’re feeling extra festive, drizzle some caramel sauce over each slice—the combination of pumpkin, cream cheese, and caramel is absolutely divine.
Storage is straightforward: wrap the pumpkin roll tightly in plastic wrap and keep it in the refrigerator for up to 5 days. The flavors actually improve after day one—the spices deepen and the filling sets perfectly. You can also freeze it for up to 3 months. Wrap it in plastic wrap, then a layer of aluminum foil, and thaw it overnight in the refrigerator before serving.
One thing I’ve noticed: this pumpkin roll tastes even better the next day. There’s something about the cream cheese filling soaking into the cake slightly that creates this incredible, cohesive texture. So don’t be afraid to make it a day or two ahead of your gathering.
Nutritional Information & Benefits
While this is definitely a treat, it’s not without its redeeming qualities. Pumpkin is packed with vitamin A, fiber, and antioxidants—so there’s that! Each serving (based on 10 slices) contains approximately:
- Calories: 285
- Fat: 14g
- Carbohydrates: 36g
- Protein: 5g
- Fiber: 1g
- Sugar: 26g
This recipe contains dairy, eggs, and gluten. For those with dietary restrictions, the variations section above offers some great alternatives. I personally love that this dessert feels indulgent without being overly heavy—it’s the kind of treat that satisfies your sweet tooth without leaving you feeling sluggish.
A note from my own experience: this pumpkin roll is rich enough that a small slice goes a long way. I usually get 12 servings out of one roll when I’m serving it after a big meal. Portion control, you know?
Conclusion
This cozy pumpkin roll with cream cheese filling has become my absolute favorite fall dessert, and I hope it becomes yours too. It’s the recipe that taught me to question my own assumptions—to listen when someone with more experience offers a suggestion, even if it goes against everything I thought I knew.
The warm-rolling technique changed everything for me, and I honestly can’t imagine going back to the old way. This pumpkin roll is more than just a dessert—it’s a reminder that sometimes the best lessons come from being wrong. And honestly? That’s a pretty good thing to remember in the kitchen and in life.
I’d love to hear how yours turns out! Drop a comment below and let me know if you tried the warm-rolling technique, or if you came up with your own delicious variation. Share this recipe with someone who needs a little autumn in their life—and don’t forget to pin it for later! Happy baking, friends.
Frequently Asked Questions
Can I use fresh pumpkin instead of canned?
You can, but I don’t recommend it for this recipe. Fresh pumpkin puree tends to be more watery than canned, which can make your cake too wet and prone to cracking. If you must use fresh, roast and puree your pumpkin, then drain it in a cheesecloth-lined sieve for at least an hour to remove excess moisture.
Why did my pumpkin roll crack when I tried to roll it?
The most common reason is overbaking. If the cake bakes too long, it becomes dry and brittle. Another culprit is rolling the cake when it’s too cool—remember, you want to roll it while it’s still warm, after just 2 minutes of resting in the pan. A third possibility is that your pan was too small, making the cake too thick to roll properly.
Can I make this pumpkin roll ahead of time?
Absolutely! In fact, I recommend it. You can make the entire pumpkin roll up to 2 days ahead and keep it wrapped tightly in the refrigerator. The flavors meld together beautifully, and the filling sets up perfectly. You can also freeze it for up to 3 months—just wrap it well and thaw overnight in the fridge.
How do I get clean slices without the filling squishing out?
Chill the pumpkin roll for at least 1 hour before slicing—overnight is even better. Use a sharp serrated knife and wipe it clean between each cut. For the cleanest slices, I sometimes pop the roll in the freezer for 15 minutes before slicing. The firmer filling makes all the difference.
Can I use pumpkin pie spice instead of individual spices?
Yes! Use 2 teaspoons of pumpkin pie spice in place of the cinnamon, nutmeg, ginger, and cloves. It’s a great shortcut, especially if you don’t have all those individual spices on hand. The flavor will be slightly different but still absolutely delicious.
Pin This Recipe!
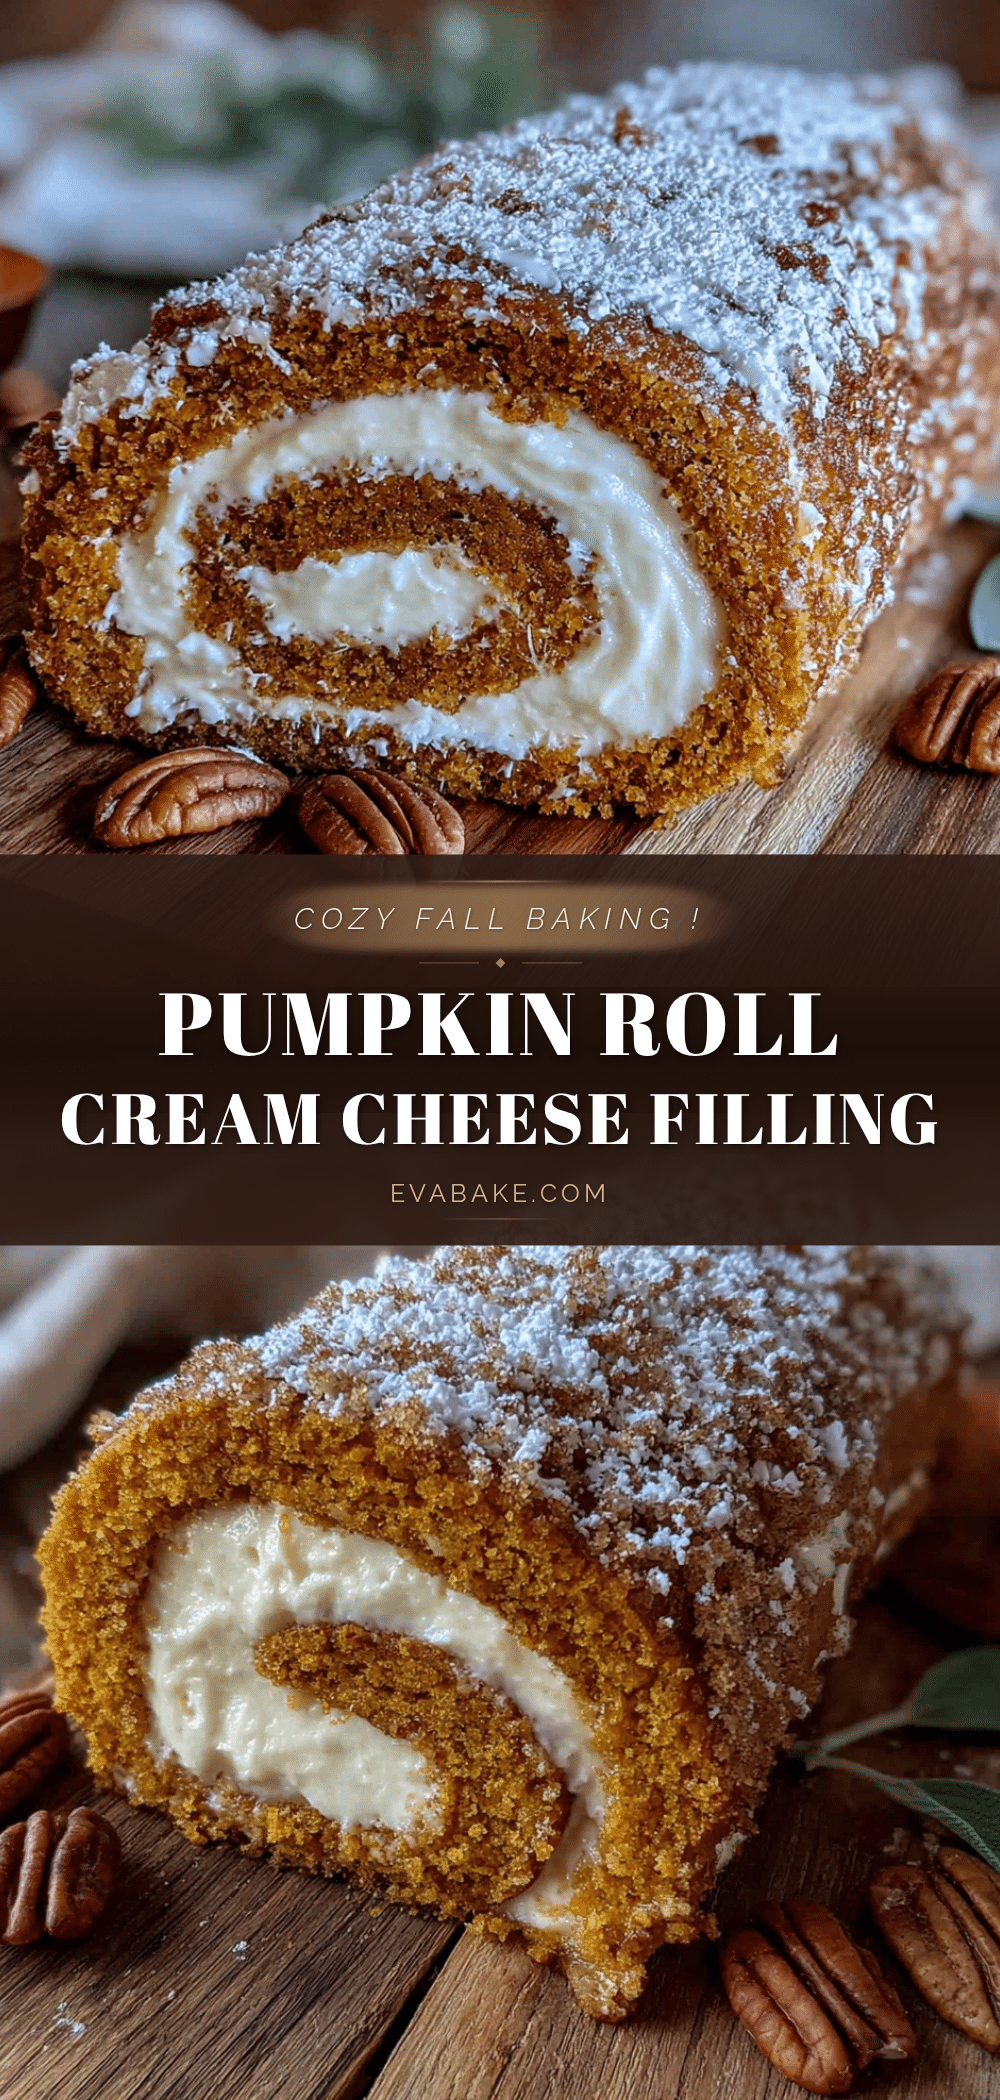
Easy Pumpkin Roll Recipe with Cream Cheese Filling
A foolproof pumpkin roll with a perfectly spiced pumpkin cake and tangy cream cheese filling. The warm-rolling technique ensures zero cracks and a beautiful spiral every time.
- Prep Time: 20 minutes
- Cook Time: 15 minutes
- Total Time: 2 hours 35 minutes (includes cooling and chilling)
- Yield: 10 servings 1x
- Category: Dessert
- Cuisine: American
Ingredients
- 3 large eggs (room temperature)
- 1 cup granulated sugar (200g)
- ⅔ cup canned pumpkin puree (not pumpkin pie filling)
- 1 teaspoon vanilla extract
- ¾ cup all-purpose flour (95g)
- 1 teaspoon baking powder
- 1 teaspoon ground cinnamon
- ½ teaspoon ground nutmeg
- ½ teaspoon ground ginger
- ¼ teaspoon ground cloves
- ½ teaspoon salt
- 2 tablespoons powdered sugar (for dusting)
- 8 ounces cream cheese (full-fat, softened)
- ¼ cup unsalted butter (softened, 57g)
- 1 cup powdered sugar (120g, sifted)
- 1 teaspoon vanilla extract
Instructions
- Preheat your oven to 375°F (190°C). Line a 15×10-inch jelly roll pan with parchment paper, leaving overhang on the long sides. Lightly spray the parchment with non-stick cooking spray.
- In a large mixing bowl, beat the eggs and sugar together on medium-high speed for 3-4 minutes until thick and pale, and ribbons off the beaters.
- Add the pumpkin puree and vanilla extract to the egg mixture. Beat on low until just combined.
- In a separate bowl, whisk together the flour, baking powder, cinnamon, nutmeg, ginger, cloves, and salt until no lumps remain.
- Gradually add the dry ingredients to the wet ingredients, mixing on low speed until just combined. Do not overmix.
- Pour the batter into the prepared pan and spread evenly with an offset spatula. Tap the pan gently on the counter to release air bubbles.
- Bake for 13-15 minutes, or until the top springs back when lightly touched and edges pull away from the pan.
- Let the cake rest in the pan for exactly 2 minutes. Meanwhile, lay a clean kitchen towel flat on the counter and dust generously with powdered sugar.
- Carefully invert the warm cake onto the sugared towel and peel off the parchment paper. Starting from a short end, roll the cake up in the towel as tightly as possible without squishing. Let cool completely, seam-side down, on a wire rack (1-2 hours).
- While the cake cools, make the filling: Beat softened cream cheese and butter together until smooth and creamy (about 2 minutes). Add sifted powdered sugar and vanilla extract, then beat until light and fluffy. Scrape down the sides of the bowl.
- Once the cake is completely cool, gently unroll it. Spread the cream cheese filling evenly over the cake, leaving a ½-inch border on all sides.
- Carefully re-roll the cake without the towel. Wrap tightly in plastic wrap and refrigerate for at least 1 hour before slicing.
Notes
Roll the cake while warm (after 2 minutes rest) to prevent cracking. Use full-fat cream cheese for best results. The cake can be made a day ahead and assembled the next day. For clean slices, chill at least 1 hour or freeze for 15 minutes before slicing. Store wrapped in plastic wrap in the refrigerator for up to 5 days or freeze for up to 3 months.
Nutrition
- Serving Size: 1 slice (1/10 of rol
- Calories: 285
- Sugar: 26
- Sodium: 220
- Fat: 14
- Saturated Fat: 8
- Carbohydrates: 36
- Fiber: 1
- Protein: 5
Keywords: pumpkin roll, pumpkin dessert, cream cheese filling, fall dessert, Thanksgiving dessert, pumpkin cake roll, easy pumpkin roll


