I figured a Halloween charcuterie board would be just a gimmick—a platter of snacks shaped like something spooky that nobody actually eats. It took about ten minutes of watching my friends circle the table at our Halloween party for that assumption to fall apart completely.
I had spent the afternoon arranging cheese and crackers into a skull shape, half-convinced I was just playing with food for the sake of a photo. But then someone grabbed a slice of pepperoni from the “nose” area, and someone else dipped a pretzel into the “eye socket” filled with spicy mustard, and suddenly the whole thing was gone. I barely got a piece of the brie myself.
That’s the thing about this Easy Skull-Shaped Halloween Charcuterie Board. It looks dramatic and impressive—like you spent hours planning it—but honestly, it’s just a really smart way to arrange snacks. The skull shape gives you natural sections for different types of ingredients, and the visual cue makes people actually want to eat things they might normally skip. (I watched a guy who “doesn’t do olives” eat three of them just because they were tucked into the “jaw” area.)
This board works for any Halloween gathering, whether you’re hosting a full-on costume party or just having a few people over to watch scary movies. It’s the kind of thing that makes people stop and take a picture first, then dig in and finish it off before you can say “trick or treat.”
Trust me on this one—it’s way more than a gimmick.
Why You’ll Love This Recipe
Let’s be real for a second. Most Halloween party food is either adorable but tedious to make (looking at you, witch’s finger cookies) or it’s just regular snacks dumped in a bowl with a spooky napkin underneath. This Easy Skull-Shaped Halloween Charcuterie Board falls into a sweet spot—it’s genuinely easy to assemble, but it looks like you actually tried.
- Quick & Easy: You can put this together in about 20 minutes flat. No baking, no complicated steps, just arranging things into a shape.
- Simple Ingredients: Everything on this board is stuff you can grab at any grocery store. No specialty items, no expensive imported cheeses unless you want them.
- Perfect for Parties: This is the centerpiece of any Halloween spread. It draws people in, and it feeds a crowd without you having to stand over a stove.
- Crowd-Pleaser: There’s something for everyone here—meat lovers, cheese fans, veggie snackers, and people who just want crackers.
- Unbelievably Delicious: The combination of salty, creamy, tangy, and crunchy in one board hits every craving at once.
What makes this different from other Halloween boards is the skull shape itself. It’s not just a random arrangement of food on a platter. The skull structure gives you natural boundaries for different ingredient groups, which means you’re not just throwing things together—you’re building a cohesive, visually striking display that actually makes sense to eat from. Plus, the whole thing looks amazing in photos, which is basically the point of Halloween food, right?
This is the kind of board that makes you close your eyes after the first bite of brie with fig jam and prosciutto. It’s Halloween party food reimagined—way more satisfying than candy corn, way less stressful than a themed cake.
What Ingredients You Will Need
This recipe uses simple, crowd-friendly ingredients to deliver a board that looks spooky and tastes amazing. Most of these are pantry staples or easy grocery finds, and I’ve included notes on substitutions where they work well.
For the Skull Structure & Base
- Large wooden or slate board (at least 16×12 inches)—this is your canvas, so make sure it’s big enough to hold everything
- White cheese spread or cream cheese (8 ounces, softened)—this acts as the “glue” for the skull base and adds a creamy element
- Round crackers or water crackers (about 30-40)—these form the skull outline and provide structure
For the Skull Features
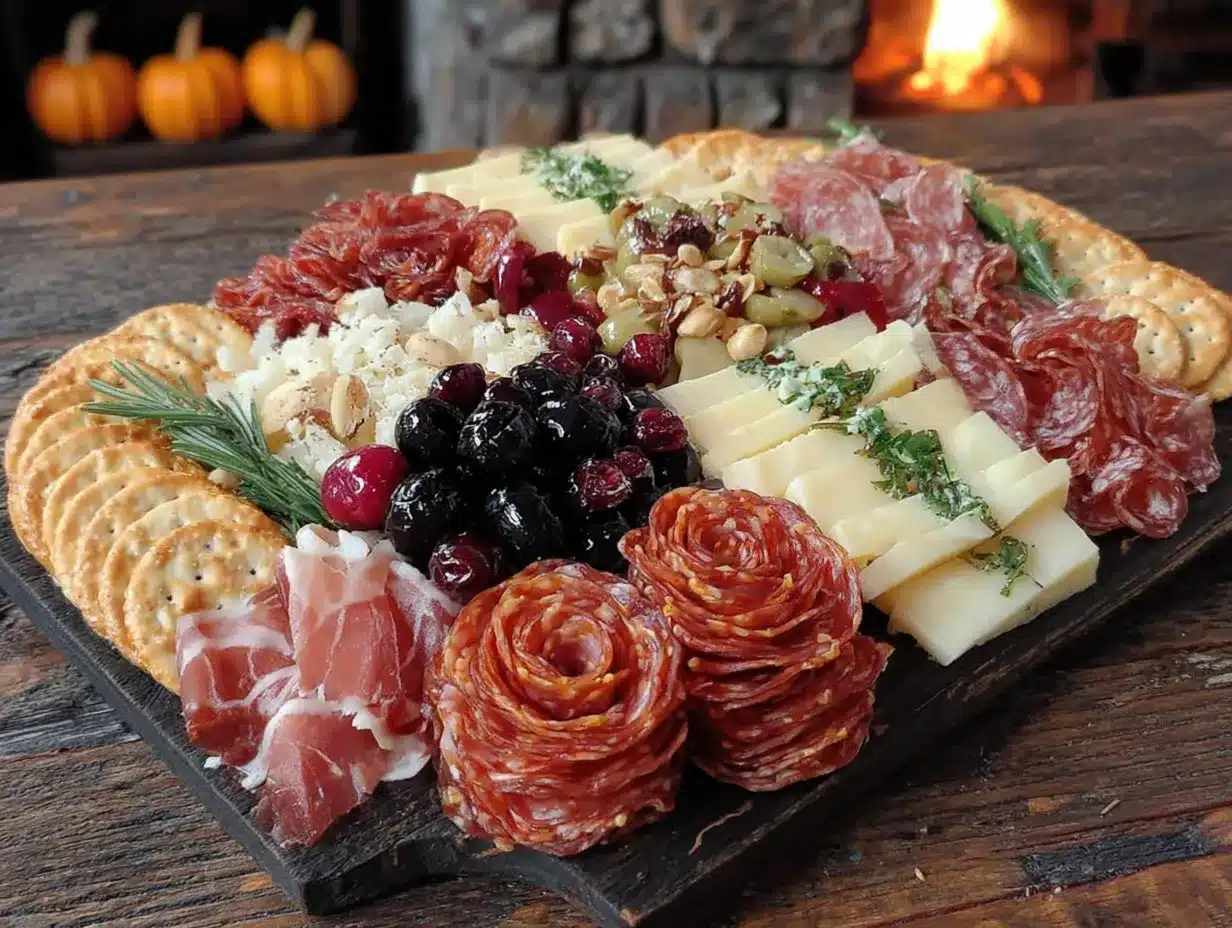
- Sliced pepperoni or salami (about 20 slices)—these create the darker areas of the skull (eye sockets, nose cavity, mouth)
- Black olives (1 small can, drained)—perfect for the eye sockets and adding dark contrast
- White cheddar cubes or mozzarella pearls (8 ounces)—these fill in the skull’s cheek areas and add a soft texture
- Almonds or whole cashews (½ cup)—these work well for teeth and small bone details
For the Filling & Decoration
- Assorted cheeses (8-12 ounces total)—I recommend a mix of brie, sharp cheddar, and gouda for variety in texture and flavor
- Cured meats (6-8 ounces)—prosciutto, soppressata, or capicola work beautifully here
- Fresh grapes or berries (1 cup)—adds sweetness and color contrast against the savory elements
- Pickles or cornichons (½ cup)—the acidity cuts through the richness of the cheese and meat
- Nuts (½ cup)—walnuts or pecans add crunch and a rustic feel
- Dried apricots or figs (½ cup)—sweet and chewy, balances the salty meats
- Fresh herbs (rosemary or thyme sprigs)—optional but adds a nice finishing touch and aroma
For Serving
- Small bowls or ramekins (2-3)—for dips, spreads, or olives
- Toothpicks or small skewers (optional)—makes grabbing items easier
I personally prefer using the white cheese spread as the base because it gives you a smooth surface to work with and adds a creamy element that contrasts nicely with the crunchy crackers. If you want a dairy-free option, a thick hummus or white bean dip works surprisingly well as a substitute.
Equipment Needed
You don’t need much for this board, which is part of why I love it. Here’s what you’ll need:
- Large serving board or platter—a wooden cutting board, slate board, or even a large baking sheet lined with parchment paper works. I use a 16×12 inch wooden board I found at a thrift store for five dollars.
- Small bowls or ramekins (2-3)—for olives, nuts, or dips. Mini mason jars work great too.
- Cheese knife or spreader—for the brie and any soft cheese.
- Small offset spatula or butter knife—for spreading the cream cheese base.
- Toothpicks or small skewers—optional but helpful for picking up items without getting your hands messy.
If you don’t have a large board, you can use a clean baking sheet or even a large flat serving dish. The key is having enough surface area to spread everything out without it looking cramped. I’ve also seen people use a large pizza pan in a pinch—just make sure it’s clean and food-safe.
Preparation Method
This is where the magic happens. Follow these steps, and you’ll have a skull-shaped board that looks like it came from a professional caterer.
Step 1: Prepare Your Board
Place your board on a flat, stable surface. If you’re using a wooden board, you might want to line it with parchment paper for easy cleanup—though honestly, it looks better without it. Make sure the board is clean and dry.
Step 2: Create the Skull Outline
Using the white cheese spread or cream cheese, sketch out a rough skull shape on the board. Don’t worry about being perfect—you’re just marking the general area. The skull should be about 10-12 inches tall and 8-10 inches wide, centered on the board. Use a small offset spatula or butter knife to spread it into a thin layer.
Step 3: Build the Skull Structure with Crackers
Now, place round crackers along the outline of the skull. These will form the “bone” structure. Start with the top of the skull (the cranium), then work your way down to the cheekbones and jaw. Leave gaps for the eye sockets, nose cavity, and mouth. You want about 30-40 crackers total, spaced about ½ inch apart. Press them gently into the cream cheese base so they stay put.
Step 4: Fill in the Eye Sockets
Take the sliced pepperoni or salami and arrange them in two circular shapes where the eyes would be. Each eye socket should be about 2 inches in diameter. Place a black olive in the center of each pepperoni circle to create the pupil. This gives the skull a dark, dramatic look that’s instantly recognizable.
Step 5: Create the Nose Cavity
For the nose, use a small pile of black olives or a single large olive cut in half. Place it in the center of the skull, about 1 inch below the eye sockets. You can also use a small piece of dark chocolate if you want a sweeter touch, but I prefer the savory option.
Step 6: Form the Mouth
Using the remaining pepperoni or salami, create a curved line for the mouth. Arrange the slices in a slight smile or a grimace—whatever feels more Halloween-y to you. For teeth, place small pieces of white cheddar or mozzarella pearls along the top and bottom of the mouth line. You can also use almonds for a more “bone-like” look.
Step 7: Fill the Cheek Areas
Now, fill in the cheek areas on either side of the nose and mouth. Use white cheddar cubes, mozzarella pearls, or a mix of both. This adds volume to the skull and gives it a three-dimensional feel. Press the cheese gently into the cream cheese base to keep it in place.
Step 8: Add the Remaining Ingredients
Around the skull, start arranging the rest of your ingredients. Place the brie or other soft cheese in a small bowl or directly on the board. Fan out the cured meats in small piles or folds. Add clusters of grapes, berries, nuts, and dried fruit. Tuck the pickles or cornichons into any empty spaces. The goal is to fill the board completely, leaving no empty spots.
Step 9: Garnish and Serve
Finish with fresh herbs if you’re using them. Rosemary sprigs look great tucked around the edges, and thyme adds a nice earthy aroma. Place toothpicks or small skewers in a small cup or jar nearby. Serve immediately, or refrigerate for up to 2 hours before serving. If you’re refrigerating, take it out 30 minutes before serving to let the cheese come to room temperature.
Cooking Tips & Techniques
I’ve made this board about a dozen times now, and I’ve learned a few things the hard way. Here are my best tips:
- Don’t overthink the skull shape. The first time I made this, I spent twenty minutes trying to make the skull perfectly symmetrical. It looked stiff and weird. Skulls aren’t perfectly symmetrical anyway, so embrace the organic, slightly uneven look. It’s more natural and honestly more Halloween-y.
- Use the cream cheese as your anchor. Without the cream cheese base, the crackers and cheese cubes will slide around when people start grabbing things. The cream cheese acts like edible glue. Spread it thick enough to hold everything, but thin enough that it doesn’t overwhelm the other flavors.
- Prep everything before you start arranging. Cut your cheeses, slice your meats, wash your grapes, and have all your ingredients ready to go before you touch the board. Once you start arranging, you don’t want to have to stop and prep more ingredients. It breaks your flow and makes the whole process take longer.
- Work from the center out. Start with the skull structure, then fill in the surrounding areas. This way, you’re not accidentally covering up parts of the skull with other ingredients.
- Don’t be afraid to adjust as you go. If something doesn’t look right, just move it. The cream cheese base makes it easy to reposition crackers and cheese cubes without leaving a mess.
One mistake I made early on was using too many different types of cheese. I thought more variety meant a better board, but it just ended up looking chaotic. Stick to 3-4 types of cheese max, and make sure they have different textures and flavors. A soft brie, a sharp cheddar, and a firm gouda cover all the bases without overwhelming the board.
Variations & Adaptations
This board is incredibly flexible. Here are some variations I’ve tried and loved:
Spooky Sweet Version
Swap the savory meats and cheeses for sweet treats. Use chocolate-covered pretzels for the skull outline, white chocolate chips for the teeth, and dark chocolate chunks for the eye sockets. Fill the rest of the board with candy corn, gummy worms, and caramel popcorn. This version is a hit at kid-friendly parties.
Vegetarian-Friendly Board
Skip the cured meats and load up on more cheese, nuts, and vegetables. Roasted red peppers, artichoke hearts, and marinated mushrooms add great flavor and texture. Use hummus or a white bean dip as the skull base instead of cream cheese. This version works beautifully for a lighter option.
Spicy Fiesta Skull
Give the board a Mexican-inspired twist. Use pepper jack cheese for the skull outline, chorizo slices for the eye sockets, and jalapeño-stuffed olives for the nose. Add tortilla chips, salsa, guacamole, and pickled jalapeños around the edges. This version is bold and fiery, perfect for a grown-up Halloween party.
Low-Carb / Keto Option
Skip the crackers entirely and use cucumber slices, bell pepper strips, or cheese crisps for the skull structure. Load up on high-fat ingredients like brie, salami, and macadamia nuts. This version is just as visually striking but fits within a low-carb lifestyle.
I personally love the spooky sweet version for Halloween night when the kids are around. It’s fun to watch them pick out the “eyeballs” (white chocolate chips) from the skull.
Serving & Storage Suggestions
This board is best served at room temperature, so if you’ve refrigerated it, take it out about 30 minutes before serving. The cheese will be softer and more flavorful, and the crackers will have a better texture.
For presentation, I like to place the board in the center of the table with small plates and napkins nearby. It’s a self-serve setup, so people can graze as they mingle. If you’re serving it as a main course for a small gathering, pair it with a simple salad or a bowl of creamy tomato soup for a complete meal.
For storage, this board doesn’t keep well once assembled because the crackers will get soggy. If you have leftovers, separate the components and store them in airtight containers in the refrigerator. The cheese will keep for 3-5 days, the meats for 2-3 days, and the crackers for up to a week in a sealed container. The cream cheese base should be discarded since it will have picked up flavors from the other ingredients.
Reheating isn’t really a thing for a charcuterie board, but if you have leftover brie, you can pop it in the oven at 350°F for 5-7 minutes and serve it warm with fresh crackers. It’s a different experience, but still delicious.
One thing I’ve noticed is that the flavors actually meld together nicely if you let the board sit at room temperature for about 15 minutes before serving. The cheese softens, the meats release a bit of their oils, and everything starts to taste more cohesive. Don’t let it sit out for more than 2 hours though—food safety first.
Nutritional Information & Benefits
Since this board is made up of multiple components, nutritional values will vary depending on what you choose to include. Here’s a rough estimate for a standard serving (about ¼ of the board):
- Calories: 450-550
- Protein: 20-25g
- Fat: 30-35g
- Carbohydrates: 20-25g
- Fiber: 3-5g
The cheese provides a good source of calcium and protein, while the nuts and seeds offer healthy fats and fiber. The grapes and berries add antioxidants and natural sweetness, balancing out the savory elements. If you’re watching your sodium intake, go easy on the cured meats and pickles, or choose lower-sodium options.
For dietary considerations, this board can be adapted to be gluten-free (use gluten-free crackers), vegetarian (skip the meats), or low-carb (skip the crackers and use vegetable slices). It’s naturally high in protein and fat, which makes it satisfying and filling.
I personally love that this board feels indulgent without being overly heavy. It’s the kind of thing you can snack on while socializing without feeling like you’ve overdone it.
Conclusion
This Easy Skull-Shaped Halloween Charcuterie Board is one of those recipes that looks way more complicated than it actually is. It’s the kind of thing that makes people at your party stop and say, “Wait, you made that?” and then immediately start eating it. And honestly, that’s the best compliment you can get as a host.
I love how flexible this board is. You can make it as simple or as elaborate as you want, depending on your crowd and your budget. It works for a kid-friendly Halloween party, a grown-up cocktail hour, or just a fun Friday night with a scary movie. And the best part? You probably already have most of the ingredients in your kitchen.
If you try this board, I’d love to hear how it goes. Leave a comment below and let me know what variations you tried, or tag me in your photos on social media. There’s something so satisfying about seeing people put their own spin on this idea.
So go ahead—grab your board, raid your fridge, and make something spooky and delicious. Your Halloween guests will thank you.
Frequently Asked Questions
Can I make this board ahead of time?
Yes, you can assemble the board up to 2 hours in advance. Just cover it loosely with plastic wrap and refrigerate. Take it out 30 minutes before serving to let the cheese come to room temperature.
What if I don’t have a large board?
No problem! Use a clean baking sheet, a large serving platter, or even a flat pizza pan. You can also use two smaller boards and arrange them side by side.
Can I use different cheeses?
Absolutely. The key is to have a mix of textures and flavors. I recommend at least one soft cheese (brie, camembert), one hard cheese (cheddar, gouda), and one crumbly cheese (blue cheese, feta).
How do I keep the crackers from getting soggy?
If you’re making the board ahead of time, keep the crackers separate and add them just before serving. You can also use sturdier crackers like water crackers or pretzel crisps that hold up better.
What drinks pair well with this board?
A dry red wine like Cabernet Sauvignon or a crisp white like Sauvignon Blanc works beautifully. For non-alcoholic options, apple cider or sparkling water with a splash of cranberry juice is perfect for Halloween.
Pin This Recipe!
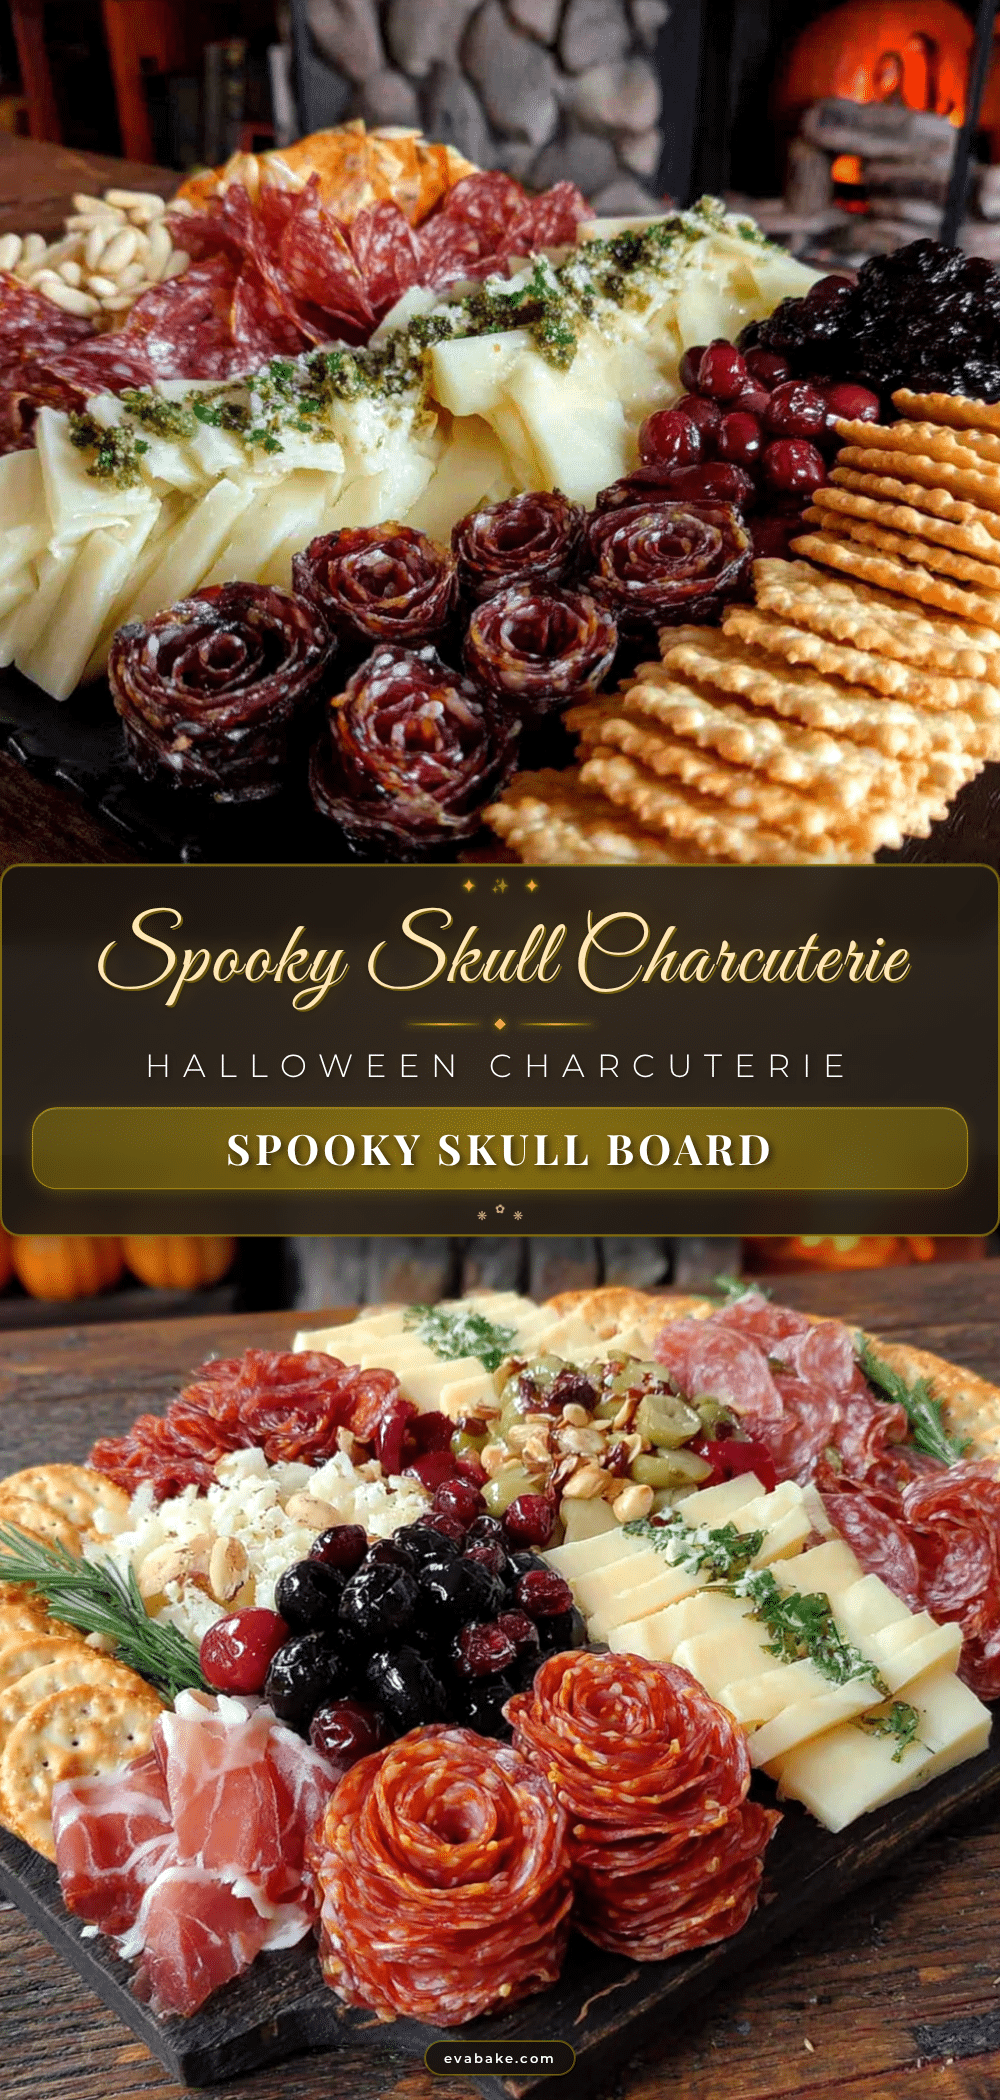
Easy Skull Halloween Charcuterie Board: Best Recipe
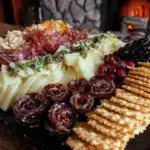
This Easy Skull-Shaped Halloween Charcuterie Board is a dramatic and impressive centerpiece that’s actually simple to assemble. It’s perfect for any Halloween gathering, offering a mix of savory, sweet, and crunchy snacks that will disappear before you can say ‘trick or treat.’
- Prep Time: 20 minutes
- Cook Time: 0 minutes
- Total Time: 20 minutes
- Yield: 8 servings
- Category: Appetizer
- Cuisine: American
Ingredients
- Large wooden or slate board (at least 16×12 inches)
- White cheese spread or cream cheese (8 ounces, softened)
- Round crackers or water crackers (about 30-40)
- Sliced pepperoni or salami (about 20 slices)
- Black olives (1 small can, drained)
- White cheddar cubes or mozzarella pearls (8 ounces)
- Almonds or whole cashews (½ cup)
- Assorted cheeses (8-12 ounces total; brie, sharp cheddar, gouda)
- Cured meats (6-8 ounces; prosciutto, soppressata, or capicola)
- Fresh grapes or berries (1 cup)
- Pickles or cornichons (½ cup)
- Nuts (½ cup; walnuts or pecans)
- Dried apricots or figs (½ cup)
- Fresh herbs (rosemary or thyme sprigs, optional)
- Small bowls or ramekins (2-3)
- Toothpicks or small skewers (optional)
Instructions
- Place your board on a flat, stable surface. If using a wooden board, you may line it with parchment paper for easy cleanup.
- Using the white cheese spread or cream cheese, sketch out a rough skull shape on the board. The skull should be about 10-12 inches tall and 8-10 inches wide, centered on the board. Spread into a thin layer.
- Place round crackers along the outline of the skull to form the ‘bone’ structure. Start with the top of the skull, then work down to the cheekbones and jaw. Leave gaps for the eye sockets, nose cavity, and mouth. Use about 30-40 crackers, spaced about ½ inch apart, pressing them gently into the cream cheese base.
- Take the sliced pepperoni or salami and arrange them in two circular shapes where the eyes would be (about 2 inches in diameter). Place a black olive in the center of each pepperoni circle to create the pupil.
- For the nose, use a small pile of black olives or a single large olive cut in half. Place it in the center of the skull, about 1 inch below the eye sockets.
- Using the remaining pepperoni or salami, create a curved line for the mouth. Arrange the slices in a slight smile or grimace. For teeth, place small pieces of white cheddar or mozzarella pearls along the top and bottom of the mouth line. You can also use almonds for a more ‘bone-like’ look.
- Fill in the cheek areas on either side of the nose and mouth with white cheddar cubes, mozzarella pearls, or a mix of both. Press the cheese gently into the cream cheese base.
- Around the skull, arrange the rest of your ingredients: place brie or other soft cheese in a small bowl or directly on the board, fan out cured meats in small piles or folds, add clusters of grapes, berries, nuts, and dried fruit. Tuck pickles or cornichons into any empty spaces. Fill the board completely.
- Finish with fresh herbs if using. Place toothpicks or small skewers in a small cup or jar nearby. Serve immediately, or refrigerate for up to 2 hours before serving. If refrigerating, take it out 30 minutes before serving to let the cheese come to room temperature.
Notes
Don’t overthink the skull shape; skulls aren’t perfectly symmetrical. Use the cream cheese as an anchor to keep ingredients in place. Prep all ingredients before arranging. Work from the center out. Adjust as needed. For a gluten-free version, use gluten-free crackers. For a vegetarian version, skip the meats and use more cheese, nuts, and vegetables. For a low-carb/keto option, skip crackers and use cucumber slices or cheese crisps.
Nutrition
- Serving Size: 1/4 of the board
- Calories: 450550
- Fat: 3035
- Carbohydrates: 2025
- Fiber: 35
- Protein: 2025
Keywords: Halloween charcuterie board, skull charcuterie board, Halloween appetizer, spooky snack board, easy Halloween recipe