My partner popped open a jar of these fresh dilly beans pickled green beans right after dinner and said, “These are seriously addictive,” while munching away, and honestly, I had no idea it would be such a hit. I was just messing around with some green beans from the farmer’s market, a bunch of fresh dill from the garden, and a simple brine, thinking it might make a decent snack. But watching that crunch and hearing those remarks made me realize this recipe wasn’t just another jar on the shelf.
The crisp snap of the beans, the bright tang of the vinegar, and that unmistakable fresh dill aroma filled the kitchen air (and later, the living room). It reminded me a bit of those classic southern pickled green beans but fresher, less heavy-handed, and perfect for snacking anytime. I hadn’t expected someone to reach for the jar multiple times in one evening—no prompting needed.
What stuck with me was how these dilly beans managed to feel like a snack and a side all wrapped into one—something wholesome yet tangy enough to perk up otherwise ordinary meals. It’s the kind of recipe that sits quietly in the fridge, waiting to surprise you with a burst of flavor when you need it most. No fuss, no complicated ingredients, just that satisfying crunch and dill punch that you didn’t know you were craving.
Why You’ll Love This Recipe
- Quick & Easy: Ready in under 30 minutes of hands-on time, these pickled green beans are ideal for spontaneous cravings or last-minute snacks.
- Simple Ingredients: You likely have everything on hand—fresh green beans, vinegar, garlic, and dill—no specialty shopping required.
- Perfect for Summer BBQs: These fresh dilly beans complement grilled dishes like smoky ribs or creamy loaded potato salad beautifully, making them a natural fit for warm-weather gatherings.
- Crowd-Pleaser: Whether you’re serving family or friends, these beans get rave reviews for their crisp texture and bright flavor.
- Unbelievably Delicious: The balance of tart vinegar, fresh herbs, and subtle garlic makes these pickled green beans a snack that keeps you reaching back into the jar.
- Better Than Store-Bought: Unlike commercial versions, this recipe lets you control the salt, sweetness, and spice, resulting in a fresher, less vinegary taste.
- Versatile Use: Besides snacking, they’re great chopped into salads, served alongside classic southern baked beans, or tucked into sandwiches for an extra zing.
What Ingredients You Will Need
This fresh dilly beans pickled green beans recipe calls for straightforward, wholesome ingredients that come together to create that perfect tangy crunch. Most are pantry staples or easy to find in any grocery store or farmer’s market.
- Fresh Green Beans: About 1 pound (450g), trimmed and washed. Look for firm, bright green beans with no blemishes for the best crunch.
- Fresh Dill: 4-5 sprigs of fresh dill weed. This is the star herb here—don’t substitute dried dill if you want the authentic fresh flavor.
- Garlic Cloves: 3-4 cloves, peeled and lightly smashed. Adds a mellow, fragrant kick.
- White Vinegar: 1 cup (240ml). This gives the classic pickled tang without overpowering. You can swap with apple cider vinegar for a milder flavor.
- Water: 1 cup (240ml), to balance the acidity.
- Pickling Salt or Kosher Salt: 1 tablespoon. Avoid iodized salt as it can cloud the brine.
- Sugar: 1 teaspoon, optional but helps round out the sharpness.
- Red Pepper Flakes: 1/4 teaspoon (optional) for a subtle heat boost.
- Black Peppercorns: 1 teaspoon whole for a gentle peppery note.
- Bay Leaf: 1 small dried bay leaf for added herbal depth.
For the freshest results, I recommend sourcing beans from a local farmer’s market, which usually guarantees crispness and superior flavor. If fresh dill isn’t available, a few sprigs of tarragon can offer an interesting twist, but nothing quite replaces that classic dill taste. You’ll find that controlling the salt and sugar levels here lets you tailor the pickles exactly to your taste—whether you prefer tangier or slightly sweeter.
Equipment Needed
- Quart-Sized Mason Jar: For pickling and storage. A wide-mouth jar makes packing the beans easier.
- Small Saucepan: To heat the pickling brine.
- Tongs or a Fork: To pack the beans tightly into the jar without bruising.
- Measuring Cups and Spoons: For precise ingredient amounts.
- Knife and Cutting Board: To trim and prep the beans and garlic.
If you don’t have a mason jar, any clean, sterilized glass jar with a tight-fitting lid will do. I’ve even used repurposed pickle jars before with great success. For specialty tools, a small funnel helps when pouring the brine, but it’s not necessary—just pour carefully. Keeping your jar and utensils clean helps keep the pickles fresh longer, so I usually give everything a hot, soapy rinse before starting.
Preparation Method
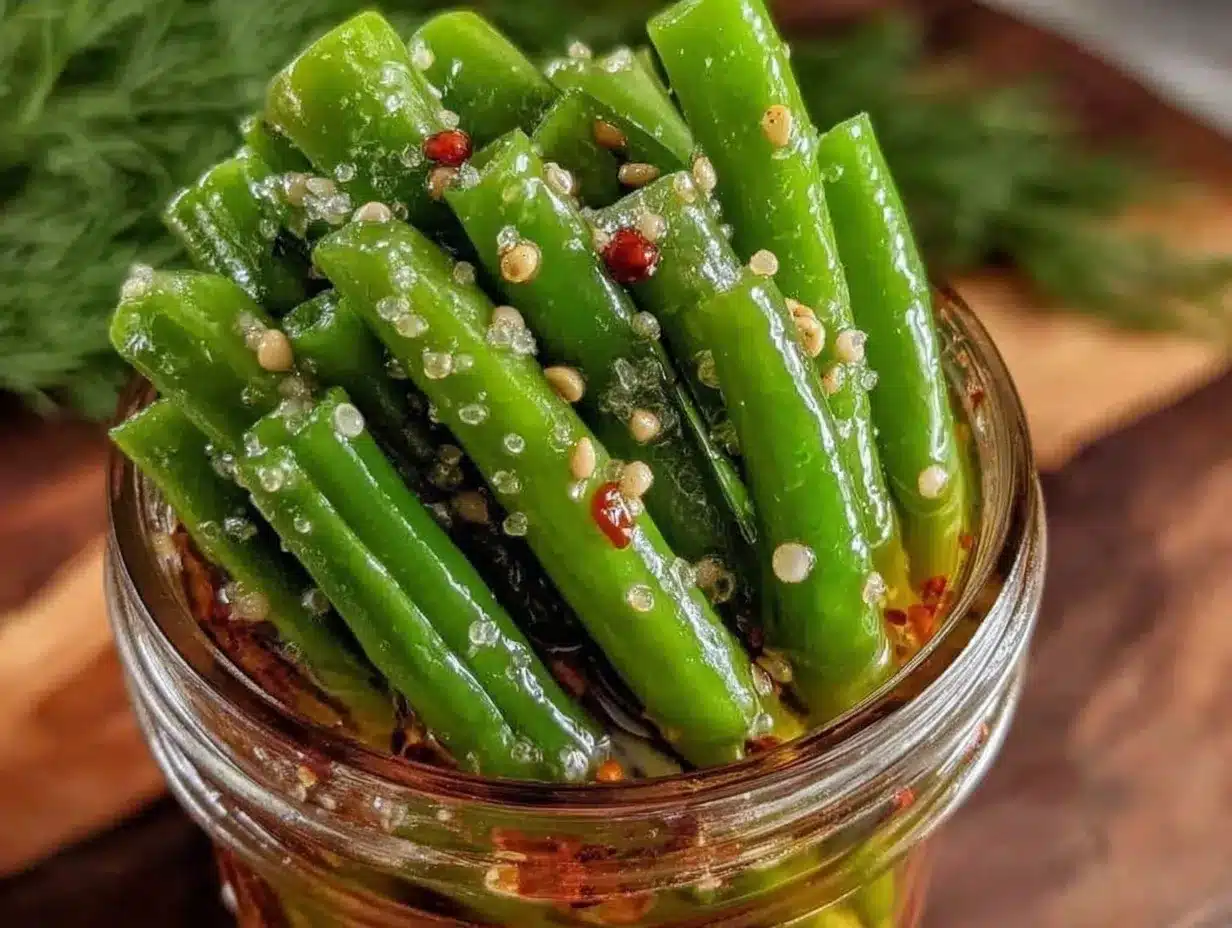
- Prep the Beans and Jar (10 minutes): Wash and trim the green beans by snapping off the stem ends. Pack the beans vertically into your clean quart-sized jar, leaving about an inch of headspace at the top. Add in the garlic cloves, fresh dill sprigs, peppercorns, red pepper flakes (if using), and bay leaf, tucking them evenly among the beans for flavor infusion.
- Make the Pickling Brine (5 minutes): In a small saucepan, combine 1 cup (240ml) white vinegar, 1 cup (240ml) water, 1 tablespoon pickling salt, and 1 teaspoon sugar. Bring the mixture to a gentle boil, stirring to dissolve the salt and sugar completely. The boiling helps meld the flavors but don’t let it reduce too much; you want to preserve the balanced acidity.
- Pour the Brine Over Beans (2 minutes): Carefully pour the hot brine over the packed beans, making sure they’re fully submerged. Use a clean utensil to press down lightly if needed, releasing trapped air. Leave about 1/2 inch of space at the top of the jar to allow for expansion.
- Seal and Cool (5 minutes): Close the jar tightly with its lid and let it cool to room temperature. You’ll notice the brine may bubble slightly as it cools—that’s normal. Once cooled, place the jar in the refrigerator.
- Wait for Flavor Development (at least 24 hours): The beans will start tasting good after one day but are best after 3-4 days when the flavors fully meld. The beans stay crisp due to the fresh dill and quick pickling method.
One tip I learned is to avoid overcooking the brine—too hot or reduced too much can make the beans soft. Also, packing the beans tightly without crushing them keeps the texture perfect. You’ll find that the garlic and dill infuse beautifully, making each bite a fresh experience.
Cooking Tips & Techniques
- Keep Beans Crisp: Use fresh, firm green beans and don’t boil them before pickling. The hot brine cooks them slightly but preserves crunch.
- Use Pickling Salt: It dissolves better and won’t cloud your brine, unlike table salt.
- Control Vinegar Strength: If you want less tang, you can reduce vinegar slightly and increase water—but don’t drop below a 1:1 ratio for safety.
- Don’t Skip the Dill: Fresh dill is key. I once tried dried dill for convenience and honestly, it lacked that punch.
- Store in the Fridge: This recipe is refrigerator pickles—no canning needed. This keeps them fresh and crisp for weeks.
- Multitasking Tip: While waiting for the brine to boil, prep your beans and garlic to save time—this recipe comes together surprisingly fast.
- Watch the Salt: If you’re watching sodium intake, reduce salt slightly but expect a tradeoff in preservation and flavor.
Variations & Adaptations
- Spicy Dilly Beans: Add 1 sliced jalapeño or increase red pepper flakes for a fiery kick.
- Garlic Lovers’ Version: Double the garlic cloves for a bolder, punchier flavor.
- Low-Acid Variation: Use half vinegar and half lemon juice for a citrusy twist and slightly less sharp bite.
- Herb Variations: Swap dill for fresh tarragon or add fresh thyme sprigs for a unique herbal note.
- Green Bean Alternatives: Try this pickling method with asparagus spears or baby carrots for different crunch and flavor.
Personally, I tried mixing in some pickling cucumbers last summer, which gave a refreshing crunch combo. It was a hit at a picnic alongside some grilled Mexican street corn salad. You can easily customize based on what you have on hand or prefer.
Serving & Storage Suggestions
Serve these fresh dilly beans chilled straight from the fridge as a crunchy snack or a tangy side. They pair wonderfully with smoky meats like ribs or BBQ chicken, especially alongside a rich dish like smoky bourbon ribs.
They also make a fantastic addition to antipasto platters or can be chopped and tossed into salads for extra zest. Store the pickled green beans in the refrigerator for up to 3 weeks. The flavors actually deepen over time, but the beans retain their snap thanks to the quick-pickle method.
To reheat, simply serve cold or at room temperature—these are best enjoyed fresh and crisp, so avoid heating as it softens the texture.
Nutritional Information & Benefits
This recipe is naturally low in calories and carbs, making it a great snack for most diets. Green beans provide fiber, vitamin C, and vitamin K, while dill adds antioxidants and digestive benefits. The vinegar in the brine may help with blood sugar regulation and gut health.
It’s gluten-free, vegan, and paleo-friendly, with optional adjustments to suit low-sodium diets. The simple ingredients mean no preservatives or artificial additives, just wholesome flavor you can trust.
Conclusion
Fresh dilly beans pickled green beans have become a staple in my kitchen because they combine simplicity, crunch, and bright flavor in a way that’s both unexpected and satisfying. I love how adaptable this recipe is—you can tweak the seasoning or spice level to suit any mood or meal.
Whether you’re looking for an easy homemade snack or a tangy complement to your next BBQ spread, these pickled beans deliver every time. I hope you find yourself reaching for the jar as often as my partner does, discovering new ways to enjoy this crisp, flavorful treat.
Feel free to share your own twists or questions—I’m always excited to hear how others make this recipe their own. Here’s to crunchy, fresh snacking that feels like a little bit of summer anytime.
FAQs
How long do fresh dilly beans last in the fridge?
They stay fresh and crunchy for up to 3 weeks when stored in a sealed jar in the refrigerator.
Can I can this recipe for shelf storage?
This recipe is designed as a refrigerator pickle. Proper canning requires a tested process to ensure safety, which this quick-pickle method doesn’t provide.
What if I don’t have fresh dill?
Fresh dill is best, but if unavailable, try fresh tarragon or thyme for a different herbal flavor. Dried dill isn’t recommended as it lacks brightness.
Can I use other types of vinegar?
Yes, apple cider vinegar works well for a milder taste. Avoid balsamic or flavored vinegars as they may alter the flavor too much.
How crunchy will the beans be after pickling?
They stay crisp thanks to the fresh beans and quick pickling. Expect a satisfying snap—not mushy or soft at all.
Pin This Recipe!
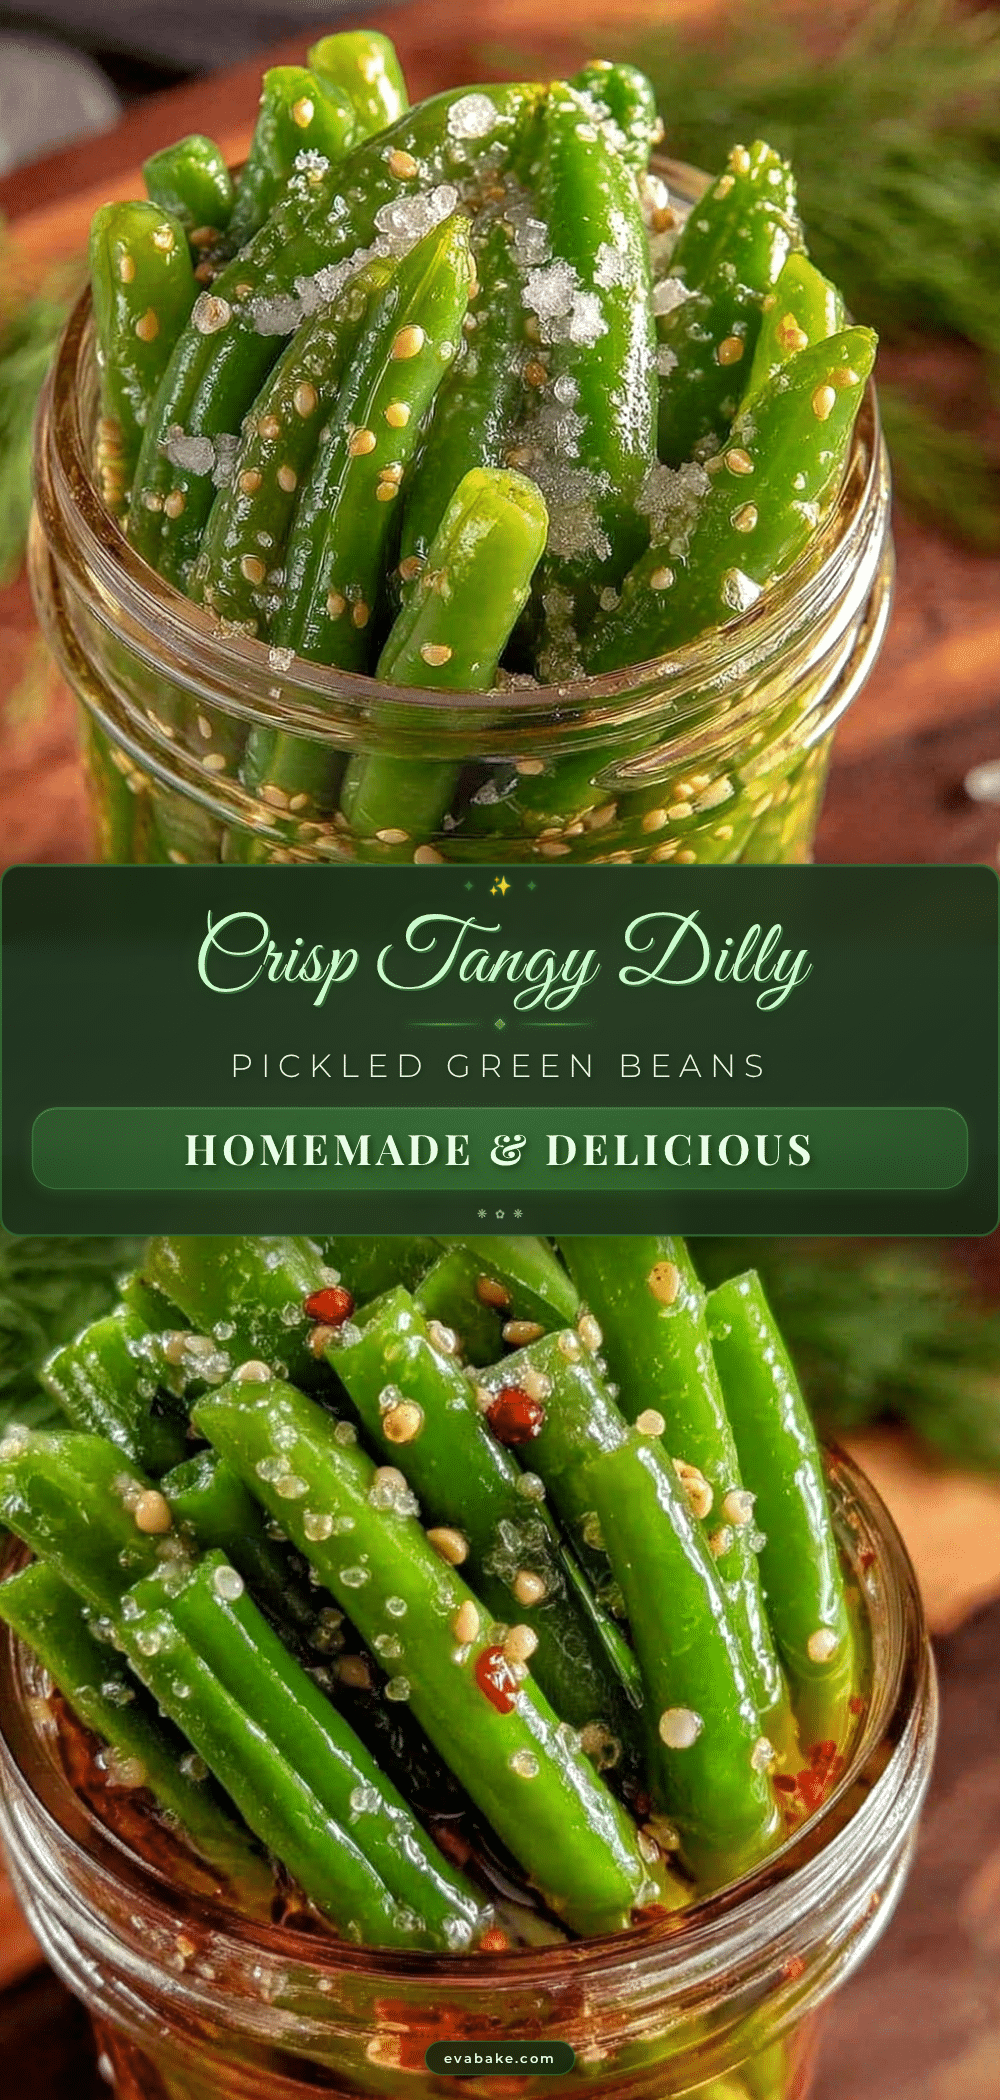
Fresh Dilly Beans Pickled Green Beans Recipe
A quick and easy recipe for crunchy, tangy pickled green beans infused with fresh dill and garlic, perfect as a snack or side dish.
- Prep Time: 10 minutes
- Cook Time: 7 minutes
- Total Time: 17 minutes plus 24 hours to 4 days for pickling
- Yield: 1 quart jar (about 4 servings) 1x
- Category: Snack
- Cuisine: American
Ingredients
- 1 pound fresh green beans, trimmed and washed
- 4–5 sprigs fresh dill weed
- 3–4 garlic cloves, peeled and lightly smashed
- 1 cup (240ml) white vinegar
- 1 cup (240ml) water
- 1 tablespoon pickling salt or kosher salt
- 1 teaspoon sugar (optional)
- 1/4 teaspoon red pepper flakes (optional)
- 1 teaspoon whole black peppercorns
- 1 small dried bay leaf
Instructions
- Wash and trim the green beans by snapping off the stem ends.
- Pack the beans vertically into a clean quart-sized jar, leaving about an inch of headspace at the top.
- Add garlic cloves, fresh dill sprigs, peppercorns, red pepper flakes (if using), and bay leaf evenly among the beans.
- In a small saucepan, combine white vinegar, water, pickling salt, and sugar. Bring to a gentle boil, stirring to dissolve salt and sugar.
- Carefully pour the hot brine over the packed beans, ensuring they are fully submerged. Press down lightly to release trapped air, leaving about 1/2 inch of space at the top.
- Seal the jar tightly and let it cool to room temperature. Once cooled, place the jar in the refrigerator.
- Wait at least 24 hours before eating; best after 3-4 days for full flavor development.
Notes
Do not boil the beans before pickling to keep them crisp. Use pickling salt to avoid cloudy brine. Adjust vinegar and water ratio but keep at least 1:1 for safety. Store in refrigerator for up to 3 weeks. Avoid heating to maintain crunch.
Nutrition
- Serving Size: About 1/4 of the jar
- Calories: 15
- Sugar: 1
- Sodium: 400
- Carbohydrates: 3
- Fiber: 1
- Protein: 1
Keywords: pickled green beans, dilly beans, fresh dill, quick pickles, easy snack, homemade pickles, refrigerator pickles


