“These are better than the pumpkin cheesecake from that bakery on Elm Street.” My sister said this while holding a forkful of these no-bake pumpkin cheesecake bars, and honestly, I almost dropped my coffee. She’s not one to throw around compliments lightly—especially about dessert. And especially not about pumpkin desserts, which she usually claims are “just okay.”
I’d spent the better part of a Tuesday afternoon messing around in my kitchen, trying to create something that felt like fall but didn’t require turning on the oven. The gingersnap crust came together almost by accident. I’d bought a box of cookies for a different recipe, ate half of them while testing (no regrets), and realized I had just enough left to crush into a buttery crust. That first bite—the spicy snap of the ginger against the cool, creamy pumpkin filling—made me text my sister immediately.
These bars have become my go-to for every fall gathering since. They’re the kind of dessert that makes people close their eyes after the first bite. No oven required, no water bath, no stress. Just a simple, stunning dessert that tastes like you spent hours on it. And honestly? That’s my favorite kind of recipe.
Why You’ll Love This Recipe
Let me tell you why these no-bake pumpkin cheesecake bars have earned a permanent spot in my fall rotation. I’ve tested this recipe at least six times—yes, six—to get the texture exactly right. The filling needs to be firm enough to slice cleanly but still have that luxurious, melt-in-your-mouth creaminess. After a few too-runny batches (and one that was almost too stiff), I landed on the perfect balance.
- No Oven Required: Seriously. The hardest part is crushing cookies and waiting for things to chill. Perfect for those days when you want a showstopper dessert without heating up the whole house.
- Simple Ingredients: You probably have most of these in your pantry right now. Canned pumpkin, cream cheese, a few spices, and some gingersnap cookies. No fancy trips to specialty stores.
- Perfect for Fall Gatherings: Thanksgiving, Friendsgiving, potlucks, or just a cozy Tuesday night. These bars travel well and slice beautifully.
- Crowd-Pleaser: I’ve served these to pumpkin lovers and pumpkin skeptics alike. The gingersnap crust wins over even the most doubtful taste-testers.
- Unbelievably Delicious: The combination of spicy gingersnap crust, silky pumpkin cheesecake, and a dollop of whipped cream is pure comfort food magic.
What makes these bars different from every other pumpkin cheesecake recipe out there? It’s the texture. By using the right ratio of cream cheese to pumpkin and letting the bars chill for the full four hours, you get a filling that’s firm but still incredibly creamy. No gelatin, no weird shortcuts—just honest ingredients doing their thing. And that gingersnap crust? It’s not just a base—it’s a flavor anchor that makes every bite more interesting.
These bars are the kind of dessert that makes you slow down and actually taste what you’re eating. They’re comfort food without the fuss, and honestly, that’s exactly what fall baking should be.
What Ingredients You Will Need
This recipe uses simple, wholesome ingredients to deliver bold flavor and satisfying texture without the fuss. Most of these are pantry staples, especially if you’ve done any fall baking before. Let me walk you through each one.
For the Gingersnap Crust
- 2 cups (about 8 ounces) crushed gingersnap cookies – I recommend Nabisco or your local bakery’s brand. The spicier the cookie, the better the crust. You want that warm ginger-cinnamon-clove punch.
- 6 tablespoons unsalted butter, melted – Use real butter here, not margarine. It makes a huge difference in flavor and texture. Let it cool slightly before mixing with the crumbs.
- 2 tablespoons granulated sugar – Just a little extra sweetness to balance the spice. You can skip this if your gingersnaps are already very sweet.
- ¼ teaspoon salt – A tiny pinch elevates all the other flavors. Don’t skip it.
For the Pumpkin Cheesecake Filling
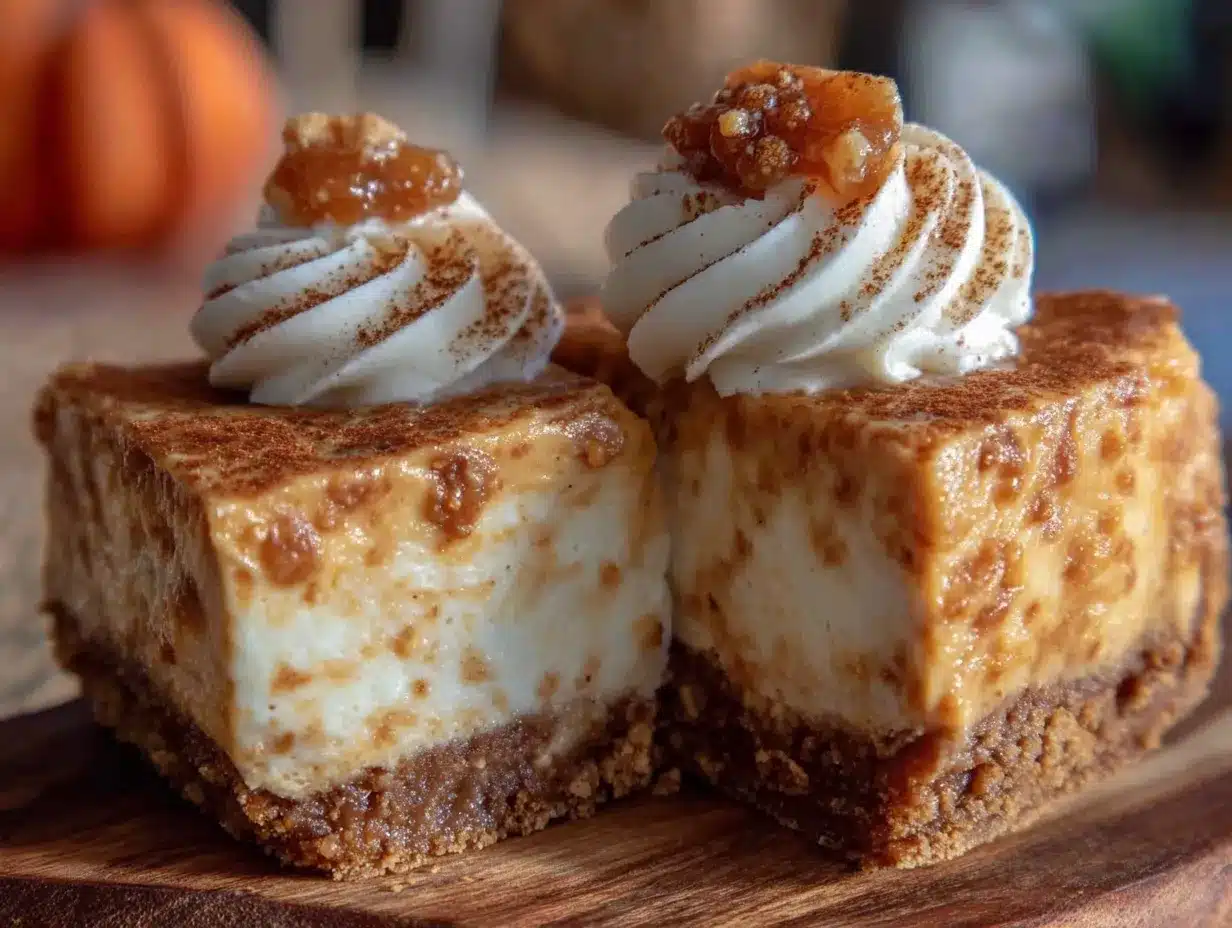
- 16 ounces (two blocks) full-fat cream cheese, softened – This is non-negotiable. Low-fat cream cheese contains more water and will make your filling too soft. Let it sit on the counter for at least 30 minutes before starting.
- 1 cup (8 ounces) canned pumpkin puree – Not pumpkin pie filling! Make sure you grab 100% pure pumpkin. Libby’s is my go-to for consistent results.
- ¾ cup packed light brown sugar – Brown sugar adds depth and moisture that granulated sugar just can’t match. The molasses notes pair beautifully with the pumpkin and spices.
- 1 teaspoon vanilla extract – Pure vanilla extract, please. Imitation vanilla has a chemical aftertaste that shows up in no-bake desserts.
- 1 ½ teaspoons pumpkin pie spice – I use store-bought for convenience, but you can make your own with cinnamon, ginger, nutmeg, and allspice. (adds warm, aromatic flavor)
- ½ teaspoon ground cinnamon – Extra cinnamon because more is always better when it comes to pumpkin desserts.
- ¼ teaspoon salt – Balances the sweetness and brightens the pumpkin flavor.
- 1 cup heavy whipping cream – This gets whipped to stiff peaks and folded into the cream cheese mixture. It’s what gives the filling that light, airy texture without needing gelatin.
For the Topping (Optional but Recommended)
- Whipped cream – Homemade or store-bought, your choice.
- Extra crushed gingersnaps – For sprinkling on top right before serving.
- Caramel sauce – A drizzle of good-quality caramel takes these bars over the top.
If you’re looking for a gluten-free option, use gluten-free gingersnap cookies. I’ve tested this with a few different brands and they all work well. For a dairy-free version, use dairy-free cream cheese and coconut cream instead of heavy cream—just note the texture will be slightly different.
Equipment Needed
You don’t need a fancy kitchen to make these no-bake pumpkin cheesecake bars. Here’s what you’ll actually use:
- 9×9-inch square baking pan – This is the perfect size for getting nice, thick bars. An 8×8 pan works too, but your bars will be slightly taller.
- Parchment paper – Line your pan with two overlapping strips so you can lift the bars out easily. This is a game-changer for clean slices.
- Food processor or zip-top bag and rolling pin – For crushing the gingersnaps. The food processor is faster, but I’ve definitely used a rolling pin and some elbow grease when mine was in the dishwasher.
- Electric hand mixer or stand mixer – You need this to get the cream cheese smooth and to whip the heavy cream. A whisk and some serious arm strength could work, but honestly, don’t do that to yourself.
- Large mixing bowls – One for the crust mixture, one for the cream cheese filling, and one for whipping the cream.
- Rubber spatula – For folding the whipped cream into the cream cheese mixture without deflating it.
- Measuring cups and spoons – Accurate measurements matter, especially for the spices.
- Plastic wrap or aluminum foil – For covering the pan while it chills.
I bought my 9×9 pan at a discount store for eight dollars, and it’s been going strong for years. You don’t need expensive equipment—just reliable basics that do the job.
Preparation Method
Let’s get to the good part. Here’s how to make these no-bake pumpkin cheesecake bars step by step. I’ve included all the little details that make the difference between good bars and unforgettable ones.
Step 1: Prepare the Pan
Line your 9×9-inch baking pan with two overlapping strips of parchment paper. Let the edges hang over the sides—this creates “handles” that make lifting the bars out so much easier later. Set the pan aside.
Step 2: Make the Gingersnap Crust
Pulse 2 cups of crushed gingersnap cookies in a food processor until you have fine, even crumbs. If you’re using a zip-top bag, seal it tight and go to town with a rolling pin. You want a consistent texture—no big chunks.
Transfer the crumbs to a medium bowl. Pour in 6 tablespoons of melted butter, 2 tablespoons of sugar, and ¼ teaspoon of salt. Stir with a fork until every crumb is coated. The mixture should look like wet sand and hold together when you press it in your fist.
Press the mixture firmly into the bottom of your prepared pan. Use the bottom of a measuring cup or a flat glass to get it even and compact. Really press it down—this prevents the crust from crumbling when you cut the bars later. Pop the pan in the fridge while you make the filling.
Step 3: Whip the Cream
In a large bowl, pour 1 cup of cold heavy whipping cream. Using an electric hand mixer or stand mixer with the whisk attachment, beat the cream on medium-high speed until stiff peaks form. This takes about 3-4 minutes. You’ll know it’s ready when you lift the beaters and the cream stands up in firm peaks that don’t flop over.
Set the whipped cream in the fridge while you work on the cream cheese mixture. Keeping it cold helps it hold its structure when you fold it in later.
Step 4: Make the Pumpkin Cheesecake Filling
In another large bowl, beat 16 ounces of softened cream cheese with an electric mixer on medium speed until smooth and creamy. Scrape down the sides of the bowl with a rubber spatula. Add ¾ cup packed light brown sugar, 1 teaspoon vanilla extract, 1 ½ teaspoons pumpkin pie spice, ½ teaspoon cinnamon, and ¼ teaspoon salt. Beat until everything is well combined and smooth.
Add 1 cup of pumpkin puree and beat on low speed until fully incorporated. Stop and scrape the bowl again. The mixture should be smooth, thick, and a beautiful warm orange color. Taste it here—you want the spices to be noticeable but not overpowering.
Step 5: Fold in the Whipped Cream
This is the most important step. Take your whipped cream out of the fridge. Add about one-third of it to the cream cheese mixture. Gently fold it in with a rubber spatula using a sweeping motion—cut through the center, scrape along the bottom, and fold over the top. Repeat until the first addition is mostly incorporated.
Add the remaining whipped cream in two more additions, folding gently each time. Be patient. You don’t want to deflate the cream, because that’s what gives the bars their light, airy texture. The final mixture should be smooth, fluffy, and uniform in color.
Step 6: Assemble and Chill
Take the pan with the crust out of the fridge. Spoon the pumpkin cheesecake filling over the crust and spread it into an even layer with your spatula. Give the pan a few gentle taps on the counter to release any air bubbles.
Cover the pan tightly with plastic wrap and refrigerate for at least 4 hours, but overnight is better. I know it’s hard to wait, but the bars need this time to set properly. If you try to cut them too early, they’ll be too soft and won’t hold their shape.
Step 7: Slice and Serve
When the bars are fully set, lift them out of the pan using the parchment paper handles. Place them on a cutting board. Use a sharp knife to slice into squares—I usually get 9 large bars or 16 smaller ones. Wipe the knife clean between cuts for neat edges.
Serve cold with a dollop of whipped cream, a sprinkle of crushed gingersnaps, and a drizzle of caramel sauce if you’re feeling fancy.
Cooking Tips & Techniques
I’ve made these no-bake pumpkin cheesecake bars more times than I can count, and I’ve definitely learned a few things the hard way. Here are my best tips to help you nail it on the first try.
Don’t rush the cream cheese softening. I know it’s tempting to microwave it, but melted cream cheese creates a grainy texture that never fully smooths out. Let it sit on the counter for at least 30 minutes. If you’re in a hurry, cut it into small cubes and they’ll soften faster.
Use full-fat everything. Low-fat cream cheese and light cream have more water content, which means your filling won’t set properly. Trust me on this—I tried to make a “lighter” version once and ended up with soup. Full-fat ingredients give you that luxurious, stable texture.
Whip the cream to stiff peaks. Not soft peaks, not medium peaks—stiff peaks. Under-whipped cream won’t hold its structure when folded in, and your bars will be too soft. Over-whipped cream can turn into butter, so stop as soon as the peaks stand up firmly.
Fold, don’t stir. When combining the whipped cream with the cream cheese mixture, use a gentle folding motion. Stirring vigorously deflates all that air you worked so hard to create. Be gentle and patient—it’s worth the extra minute.
Chill for the full time. Four hours is the minimum, but overnight is ideal. The bars need time to firm up completely. I once tried to rush this step and ended up with a delicious but messy puddle on my plate. Learn from my impatience.
Use a hot knife for clean slices. Run your knife under hot water, dry it off, then slice. The heat helps the knife glide through the cold filling without dragging. Wipe the blade clean between each cut.
Variations & Adaptations
One of the best things about this recipe is how easy it is to customize. Here are some variations I’ve tried and loved.
Gluten-Free Version: Use gluten-free gingersnap cookies for the crust. I’ve tested this with a few different brands, and they all work beautifully. Just make sure to check the label—some gluten-free cookies are smaller and you might need a few extra to reach 2 cups of crumbs.
Dairy-Free Version: Substitute dairy-free cream cheese and use full-fat canned coconut cream (the solid part from a can of coconut milk) instead of heavy cream. The texture will be slightly different—a bit denser—but still delicious. Let the coconut cream chill overnight before whipping for best results.
Extra Spicy Version: Add ¼ teaspoon of ground ginger and ⅛ teaspoon of ground cloves to the filling. If you really love heat, a tiny pinch of cayenne pepper adds a surprising warmth that plays beautifully with the pumpkin and ginger.
Chocolate Lover’s Version: Drizzle melted dark chocolate over the top before serving, or add a layer of chocolate ganache between the crust and the filling. The bitter chocolate cuts through the sweetness perfectly.
Individual Servings: Instead of using a 9×9 pan, layer the crust and filling in small jars or glasses for individual no-bake pumpkin cheesecake parfaits. These are perfect for parties and picnics.
I personally love the extra spicy version—it reminds me of the pumpkin cheesecake my grandmother used to make, but without all the oven time. If you’re feeling adventurous, try combining the chocolate and spicy versions for a truly unique dessert.
Serving & Storage Suggestions
These no-bake pumpkin cheesecake bars are best served cold, straight from the fridge. The contrast between the firm, creamy filling and the crunchy gingersnap crust is pure perfection. Let them sit at room temperature for about 5 minutes before serving—just enough to take the chill off without losing their structure.
For presentation, I like to arrange the bars on a white platter with a few whole gingersnap cookies scattered around. A dollop of whipped cream on each bar, a sprinkle of crushed cookies, and a drizzle of caramel sauce makes them look bakery-worthy. If you’re serving these at a fall gathering, add a few cinnamon sticks or star anise for a beautiful seasonal touch.
These bars pair beautifully with a cup of hot coffee, spiced chai, or a glass of cold milk. If you’re feeling festive, they’re also wonderful with a glass of dessert wine or a warm apple cider. For a full fall dessert spread, serve them alongside cozy bakery-style brown butter chocolate chip cookies or tender brown butter pumpkin chocolate chip blondies.
Storage Instructions: Store the bars in an airtight container in the refrigerator for up to 5 days. Place a layer of parchment paper between stacked bars to prevent sticking. The crust will soften slightly over time, but the flavor actually improves after a day or two as the spices meld together.
Freezer Instructions: These bars freeze beautifully. Place the fully set bars on a baking sheet and freeze until firm, about 1 hour. Wrap each bar individually in plastic wrap, then place them in a freezer-safe bag or container. They’ll keep for up to 3 months. To serve, thaw in the refrigerator overnight. The texture remains remarkably creamy—I’ve served frozen bars to guests who had no idea they weren’t fresh.
One note: the flavor develops over time. I actually prefer these bars on day two or three, when the pumpkin and spice flavors have had a chance to deepen. So don’t be afraid to make them a day or two ahead of your event.
Nutritional Information & Benefits
Here’s the nutritional breakdown for one bar (based on 9 servings). Please note these are estimates and will vary based on your specific ingredients and serving sizes.
| Nutrient | Amount Per Serving |
|---|---|
| Calories | |
| Total Fat | 28g |
| Saturated Fat | 17g |
| Cholesterol | 95mg |
| Sodium | 320mg |
| Total Carbohydrates | 30g |
| Dietary Fiber | 2g |
| Sugars | 20g |
| Protein | 5g |
| Vitamin A | 180% DV |
| Calcium | 8% DV |
| Iron | 6% DV |
Pumpkin is packed with vitamin A, which supports eye health and immune function. It’s also a good source of fiber and antioxidants. The cream cheese and heavy cream provide calcium and protein, though this is definitely a treat rather than a health food. If you’re watching your sugar intake, you can reduce the brown sugar to ½ cup, though the filling will be slightly less sweet and the texture a bit firmer.
This recipe contains dairy and gluten. For dairy-free and gluten-free alternatives, see the variations section above. The bars are nut-free as written, making them a safe option for school events or gatherings where nut allergies are a concern.
Conclusion
These no-bake pumpkin cheesecake bars with gingersnap crust are everything I want in a fall dessert—easy, impressive, and absolutely delicious. No oven required, no complicated techniques, just simple ingredients that come together to create something truly special. The spicy-sweet crust, the silky pumpkin filling, the creamy finish—it’s comfort food at its finest.
I love that this recipe lets the pumpkin shine without being overwhelming. It’s rich but not heavy, sweet but balanced, and the gingersnap crust adds that little extra something that makes people ask for the recipe. Every time I bring these to a gathering, they disappear faster than almost anything else on the table.
I’d love to hear how yours turn out. Did you try any variations? Add a different topping? Make them for a special occasion? Drop a comment below and let me know—I read every single one and I love seeing your creations. And if you’re looking for more no-bake fall desserts, check out my cozy pumpkin cream cheese swirl muffins or easy no-bake peanut butter energy balls for another quick treat.
Happy fall baking, friends. I hope these bars bring as much joy to your table as they do to mine.
Frequently Asked Questions
Can I use pumpkin pie filling instead of pumpkin puree?
No, please don’t. Pumpkin pie filling is already sweetened and spiced, which will throw off the balance of this recipe. Use 100% pure pumpkin puree for the best results. The texture and flavor will be much better.
How long do these bars need to chill?
At least 4 hours, but overnight is ideal. The bars need this time to set properly so they slice cleanly. If you’re in a rush, you can chill them for 3 hours, but they’ll be softer and harder to cut neatly.
Can I make these bars ahead of time?
Absolutely. In fact, they taste even better on day two or three. Make them up to 3 days in advance and store them in the refrigerator. You can also freeze them for up to 3 months—just wrap each bar individually and thaw in the fridge overnight.
My filling came out too soft. What went wrong?
This usually happens for one of three reasons: the cream cheese wasn’t fully softened before mixing, the heavy cream wasn’t whipped to stiff peaks, or the bars weren’t chilled long enough. Make sure your cream cheese is at room temperature, whip the cream until it stands up firmly, and give the bars a full 4 hours (or overnight) to set.
Can I use a different type of cookie for the crust?
Yes! Graham crackers, shortbread cookies, or even vanilla wafers work well. Just keep in mind that the flavor will change. Gingersnaps add a warm, spicy note that pairs beautifully with pumpkin, but feel free to experiment with what you have on hand.
Pin This Recipe!
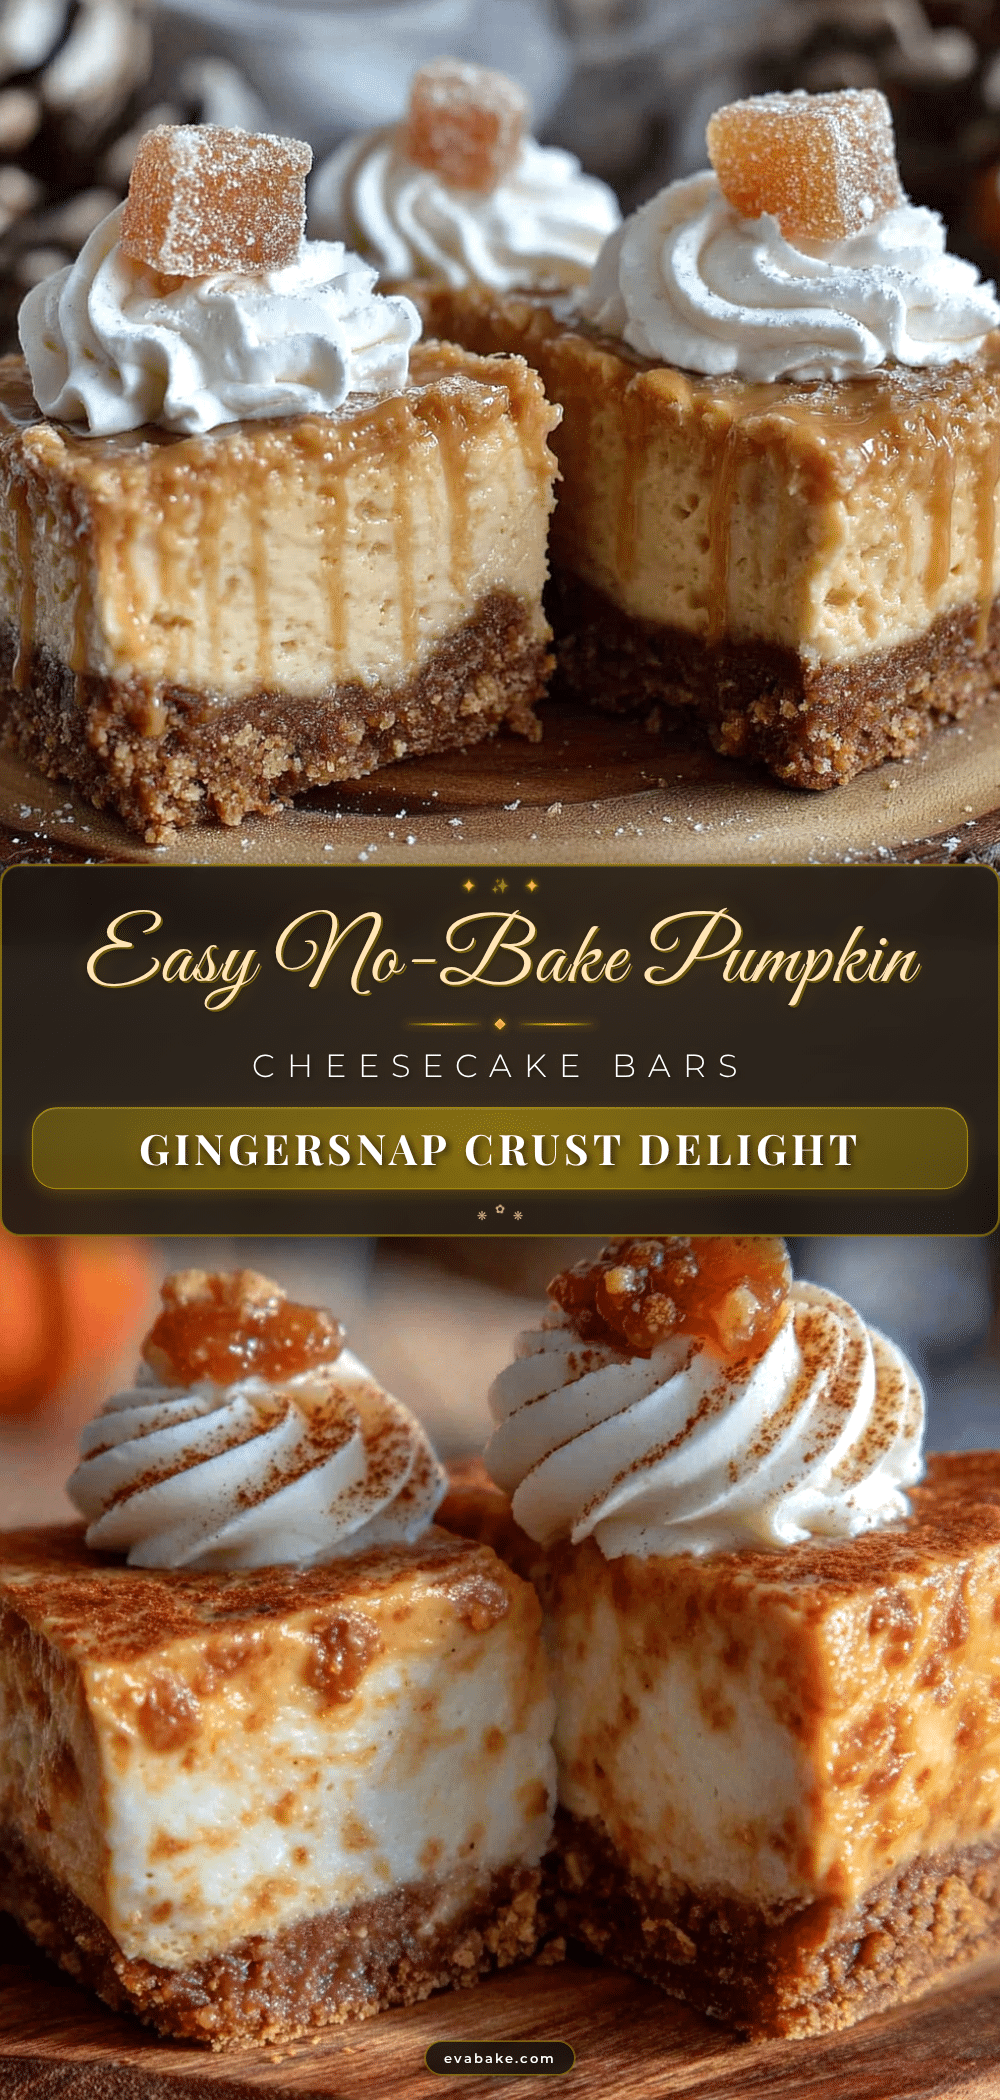
No-Bake Pumpkin Cheesecake Bars Recipe
These no-bake pumpkin cheesecake bars feature a spicy gingersnap crust and a silky pumpkin filling. No oven required, just simple ingredients and a few hours of chilling for a perfect fall dessert.
- Prep Time: 20 minutes
- Cook Time: 0 minutes
- Total Time: 4 hours 20 minutes (includes chilling)
- Yield: 9 large bars or 16 small bars 1x
- Category: Dessert
- Cuisine: American
Ingredients
- 2 cups (about 8 ounces) crushed gingersnap cookies
- 6 tablespoons unsalted butter, melted
- 2 tablespoons granulated sugar
- ¼ teaspoon salt
- 16 ounces (two blocks) full-fat cream cheese, softened
- 1 cup (8 ounces) canned pumpkin puree
- ¾ cup packed light brown sugar
- 1 teaspoon vanilla extract
- 1 ½ teaspoons pumpkin pie spice
- ½ teaspoon ground cinnamon
- ¼ teaspoon salt
- 1 cup heavy whipping cream
- Whipped cream (for topping, optional)
- Extra crushed gingersnaps (for topping, optional)
- Caramel sauce (for topping, optional)
Instructions
- Line a 9×9-inch baking pan with two overlapping strips of parchment paper, letting the edges hang over the sides. Set aside.
- Pulse 2 cups of crushed gingersnap cookies in a food processor until fine crumbs form. Transfer to a medium bowl. Add 6 tablespoons melted butter, 2 tablespoons sugar, and ¼ teaspoon salt. Stir until every crumb is coated. Press the mixture firmly into the bottom of the prepared pan. Refrigerate while making the filling.
- In a large bowl, beat 1 cup cold heavy whipping cream with an electric mixer on medium-high speed until stiff peaks form, about 3-4 minutes. Refrigerate.
- In another large bowl, beat 16 ounces softened cream cheese on medium speed until smooth. Add ¾ cup packed light brown sugar, 1 teaspoon vanilla extract, 1 ½ teaspoons pumpkin pie spice, ½ teaspoon cinnamon, and ¼ teaspoon salt. Beat until well combined. Add 1 cup pumpkin puree and beat on low until fully incorporated.
- Fold the whipped cream into the cream cheese mixture in three additions, using a gentle folding motion until smooth and fluffy.
- Spoon the filling over the crust and spread into an even layer. Cover tightly with plastic wrap and refrigerate for at least 4 hours, preferably overnight.
- Lift the bars out of the pan using the parchment handles. Slice into squares with a sharp knife, wiping the blade clean between cuts. Serve cold with whipped cream, crushed gingersnaps, and caramel sauce if desired.
Notes
For best results, use full-fat cream cheese and heavy cream. Chill for at least 4 hours, preferably overnight. The bars can be stored in the refrigerator for up to 5 days or frozen for up to 3 months. For gluten-free, use gluten-free gingersnap cookies. For dairy-free, use dairy-free cream cheese and coconut cream.
Nutrition
- Serving Size: 1 bar (based on 9 se
- Calories: 380
- Sugar: 20
- Sodium: 320
- Fat: 28
- Saturated Fat: 17
- Carbohydrates: 30
- Fiber: 2
- Protein: 5
Keywords: no-bake pumpkin cheesecake bars, pumpkin cheesecake, no-bake dessert, fall dessert, gingersnap crust, pumpkin bars


