I figured glazing a scone was just for looks. A little sugar shower, maybe, but nothing that changed the actual eating experience. It took about one bite of my first batch—dry, crumbly, and honestly, a bit sad—to realize I had it all wrong. That first attempt at a gluten-free pumpkin scone was a lesson in humility, and the maple glaze wasn’t just a pretty finish; it was the missing piece that held the whole thing together, both literally and in flavor.
This recipe came from a place of pure craving. I wanted that cozy coffee shop feeling, you know? The one where you sit with a warm drink and a pastry that tastes like autumn itself. But most gluten-free scones I tried were either hockey pucks or piles of sand. So I went back to the kitchen, determined to make a scone that was tender, not tough, and actually tasted like pumpkin, not just spice. The maple glaze? That was the happy accident. I was out of powdered sugar one day and used maple syrup instead, and honestly, it was the best mistake I ever made. It seeps into the warm scone just a little, creating this soft, sweet edge that’s pure magic.
These scones are now my go-to for fall mornings, and they’ve even made an appearance at our Halloween brunch alongside some creamy pumpkin cheesecake swirl brownies. They’re the kind of thing that makes you slow down and actually taste the season. Trust me, if I can make a gluten-free scone this good, you absolutely can too.
Why You’ll Love This Recipe
Let’s be real—making gluten-free baked goods that don’t taste like cardboard is a challenge. But these scones are different. They’re the result of a lot of trial and error, a few floury messes, and one very patient family who ate all my test batches.
- Perfectly Tender, Not Dry: The secret is the combination of pumpkin puree and a touch of yogurt, which keeps the crumb moist and tender. No one will guess they’re gluten-free.
- Bold Pumpkin Flavor: We’re using real pumpkin puree, not just spice, so you get that earthy, sweet pumpkin taste in every bite. It’s the star of the show.
- That Irresistible Maple Glaze: This isn’t just a drizzle. The glaze is thick, creamy, and infused with pure maple syrup. It soaks into the warm scone, creating a soft, candied edge that is honestly the best part.
- Simple Ingredients, Big Results: You don’t need a specialty grocery store run. Most of these ingredients are pantry staples, especially if you keep a good gluten-free flour blend on hand.
- Perfect for Fall Baking: Whether it’s a quiet Saturday morning or a Thanksgiving brunch, these scones are the ultimate cozy treat. They pair perfectly with a cozy pumpkin chai latte with steamed oat milk.
- Crowd-Pleaser Approved: I’ve brought these to potlucks and family gatherings, and they disappear fast. Gluten-free eaters and regular flour lovers alike go back for seconds.
What Ingredients You Will Need
This recipe uses simple, wholesome ingredients to create a scone that’s tender, flavorful, and perfectly autumnal. The key is using a good quality gluten-free flour blend and not skipping the chilling step—it makes all the difference in texture.
Here’s what you’ll need:
- Gluten-Free All-Purpose Flour Blend (2 ½ cups / 312g): I recommend a blend that contains xanthan gum, like Bob’s Red Mill 1-to-1 or King Arthur Measure for Measure. This provides the structure and chewiness we need. If your blend doesn’t have gum, add 1 teaspoon of xanthan gum.
- Granulated Sugar (⅓ cup / 67g): Adds just the right amount of sweetness to balance the pumpkin and spices.
- Baking Powder (1 tablespoon): This is crucial for lift. Make sure it’s fresh! A heaping tablespoon is perfect.
- Pumpkin Pie Spice (2 teaspoons): You can use store-bought or make your own with cinnamon, nutmeg, ginger, and cloves.
- Ground Cinnamon (½ teaspoon): For an extra layer of warm spice.
- Salt (½ teaspoon): Enhances all the flavors and balances the sweetness.
- Cold Unsalted Butter (½ cup / 113g, cubed): This is the secret to flaky layers. The butter must be very cold, straight from the fridge. We’ll cut it into the flour until it looks like coarse meal.
- Pumpkin Puree (½ cup / 122g): Make sure you’re using 100% pure pumpkin, not pumpkin pie filling. It adds moisture and that gorgeous orange color.
- Heavy Cream (¼ cup / 60ml, plus more for brushing): The fat in the cream helps create a tender crumb. You can substitute with full-fat coconut milk for a dairy-free option.
- Egg (1 large): Binds the dough together and adds richness.
- Vanilla Extract (1 teaspoon): Enhances the overall flavor profile.
For the Maple Glaze:
- Powdered Sugar (1 cup / 120g): Sifted to avoid lumps.
- Pure Maple Syrup (2 tablespoons): Use the real stuff, not pancake syrup. It has a deeper, more complex flavor.
- Heavy Cream (1-2 tablespoons): To thin the glaze to your desired consistency.
- Maple Extract (½ teaspoon, optional): For an extra punch of maple flavor.
Equipment Needed
You don’t need a ton of fancy equipment for these scones, which is part of their charm. Here’s what I use:
- Large Mixing Bowl: For combining dry ingredients.
- Pastry Cutter or Two Forks: To cut the cold butter into the flour. A food processor works too, but be careful not to over-process.
- Whisk: For mixing the wet ingredients.
- Baking Sheet: Lined with parchment paper for easy cleanup.
- Sharp Knife or Bench Scraper: To cut the dough into wedges. A bench scraper is my favorite—it gives you clean edges.
- Pastry Brush: For brushing the tops with cream before baking.
- Wire Rack: For cooling the scones completely before glazing.
Preparation Method
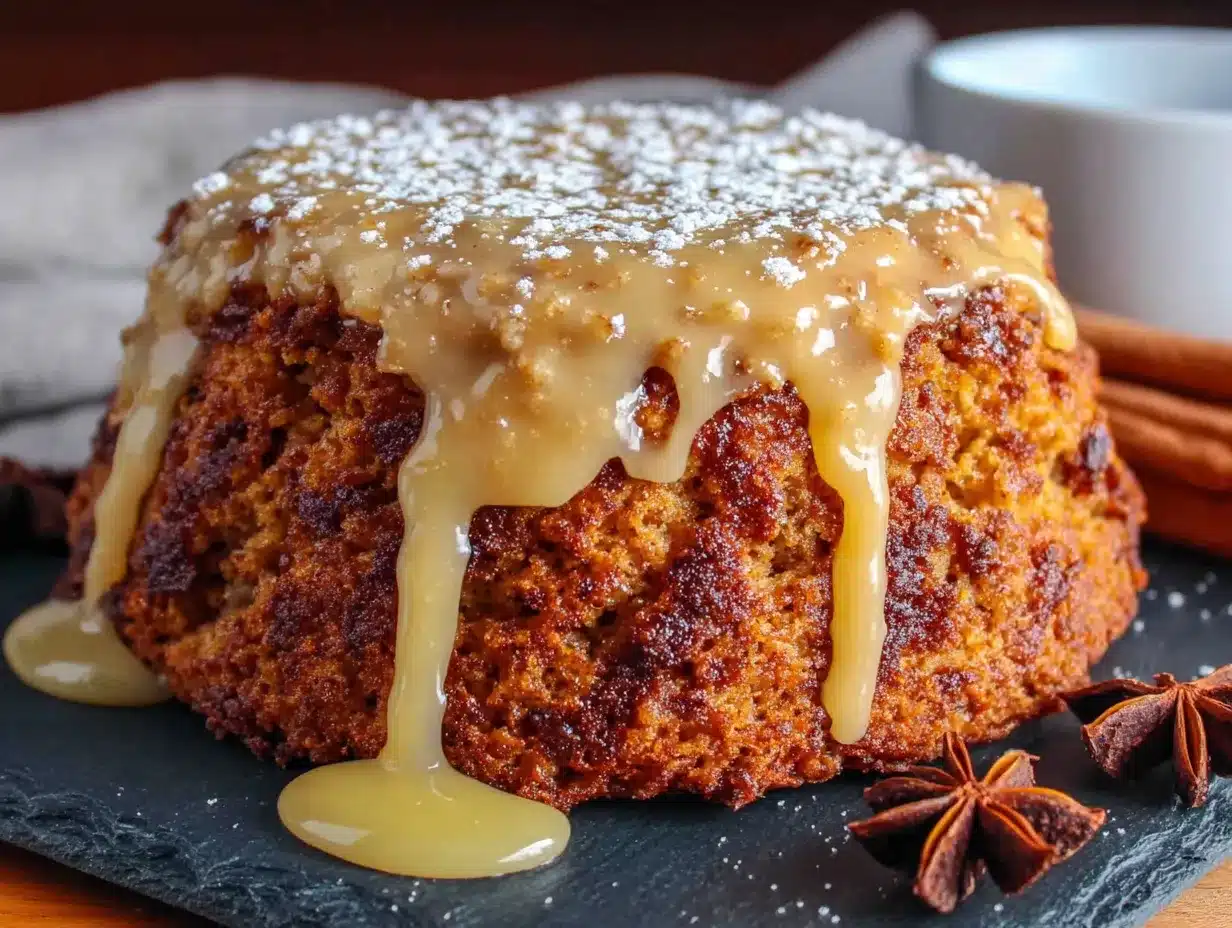
Let’s get baking! This process is simpler than you think. The key is to keep everything cold and work quickly.
- Preheat & Prep: Preheat your oven to 400°F (200°C). Line a large baking sheet with parchment paper. Set aside.
- Combine Dry Ingredients: In your large mixing bowl, whisk together the gluten-free flour, sugar, baking powder, pumpkin pie spice, cinnamon, and salt. Make sure there are no lumps.
- Cut in the Butter: Add the cold, cubed butter to the flour mixture. Use a pastry cutter or two forks to cut the butter into the flour until the mixture looks like coarse meal with some pea-sized butter pieces remaining. This is what creates those flaky layers. Don’t overdo it—you want visible butter bits.
- Mix Wet Ingredients: In a separate small bowl, whisk together the pumpkin puree, heavy cream, egg, and vanilla extract until smooth.
- Form the Dough: Pour the wet mixture into the dry mixture. Stir with a rubber spatula or wooden spoon just until the dough comes together. It will be a bit sticky and shaggy, not a smooth ball. That’s perfectly fine.
- Chill the Dough (Crucial Step!): Turn the dough out onto a lightly floured surface (use more gluten-free flour). Gently pat it into a 1-inch thick round. Wrap it in plastic wrap and refrigerate for at least 30 minutes. This step is non-negotiable—it allows the gluten-free flours to hydrate and the butter to firm up, resulting in a taller, flakier scone.
- Shape & Cut: After chilling, transfer the dough round to your prepared baking sheet. Use a sharp knife or bench scraper to cut the round into 8 wedges. Gently separate the wedges so they are about 1 inch apart on the sheet.
- Brush & Bake: Brush the tops of the scones with a little extra heavy cream. This helps them brown beautifully. Bake for 18-22 minutes, or until the scones are golden brown on the bottom and edges. A toothpick inserted into the center should come out clean.
- Cool Completely: Let the scones cool on the baking sheet for 5 minutes, then transfer them to a wire rack to cool completely. This is essential before glazing, or the glaze will just melt right off.
- Make the Glaze: While the scones cool, make the glaze. In a small bowl, whisk together the sifted powdered sugar, maple syrup, and 1 tablespoon of heavy cream. Add more cream, one teaspoon at a time, until you reach a thick but pourable consistency. Stir in the maple extract if using.
- Glaze & Serve: Once the scones are completely cool, drizzle the maple glaze over the tops. Let the glaze set for about 10 minutes before serving. Enjoy!
Cooking Tips & Techniques
I’ve made these scones more times than I can count, and I’ve learned a few things along the way. Here are my best tips to ensure perfect results every time.
- Don’t Overwork the Dough: This is the number one mistake people make with scones. Overworking the dough develops too much gluten (even in gluten-free blends) and leads to tough, dense scones. Mix until just combined. A few dry spots are okay.
- Keep Everything Cold: Cold butter is your best friend. If the butter starts to soften while you’re working, pop the dough in the fridge for 10 minutes. This prevents the butter from melting into the flour before baking, which is what creates those flaky layers.
- Use a Sharp Cutter: When cutting the dough, use a sharp knife or bench scraper and press straight down. Don’t twist the knife, as this can seal the edges and prevent the scones from rising properly.
- The Chill is Non-Negotiable: I know it’s tempting to skip the chilling step, but please don’t. It allows the gluten-free flours to hydrate, making the dough easier to handle and the final texture much more tender. It also firms up the butter, which helps the scones rise tall in the oven.
- Check Your Oven: Every oven is different. Start checking your scones at the 18-minute mark. They should be golden brown on the bottom and the edges should look set.
- Glaze When Cool: Patience is a virtue here. If you glaze the scones while they’re even slightly warm, the glaze will become a thin, runny mess. Wait until they are completely cool for that perfect, thick drizzle.
Variations & Adaptations
One of the best things about this recipe is how adaptable it is. Feel free to make it your own!
- Add Mix-Ins: Fold in ½ cup of chopped pecans, walnuts, or chocolate chips (dark or white chocolate are both fantastic) into the dough before shaping.
- Spice It Up: For a more intense spice profile, add a pinch of ground cloves or cardamom along with the other spices.
- Dairy-Free Version: Use a high-quality vegan butter stick (like Miyoko’s) and substitute the heavy cream with full-fat canned coconut milk or a thick oat milk creamer. The texture will be slightly different but still delicious.
- Egg-Free Version: You can replace the egg with a “flax egg” (1 tablespoon ground flaxseed mixed with 3 tablespoons water, let sit for 5 minutes to thicken).
- Make Them Savory: For a fun twist, omit the sugar and pumpkin pie spice. Add ½ teaspoon of black pepper, ½ cup of shredded sharp cheddar, and ¼ cup of chopped fresh sage. Drizzle with a little honey or skip the glaze altogether.
- Pumpkin Maple Scones: For an even more intense maple flavor, add 1 tablespoon of maple syrup directly to the scone dough, reducing the heavy cream by the same amount.
Serving & Storage Suggestions
These scones are best enjoyed the day they are made, but they store surprisingly well.
- Serving: Serve at room temperature. They are absolutely divine with a hot cup of coffee, tea, or a creamy copycat pumpkin cream cold foam latte. For a truly decadent treat, split a scone in half and toast it lightly before adding a pat of butter.
- Storage: Store leftover scones in an airtight container at room temperature for up to 2 days. If you’ve added the glaze, it’s best to store them in a single layer to prevent sticking.
- Freezing: You can freeze the unbaked, shaped scones. Place the cut wedges on a parchment-lined baking sheet and freeze until solid (about 2 hours). Transfer the frozen scones to a freezer-safe bag. Bake from frozen, adding 3-5 minutes to the baking time. You can also freeze baked, unglazed scones for up to 3 months. Thaw at room temperature and glaze before serving.
Nutritional Information & Benefits
While these are a treat, they do offer some surprising benefits thanks to the star ingredient.
- Estimated per scone (with glaze): Calories: 320, Fat: 15g, Carbohydrates: 45g, Fiber: 3g, Sugar: 22g, Protein: 4g.
- Pumpkin Power: Pumpkin is packed with Vitamin A (from beta-carotene), which is great for eye health and immune function. It’s also a good source of fiber, which helps with digestion.
- Dietary Considerations: This recipe is naturally gluten-free. It can easily be made dairy-free and egg-free with the substitutions listed above.
- Potential Allergens: Contains dairy (butter, cream) and eggs. The gluten-free flour blend may contain other allergens depending on the brand (e.g., rice flour, tapioca starch).
Conclusion
These gluten-free pumpkin scones with maple glaze are more than just a recipe—they’re a little slice of fall comfort. They’re the kind of thing that makes you want to curl up with a good book and a warm drink. The tender, spiced crumb paired with that sweet, rich maple glaze is a combination that’s hard to beat. I love that they’re simple enough for a weekday morning but special enough for a holiday brunch.
I really hope you give these a try. Don’t be afraid to make them your own—add some chocolate chips, switch up the spice blend, or double the glaze (I won’t judge). When you do, I’d love to hear about it. Leave a comment below and let me know how they turned out. Did you make any fun substitutions? Share your photos with me on social media, too! Happy baking, friends. You’ve got this.
Frequently Asked Questions
Can I use a different gluten-free flour blend?
Yes, but results may vary. I highly recommend using a blend that contains xanthan gum, as it provides the necessary structure. Blends like Bob’s Red Mill 1-to-1 or King Arthur Measure for Measure work perfectly. If you use a single flour like almond flour or coconut flour, this recipe will not work as written.
Why did my scones turn out dry?
This is usually caused by over-baking or over-measuring the flour. Make sure you spoon the flour into your measuring cup and level it off with a knife, rather than scooping directly from the bag. Also, check your oven temperature with an oven thermometer to ensure it’s accurate.
Can I make the dough ahead of time?
Absolutely! You can prepare the dough, shape it into a round, wrap it tightly in plastic wrap, and refrigerate it for up to 24 hours before baking. You can also freeze the shaped, unbaked scones for up to 3 months.
My glaze is too thin. What do I do?
If your glaze is too thin, simply add a little more sifted powdered sugar, one tablespoon at a time, until it reaches your desired consistency. If it’s too thick, add a tiny splash of heavy cream or milk.
Can I use pumpkin pie filling instead of pumpkin puree?
No, I don’t recommend it. Pumpkin pie filling is pre-sweetened and spiced, which will throw off the balance of the recipe. Stick with 100% pure pumpkin puree for the best results.
Pin This Recipe!
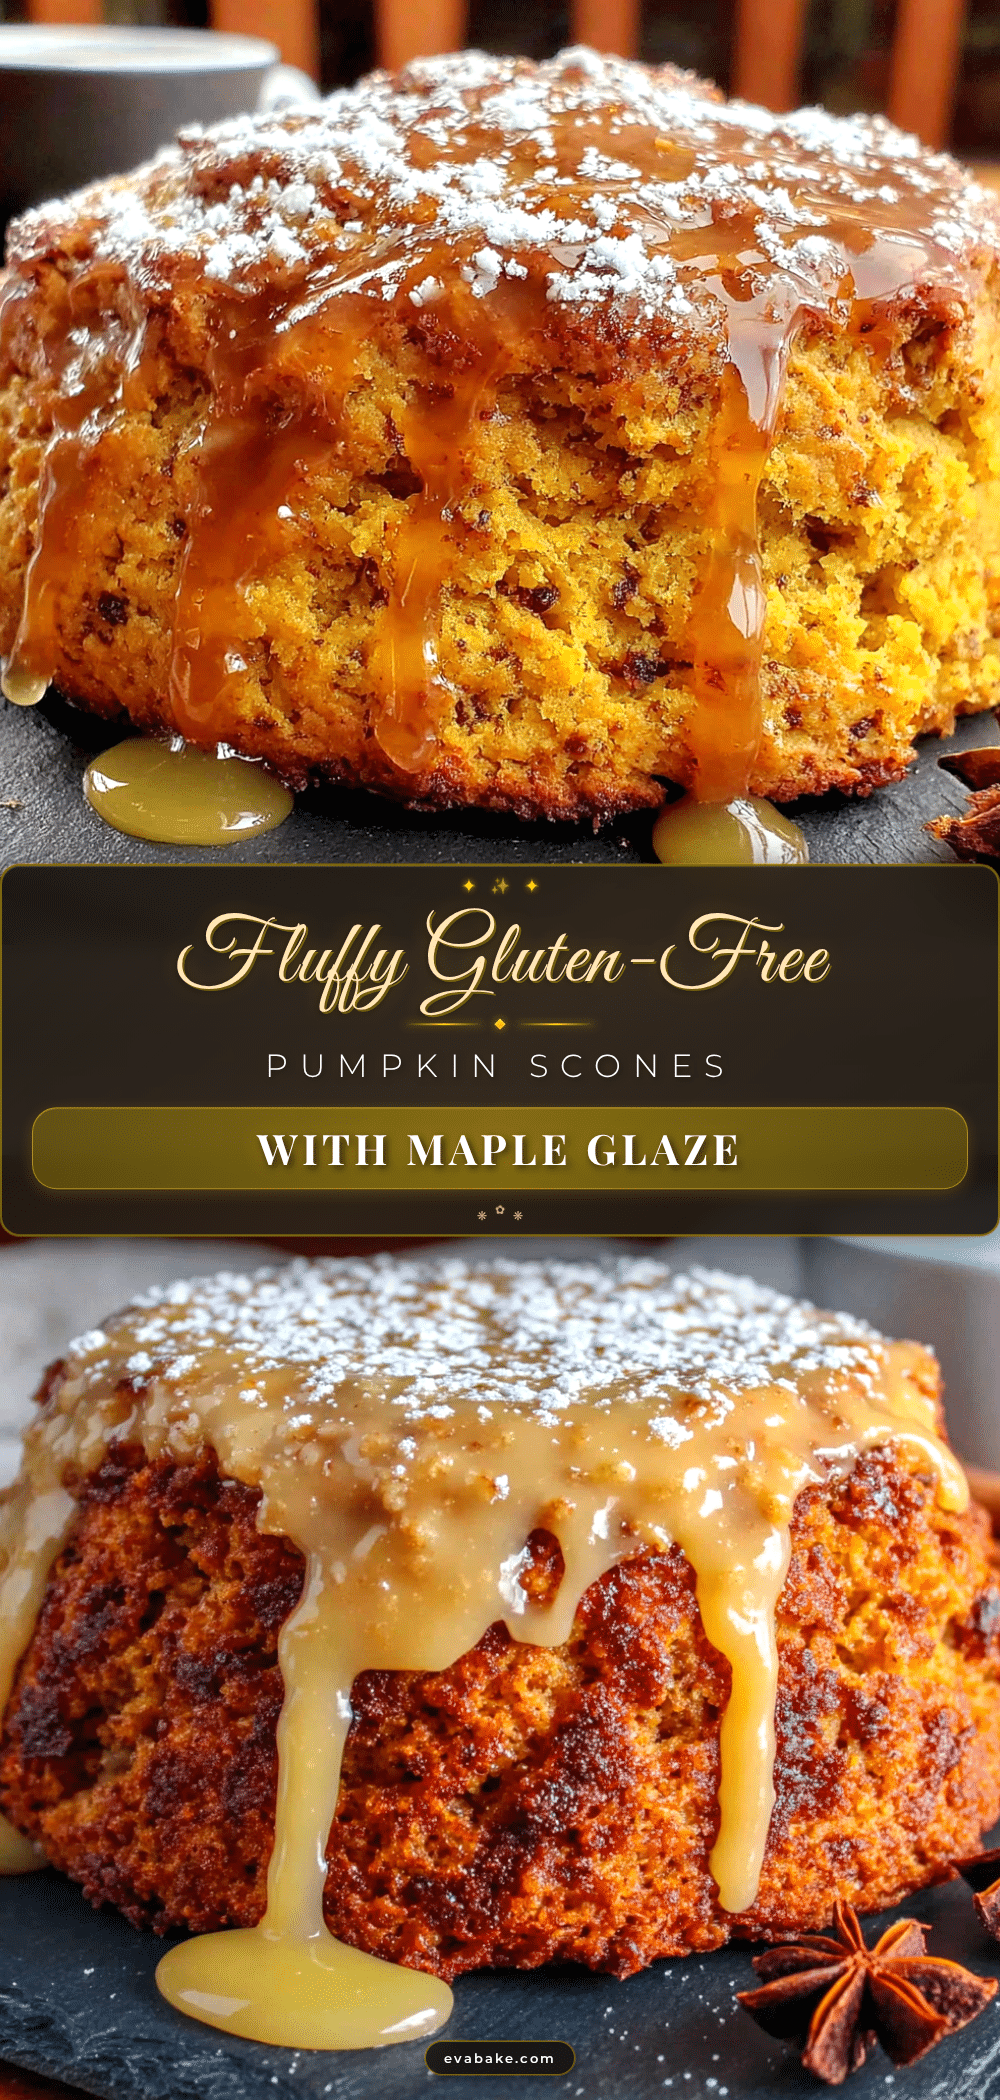
Perfect Gluten-Free Pumpkin Scones with Maple Glaze
Tender, gluten-free pumpkin scones with a rich maple glaze that seeps into the warm scone, creating a soft, sweet edge. Perfect for fall mornings or holiday brunches.
- Prep Time: 15 minutes
- Cook Time: 20 minutes
- Total Time: 1 hour 5 minutes (includes 30 minutes chilling)
- Yield: 8 servings 1x
- Category: Breakfast, Brunch, Dessert
- Cuisine: American
Ingredients
- 2 ½ cups (312g) gluten-free all-purpose flour blend (with xanthan gum)
- ⅓ cup (67g) granulated sugar
- 1 tablespoon baking powder
- 2 teaspoons pumpkin pie spice
- ½ teaspoon ground cinnamon
- ½ teaspoon salt
- ½ cup (113g) cold unsalted butter, cubed
- ½ cup (122g) pumpkin puree (100% pure)
- ¼ cup (60ml) heavy cream, plus more for brushing
- 1 large egg
- 1 teaspoon vanilla extract
- 1 cup (120g) powdered sugar, sifted
- 2 tablespoons pure maple syrup
- 1–2 tablespoons heavy cream (for glaze)
- ½ teaspoon maple extract (optional)
Instructions
- Preheat oven to 400°F (200°C). Line a large baking sheet with parchment paper.
- In a large mixing bowl, whisk together gluten-free flour, sugar, baking powder, pumpkin pie spice, cinnamon, and salt.
- Add cold cubed butter to the flour mixture. Use a pastry cutter or two forks to cut the butter into the flour until the mixture resembles coarse meal with some pea-sized butter pieces remaining.
- In a separate small bowl, whisk together pumpkin puree, ¼ cup heavy cream, egg, and vanilla extract until smooth.
- Pour the wet mixture into the dry mixture. Stir with a rubber spatula or wooden spoon just until the dough comes together (it will be sticky and shaggy).
- Turn the dough out onto a lightly floured surface. Gently pat it into a 1-inch thick round. Wrap in plastic wrap and refrigerate for at least 30 minutes.
- Transfer the chilled dough round to the prepared baking sheet. Use a sharp knife or bench scraper to cut into 8 wedges. Gently separate wedges about 1 inch apart.
- Brush the tops of the scones with additional heavy cream. Bake for 18-22 minutes, until golden brown on bottom and edges. A toothpick inserted into the center should come out clean.
- Let scones cool on the baking sheet for 5 minutes, then transfer to a wire rack to cool completely.
- While scones cool, make the glaze: In a small bowl, whisk together sifted powdered sugar, maple syrup, and 1 tablespoon heavy cream. Add more cream, one teaspoon at a time, until thick but pourable. Stir in maple extract if using.
- Once scones are completely cool, drizzle the maple glaze over the tops. Let set for about 10 minutes before serving.
Notes
Keep butter and dough cold for flaky layers. Do not overwork the dough. Chilling is non-negotiable for best texture. Glaze only when scones are completely cool.
Nutrition
- Serving Size: 1 scone
- Calories: 320
- Sugar: 22
- Sodium: 280
- Fat: 15
- Saturated Fat: 9
- Carbohydrates: 45
- Fiber: 3
- Protein: 4
Keywords: gluten-free pumpkin scones, pumpkin scones, maple glaze, gluten-free baking, fall recipes, pumpkin recipes, scone recipe


