I was standing in line at the hardware store—of all places—when the guy in front of me, an older electrician named Ray with a pencil behind his ear, started talking about cookies. Not electrical work. Not the weather. Cookies. He had this look like he’d just remembered something wonderful, and he turned around and said, “You know what my wife makes for the grandkids every Halloween? She calls ’em spider webs. Takes her twenty minutes.” I almost laughed. A hardware store is the last place I expected to get baking advice, but there I was, holding a new paintbrush, listening to Ray describe exactly how to make Quick Chocolate Spider Web Sugar Cookies.
Honestly, I was skeptical. Spider web cookies usually involve piping bags, melted chocolate, and a lot of patience I don’t have on a Tuesday night. But Ray insisted. “It’s a shortcut,” he said, tapping his temple. “You use a toothpick. That’s the whole trick.” I nodded, bought my paintbrush, and promptly forgot about it—until Halloween crept up and I needed something fast for my kid’s class party. I remembered Ray. I remembered the toothpick. And let me tell you, he was right.
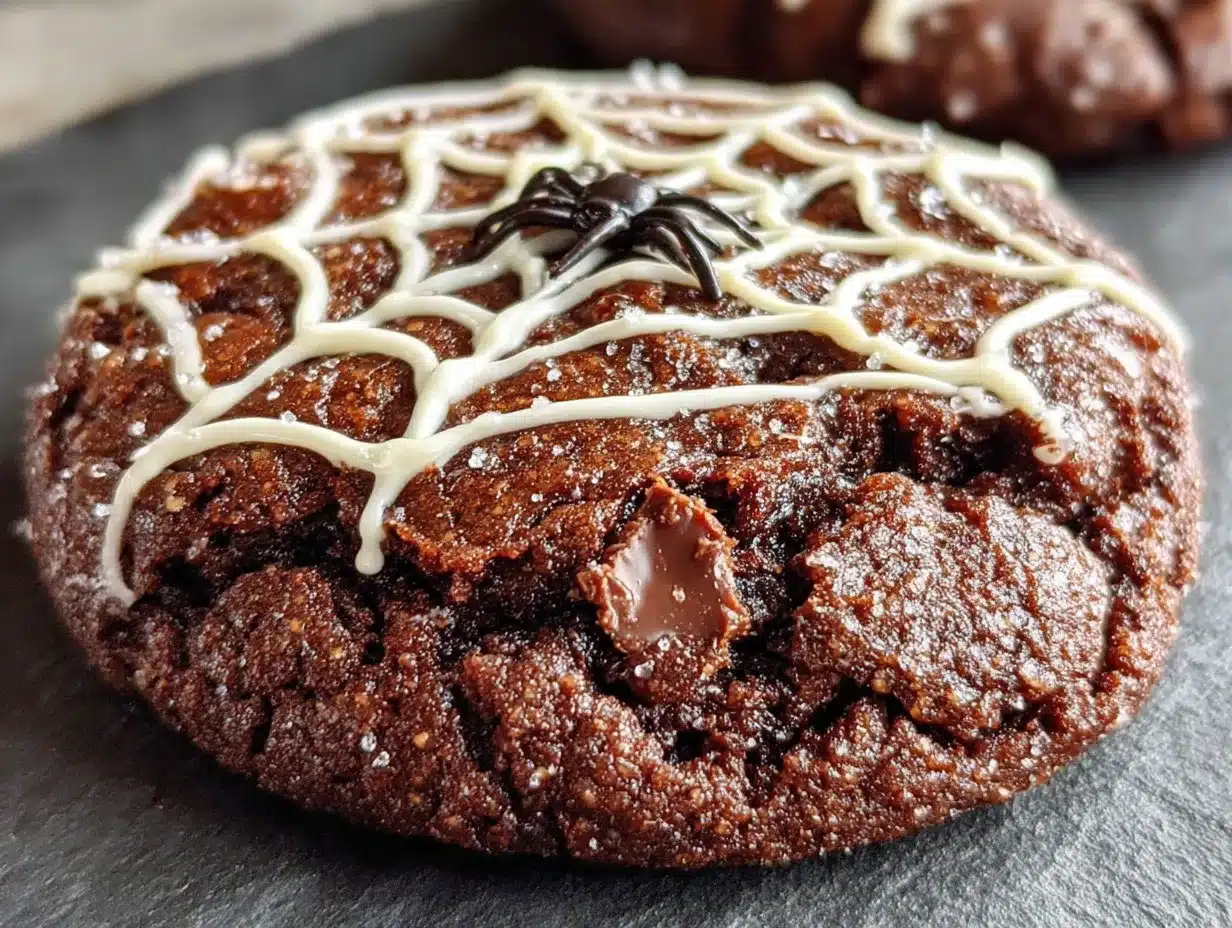
These chocolate spider web sugar cookies start with a simple sugar cookie base—no chilling, no rolling, no mess—and then you swirl a little chocolate glaze on top using nothing fancier than a toothpick. The result looks like something from a bakery display, but you can make them in under half an hour. I’ve made them three times since that first try, and every time, someone asks for the recipe. Maybe you’ve been there—needing a Halloween treat that looks impressive but doesn’t eat up your whole evening. This is that recipe. It stayed with me because it proved you don’t need fancy tools or hours of free time to make something that feels special.
Why You’ll Love This Recipe
Let’s face it—Halloween baking can feel like a lot of pressure. You want something festive, but you also want to get dinner on the table and help with costumes. These Quick Chocolate Spider Web Sugar Cookies solve that problem. I’ve tested this recipe five times now, tweaking the glaze consistency and the baking time until it was just right. Here’s why it works:
- Quick & Easy: From start to finish, these cookies take about 25 minutes. No chilling the dough, no rolling out, no complicated steps. You mix, scoop, bake, and decorate.
- Simple Ingredients: You probably already have butter, sugar, flour, and cocoa powder in your pantry. No specialty items required.
- Perfect for Halloween: These are the star of any class party, office potluck, or spooky movie night. Kids love the web design, and adults appreciate the chocolate flavor.
- Crowd-Pleaser: I’ve brought these to three different gatherings, and they disappear every time. Even people who say they’re “not into sugar cookies” go back for seconds.
- Unbelievably Delicious: The combination of a soft, buttery sugar cookie with a rich chocolate glaze is next-level comfort food. The texture is tender, the chocolate is silky, and the whole thing feels indulgent without being heavy.
What makes this recipe different from all the other spider web cookies out there? It’s the technique. Instead of piping intricate webs with melted chocolate (which always ends up a mess in my kitchen), you use a simple glaze and a toothpick. The toothpick drags through the glaze to create those classic web lines, and it works every single time. No stress, no cleanup disaster—just perfect webs. This isn’t just another Halloween cookie; it’s the one that makes you close your eyes after the first bite and think, I can’t believe that was this easy.
What Ingredients You Will Need
This recipe uses simple, wholesome ingredients to deliver bold chocolate flavor and satisfying texture without the fuss. Most of these are pantry staples, so you might not even need a grocery run.
For the Sugar Cookie Base
- Unsalted butter, softened – 1/2 cup (113g) – Adds richness and tenderness. I prefer Kerrygold for its creamy texture.
- Granulated sugar – 3/4 cup (150g) – For sweetness and structure.
- Large egg – 1, room temperature – Binds the dough together.
- Vanilla extract – 1 teaspoon – Pure vanilla adds warmth. Avoid imitation if you can.
- All-purpose flour – 1 1/2 cups (190g) – Spoon and level for accuracy.
- Baking powder – 1/2 teaspoon – Gives the cookies a slight lift.
- Salt – 1/4 teaspoon – Balances the sweetness.
For the Chocolate Glaze
- Semi-sweet chocolate chips – 1 cup (175g) – I use Ghirardelli for consistent melting.
- Butter – 2 tablespoons (28g) – Helps the glaze stay smooth and shiny.
- Corn syrup – 1 tablespoon (15ml) – Adds gloss and prevents the glaze from seizing. (Use light corn syrup.)
- Vanilla extract – 1/2 teaspoon – Enhances the chocolate flavor.
For the Web Design
- White icing or melted white chocolate – 1/4 cup (60ml) – For the web lines. Store-bought tube icing works great.
- Toothpick – 1 – The secret tool for creating the web pattern.
Substitution Guidance: If you’re dairy-free, use vegan butter in both the cookie dough and the glaze. Coconut oil (1 tablespoon) can replace the butter in the glaze if needed. For a gluten-free version, swap the all-purpose flour with a 1:1 gluten-free baking blend. I’ve tried it with Bob’s Red Mill, and the texture holds up beautifully. If you don’t have corn syrup, honey works but will make the glaze slightly less shiny.
Equipment Needed
You don’t need a fancy kitchen to make these cookies. Here’s what you’ll need:
- Mixing bowls – One medium, one small. Glass or stainless steel works best.
- Electric mixer – Handheld or stand mixer. You can mix by hand, but it takes more elbow grease.
- Baking sheet – Standard 13×18 inch. Line it with parchment paper for easy cleanup.
- Cookie scoop – A 1.5-tablespoon scoop gives uniform cookies. A spoon works too.
- Toothpick – The star of the show. Grab a few extra in case one breaks.
- Small piping bag or zip-top bag – For the white icing. A zip-top bag with a tiny corner snipped off works perfectly.
- Wire cooling rack – Helps the cookies cool evenly before glazing.
Budget-Friendly Tip: Don’t have a cookie scoop? Use two spoons to drop the dough. The cookies won’t be perfectly round, but they’ll taste the same. And if you don’t have a piping bag, a sandwich bag with a tiny hole cut in the corner is just as effective. I’ve done it both ways, and honestly, the bag method is actually easier to control.
Preparation Method
Follow these steps carefully, and you’ll have spider web cookies that look like they took hours. (Spoiler: they didn’t.)
- Preheat your oven to 350°F (175°C). Line a baking sheet with parchment paper. This prevents sticking and makes cleanup a breeze.
- Make the cookie dough. In a medium mixing bowl, beat the softened butter and granulated sugar together until light and fluffy—about 2 minutes with an electric mixer on medium speed. You want the mixture to look pale and airy. Add the egg and vanilla extract, then beat until combined. The batter might look slightly curdled; that’s normal.
- Add the dry ingredients. In a separate small bowl, whisk together the flour, baking powder, and salt. Gradually add this to the wet mixture, mixing on low speed until just combined. Don’t overmix—stop as soon as you don’t see any more flour streaks. The dough will be soft but not sticky.
- Scoop and bake. Use your cookie scoop to portion out rounded tablespoons of dough. Place them on the prepared baking sheet, spacing them about 2 inches apart. Bake for 8-10 minutes, or until the edges are lightly golden and the centers look set but still soft. The cookies will continue to firm up as they cool.
- Cool completely. Let the cookies rest on the baking sheet for 2 minutes, then transfer them to a wire cooling rack. Wait until they’re completely cool before glazing—warm cookies will melt the chocolate and ruin the web design.
- Make the chocolate glaze. While the cookies cool, combine the semi-sweet chocolate chips, butter, and corn syrup in a small microwave-safe bowl. Microwave in 20-second bursts, stirring between each, until the mixture is smooth and glossy. Stir in the vanilla extract. Let it cool for 2-3 minutes—it should be warm but not hot.
- Glaze the cookies. Dip the top of each cooled cookie into the chocolate glaze, or use a small spoon to spread it evenly. Let the excess drip off, then place the cookie back on the cooling rack. Work quickly—the glaze sets fast.
- Create the spider web. While the glaze is still wet, pipe a small circle of white icing in the center of each cookie. Then, starting from the center, drag a toothpick outward through the white icing and into the chocolate glaze. Repeat this in a spiral pattern, moving outward from the center. You should see the web lines appear as the toothpick pulls the white icing through the chocolate. Clean the toothpick between cookies for the cleanest lines.
- Let the glaze set. Allow the cookies to sit at room temperature for about 15 minutes, or until the glaze is firm to the touch. If you’re in a hurry, pop them in the fridge for 5 minutes.
Troubleshooting Tip: If the white icing sinks into the chocolate instead of sitting on top, your glaze is too warm. Let it cool for another minute before trying again. If the toothpick drags aren’t creating clear lines, the glaze might be too thick—add a teaspoon of corn syrup to thin it slightly.
Cooking Tips & Techniques
I’ve made these cookies enough times to know exactly where things can go wrong. Here’s what I’ve learned—sometimes the hard way.
Don’t overbake. The cookies should look slightly underdone when you pull them out of the oven. They’ll continue cooking on the hot baking sheet for those 2 minutes. Overbaked cookies turn dry and crumbly, and the glaze won’t stick as well. Trust the 8-minute mark and check them early.
Let the glaze cool slightly. The first time I made these, I was impatient. I poured the hot glaze directly onto the cookies, and it ran off the sides like a waterfall. The web design was a blurry mess. Let the glaze sit for 2-3 minutes after microwaving. It should be thick enough to coat the back of a spoon but still pourable.
Work in batches. Don’t glaze all the cookies at once. Glaze 3-4 cookies, create the webs, then move on to the next batch. The glaze sets quickly, and if you wait too long, the toothpick won’t drag through properly. I learned this after my first batch had webs that looked more like blobs.
Use fresh toothpicks. A used toothpick with dried icing on it won’t create clean lines. Keep a few toothpicks handy and swap them out as needed. It’s a small detail, but it makes a big difference in the final look.
Multitask strategically. While the cookies are baking, make the glaze and prep your piping bag. That way, when the cookies come out and cool, you’re ready to decorate immediately. Every minute counts when you’re making these on a busy weeknight.
Variations & Adaptations
One of the best things about this recipe is how easy it is to change up. Here are some variations I’ve tried and loved:
Peanut Butter Spider Webs: Swap the chocolate glaze for melted peanut butter chips mixed with a tablespoon of coconut oil. The peanut butter flavor pairs beautifully with the sugar cookie base, and the web design still works perfectly. My kids went crazy for this version.
White Chocolate Webs: Use white chocolate chips for the glaze instead of semi-sweet. Then pipe dark chocolate icing for the web lines. The contrast is striking, and it feels more elegant for adult gatherings. I brought these to a Halloween book club, and they were gone in ten minutes.
Gluten-Free Version: Substitute the all-purpose flour with a 1:1 gluten-free baking blend. I’ve tested this with Cup4Cup, and the texture is almost identical. Just make sure your blend contains xanthan gum for structure.
Spider Decoration: Add a small candy spider on top of each cookie after creating the web. You can find edible spider rings at most grocery stores around Halloween, or use a mini chocolate kiss for the body and pretzel sticks for the legs. It’s a fun touch that kids especially love.
Lemon Sugar Cookie Base: Add 1 tablespoon of lemon zest to the cookie dough and replace the vanilla extract with lemon extract. The bright citrus flavor contrasts beautifully with the dark chocolate glaze. This is my personal favorite for spring gatherings—just skip the spider web design and make simple glazed cookies instead.
Serving & Storage Suggestions
These cookies are best served at room temperature, when the glaze is set but still has a slight give. Arrange them on a platter with some orange and black napkins for a festive Halloween look. If you’re bringing them to a party, stack them in a single layer in a container—don’t pile them, or the glaze will smudge.
What to serve with them: A glass of cold milk is the classic pairing, but these also go beautifully with hot apple cider or a warm pumpkin spice latte. For an adult gathering, try them alongside a dark coffee or a glass of red wine. The chocolate glaze complements bold flavors.
Storage instructions: Store the cookies in an airtight container at room temperature for up to 5 days. Place a sheet of parchment paper between layers if you need to stack them. Do not refrigerate—the cold air can cause the glaze to sweat and become sticky.
Freezer instructions: You can freeze the undecorated cookies for up to 3 months. Bake and cool them completely, then place them in a freezer-safe bag. When you’re ready to serve, thaw them at room temperature, then glaze and decorate. The glaze doesn’t freeze well, so always add it fresh. I’ve done this for last-minute Halloween parties, and it’s a lifesaver.
Flavor development: The cookies actually taste better the next day. The flavors meld together, and the texture softens slightly. If you can resist eating them all immediately, let them sit overnight in an airtight container. You’ll be rewarded with an even more tender, flavorful cookie.
Nutritional Information & Benefits
Here’s the estimated nutritional breakdown for one cookie (based on 24 cookies):
| Nutrient | Amount per Cookie |
|---|---|
| Calories | 145 |
| Total Fat | 7g |
| Saturated Fat | 4g |
| Cholesterol | 20mg |
| Sodium | 55mg |
| Total Carbohydrates | 20g |
| Dietary Fiber | 1g |
| Sugars | 13g |
| Protein | 2g |
Health benefits: While these are definitely a treat, the dark chocolate in the glaze contains antioxidants called flavonoids, which can support heart health. The butter provides vitamin A, and the egg adds a small amount of protein. If you’re looking to reduce sugar, you can cut the granulated sugar to 1/2 cup without affecting the texture too much.
Dietary considerations: This recipe contains gluten, dairy, and eggs. For a dairy-free version, use vegan butter and dairy-free chocolate chips. For an egg-free version, replace the egg with a flax egg (1 tablespoon ground flaxseed mixed with 3 tablespoons water, let sit for 5 minutes). The cookies will be slightly denser but still delicious.
Allergen note: If you’re serving these at a party, be aware that they contain common allergens. I always label them clearly when bringing them to shared events.
Conclusion
These Quick Chocolate Spider Web Sugar Cookies have become my go-to Halloween treat, and I think they’ll become yours too. They’re fast enough for a busy weeknight, simple enough for beginner bakers, and impressive enough to make you look like a pro. The toothpick trick is the kind of kitchen hack that makes you feel clever every single time.
I love that this recipe came from a random conversation with an electrician at the hardware store. It reminds me that great ideas can come from anywhere—you just have to be willing to listen. And honestly, that’s what cooking is all about: sharing what works, passing along a tip, making something that brings a little joy to someone’s day.
I’d love to hear how these turn out for you. Did you try a variation? Did your kids love making the webs? Leave a comment below and let me know! And if you’re looking for another quick Halloween treat, try my spooky mummy pizza bites — they’re just as fast and perfect for a savory option. Happy baking, and don’t forget the toothpick!
Frequently Asked Questions
Can I make the dough ahead of time?
Yes! You can prepare the cookie dough up to 2 days in advance. Wrap it tightly in plastic wrap and store it in the refrigerator. Let it sit at room temperature for 10 minutes before scooping and baking.
Why did my glaze turn out grainy?
Grainy glaze usually happens when the chocolate gets too hot. Microwave in short bursts and stir well between each. If it still looks grainy, add a teaspoon of vegetable oil and stir until smooth.
Can I use store-bought cookie dough?
Absolutely. If you’re short on time, use a tube of refrigerated sugar cookie dough. Just follow the package instructions for baking, then glaze and decorate as directed. The cookies won’t be quite as tender, but the web design will still look great.
How do I get the web lines to show up clearly?
The key is working quickly while the glaze is still wet. If the glaze starts to set before you drag the toothpick, the lines will be faint. Glaze 3-4 cookies at a time, create the webs, then move on to the next batch.
Can I freeze the decorated cookies?
I don’t recommend freezing the glazed cookies. The glaze can become sticky or crack when thawed. Instead, freeze the undecorated cookies and add the glaze and webs fresh when you’re ready to serve.
Pin This Recipe!
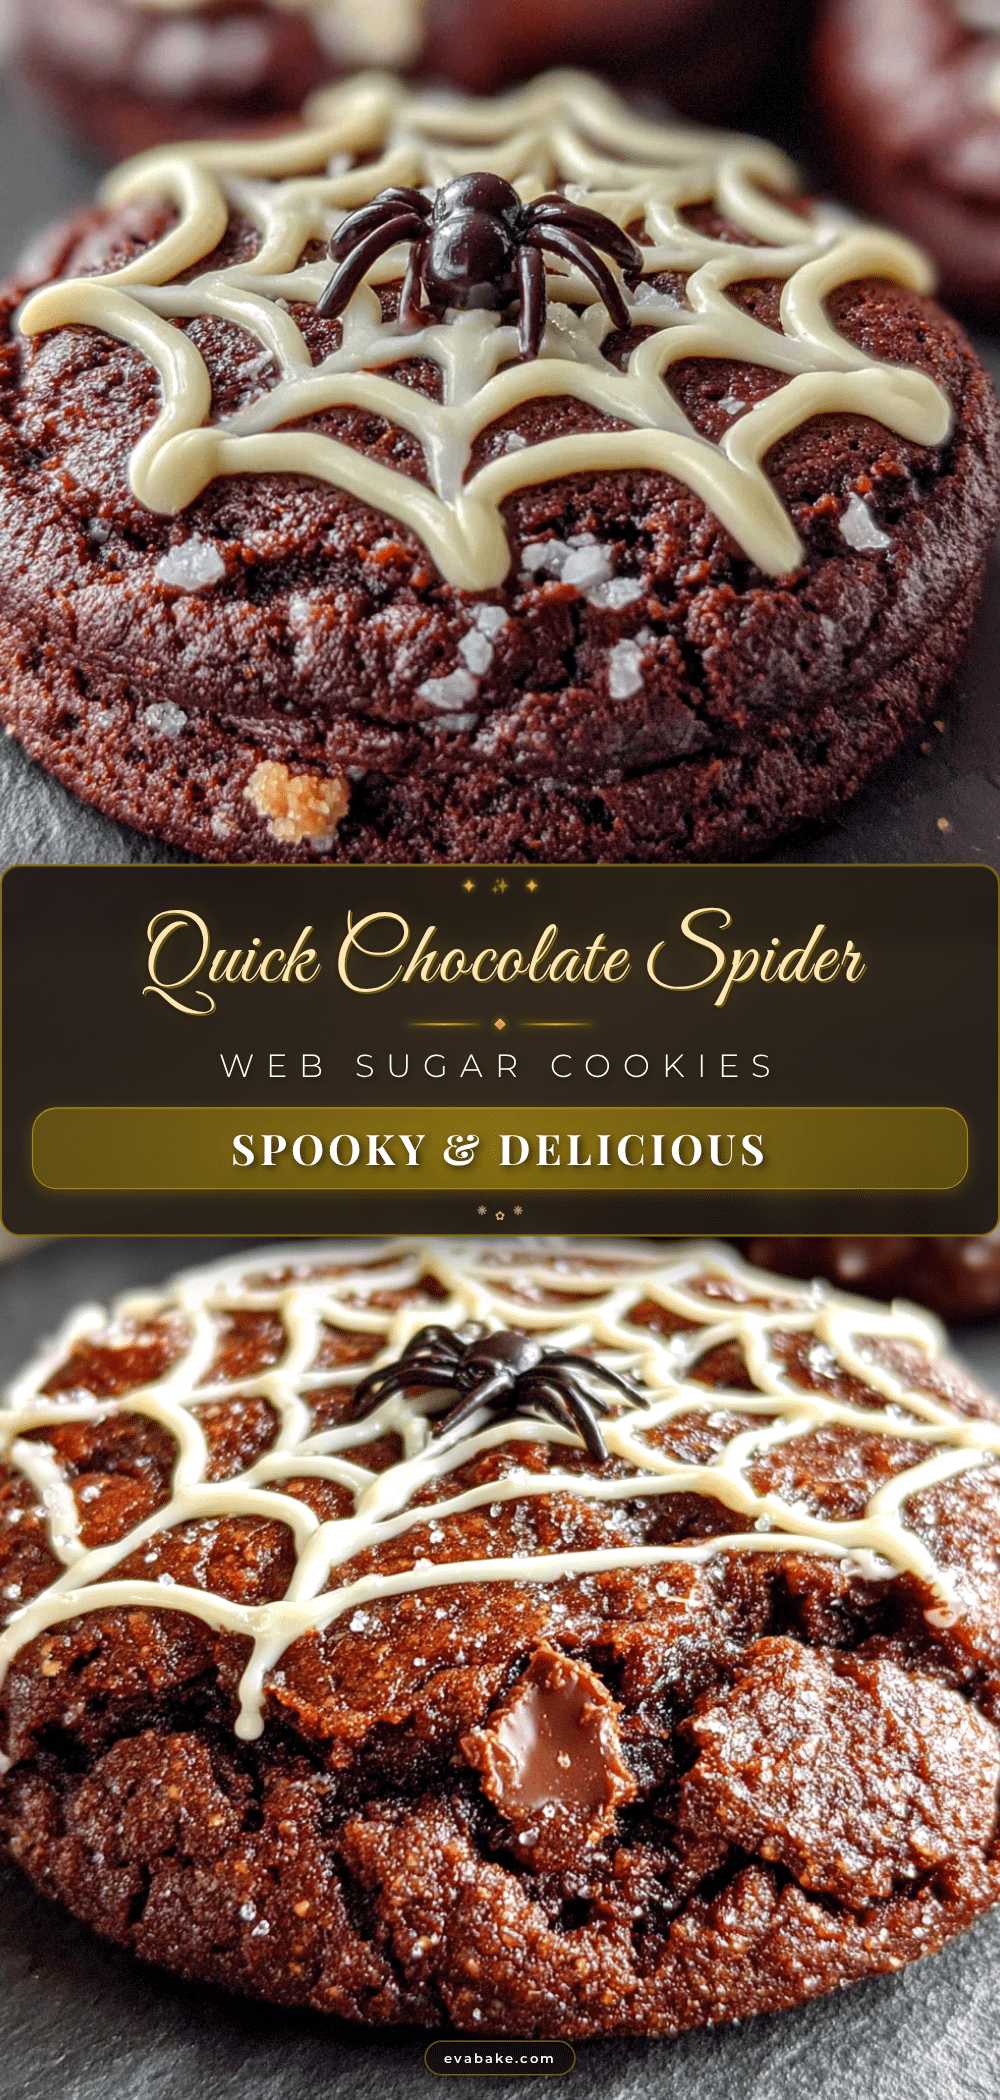
Quick & Easy Chocolate Spider Web Sugar Cookies
These quick and easy chocolate spider web sugar cookies start with a simple sugar cookie base and a chocolate glaze swirled with a toothpick to create a stunning web design. Perfect for Halloween parties, they come together in under 30 minutes with no fancy tools required.
- Prep Time: 15 minutes
- Cook Time: 10 minutes
- Total Time: 25 minutes
- Yield: 24 cookies 1x
- Category: Dessert
- Cuisine: American
Ingredients
- 1/2 cup (113g) unsalted butter, softened
- 3/4 cup (150g) granulated sugar
- 1 large egg, room temperature
- 1 teaspoon vanilla extract
- 1 1/2 cups (190g) all-purpose flour
- 1/2 teaspoon baking powder
- 1/4 teaspoon salt
- 1 cup (175g) semi-sweet chocolate chips
- 2 tablespoons (28g) butter
- 1 tablespoon (15ml) light corn syrup
- 1/2 teaspoon vanilla extract
- 1/4 cup (60ml) white icing or melted white chocolate
- 1 toothpick
Instructions
- Preheat your oven to 350°F (175°C). Line a baking sheet with parchment paper.
- In a medium mixing bowl, beat the softened butter and granulated sugar together until light and fluffy—about 2 minutes with an electric mixer on medium speed. Add the egg and vanilla extract, then beat until combined.
- In a separate small bowl, whisk together the flour, baking powder, and salt. Gradually add this to the wet mixture, mixing on low speed until just combined. Do not overmix.
- Use a cookie scoop to portion out rounded tablespoons of dough. Place them on the prepared baking sheet, spacing them about 2 inches apart. Bake for 8-10 minutes, or until the edges are lightly golden and the centers look set but still soft.
- Let the cookies rest on the baking sheet for 2 minutes, then transfer them to a wire cooling rack. Wait until they’re completely cool before glazing.
- While the cookies cool, combine the semi-sweet chocolate chips, butter, and corn syrup in a small microwave-safe bowl. Microwave in 20-second bursts, stirring between each, until the mixture is smooth and glossy. Stir in the vanilla extract. Let it cool for 2-3 minutes.
- Dip the top of each cooled cookie into the chocolate glaze, or use a small spoon to spread it evenly. Let the excess drip off, then place the cookie back on the cooling rack.
- While the glaze is still wet, pipe a small circle of white icing in the center of each cookie. Then, starting from the center, drag a toothpick outward through the white icing and into the chocolate glaze. Repeat this in a spiral pattern, moving outward from the center. Clean the toothpick between cookies.
- Allow the cookies to sit at room temperature for about 15 minutes, or until the glaze is firm to the touch.
Notes
Don’t overbake the cookies; they should look slightly underdone when pulled from the oven. Let the glaze cool slightly before dipping to prevent it from running off. Work in batches when glazing and creating webs to ensure the glaze is still wet. Use fresh toothpicks for clean lines. The cookies taste even better the next day.
Nutrition
- Serving Size: 1 cookie
- Calories: 145
- Sugar: 13
- Sodium: 55
- Fat: 7
- Saturated Fat: 4
- Carbohydrates: 20
- Fiber: 1
- Protein: 2
Keywords: Halloween cookies, spider web cookies, chocolate sugar cookies, easy Halloween treats, quick cookies


