By the third Halloween party I’d brought this punch to, I stopped pretending I was experimenting. I was just making it again—same green ice ring, same creepy fingers floating in the bowl, same look on people’s faces when they realized what they were about to drink. The first time I made it, I was testing a theory. Could a frozen hand actually look convincing? Would people actually flinch? Turns out, yes. And honestly? That’s half the fun.
I kept tweaking the proportions—more lime for brightness, a splash of ginger ale for fizz, a little less sugar so it didn’t taste like a candy store. I wanted it to actually be good, not just look like a prop from a haunted house. The Spooky Frozen Witches Finger Punch became the thing I couldn’t stop making. Not because it was complicated, but because every time I served it, someone laughed, then gasped, then asked for the recipe. That’s a hard thing to walk away from.
Look, I’m not saying this punch will steal the show at your Halloween party. But I am saying it’ll be the first thing people talk about when they walk in. And the last thing they remember when they leave.
Why You’ll Love This Recipe
Let’s be honest—Halloween punch can be a letdown. It’s either too sweet, too watered down, or just a bowl of soda with gummy worms floating on top. This recipe is different. It’s actually balanced. Tart, fizzy, and just sweet enough, with a creepy visual that takes about ten minutes of active work.
- Quick & Easy: You’ll spend maybe 15 minutes prepping the ice ring and mixing the punch base. The rest is just waiting for the freezer to do its thing.
- Simple Ingredients: Limeade concentrate, ginger ale, and pineapple juice. That’s it for the drink. No obscure syrups or specialty sodas.
- Perfect for Halloween: Whether it’s a costume party, a trunk-or-treat gathering, or just a spooky movie night, this punch fits the vibe without trying too hard.
- Crowd-Pleaser: Kids love the creepy fingers. Adults love that it’s not cloyingly sweet. Everyone goes back for seconds.
- Unbelievably Delicious: The combination of citrus and ginger ale creates a bright, crisp flavor that cuts through all the heavy Halloween snacks. It’s refreshing in a way you don’t expect from a themed drink.
What makes this recipe different from the dozens of other Halloween punches out there? The frozen hand. It’s not just a garnish—it’s the centerpiece. And because you freeze it into a ring of ice, the punch stays cold without getting diluted. That’s the kind of detail that separates a good party drink from a great one. I’ve tested this with different juice combinations, different molds, and different freezing techniques so you don’t have to. This is the version that works.
What Ingredients You Will Need
This recipe relies on a short list of ingredients, most of which you can find at any grocery store. The magic comes from how they work together—bright citrus, effervescent ginger ale, and a creepy frozen centerpiece that does double duty as both a garnish and an ice pack.
- Limeade concentrate (12 oz), thawed — This is the backbone of the punch. It provides tartness and sweetness in one shot. I prefer Minute Maid or a store brand that doesn’t add extra sugar. If you can only find pink lemonade concentrate, it works too, though the color will be slightly different.
- Pineapple juice (2 cups) — Adds a mellow sweetness that rounds out the sharp lime. It also helps the punch stay clear and bright rather than turning murky. Look for 100% juice with no added sugar.
- Ginger ale (4 cups), chilled — The bubbles are what make this feel festive. Ginger ale adds a subtle warmth that plays nicely with the citrus. Don’t use club soda or tonic water—they lack the sweetness and flavor depth this punch needs.
- Water (2 cups) — For diluting the limeade concentrate and balancing the sweetness. You can adjust this to taste, but I wouldn’t skip it entirely or the punch will be syrupy.
- Green food coloring — Optional but highly recommended for the ice ring. A few drops turn the frozen hand into something truly unsettling. Gel coloring works best because it doesn’t water down the ice.
- Clear plastic glove (one, unused) — The key to the frozen hand. A disposable food-service glove works perfectly. Make sure it’s clean and hasn’t been used for anything else. You can find these at most grocery stores or online.
- Rubber band or twist tie — To seal the glove after filling it with water. This prevents leaks and helps the hand hold its shape while freezing.
- Canned lychees or peeled grapes (optional) — For creating witch fingers in the punch bowl itself. Lychees look disturbingly like little knuckles, and grapes work in a pinch. I’ve used both, and lychees are definitely creepier.
- Almond slivers (optional) — To create fingernails on the lychees or grapes. Toasted or raw both work, though toasted almonds add a subtle nutty flavor if anyone actually eats them.
You can find limeade concentrate in the frozen juice aisle near the orange juice. Ginger ale is usually in the soda aisle, but check for brands made with real ginger if you want a spicier kick. I’ve used Canada Dry and Schweppes with good results. For the glove, avoid latex if anyone at your party has allergies—nitrile or vinyl gloves are safer and work just as well.
Equipment Needed
You don’t need much for this recipe, which is part of why I keep coming back to it. A few basic kitchen tools and one very specific item are all that stand between you and a punch bowl that looks like it came straight out of a witch’s kitchen.
- Large punch bowl or drink dispenser — Glass or clear plastic works best so the frozen hand is visible. I use a vintage glass punch bowl I found at a thrift store, but a large trifle dish or even a clean plastic bin works if you’re serving a crowd.
- Clear plastic glove — One unused glove per ice hand. Look for gloves without powder on the inside, which can make the ice look cloudy.
- Rubber band or twist tie — To seal the glove. A bread twist tie works perfectly.
- Freezer-safe tray or plate — To hold the glove flat while it freezes. A small baking sheet lined with parchment paper works well.
- Large pitcher — For mixing the punch base before transferring it to the serving bowl.
- Measuring cups — For the juice and water. A 2-cup liquid measuring cup is ideal.
- Small bowl — For mixing green food coloring into the water before filling the glove.
- Tongs or a slotted spoon — For adding the lychee witch fingers to the punch without splashing.
If you don’t have a punch bowl, a large glass drink dispenser with a spigot works beautifully and makes serving easier. I’ve also used a clean plastic storage bin (the kind you’d use for leftovers) in a pinch, though it’s not as pretty. For the glove, I recommend buying a box of 50 from a restaurant supply store—they’re cheap, and you can practice your first frozen hand without worrying about wasting one.
Preparation Method
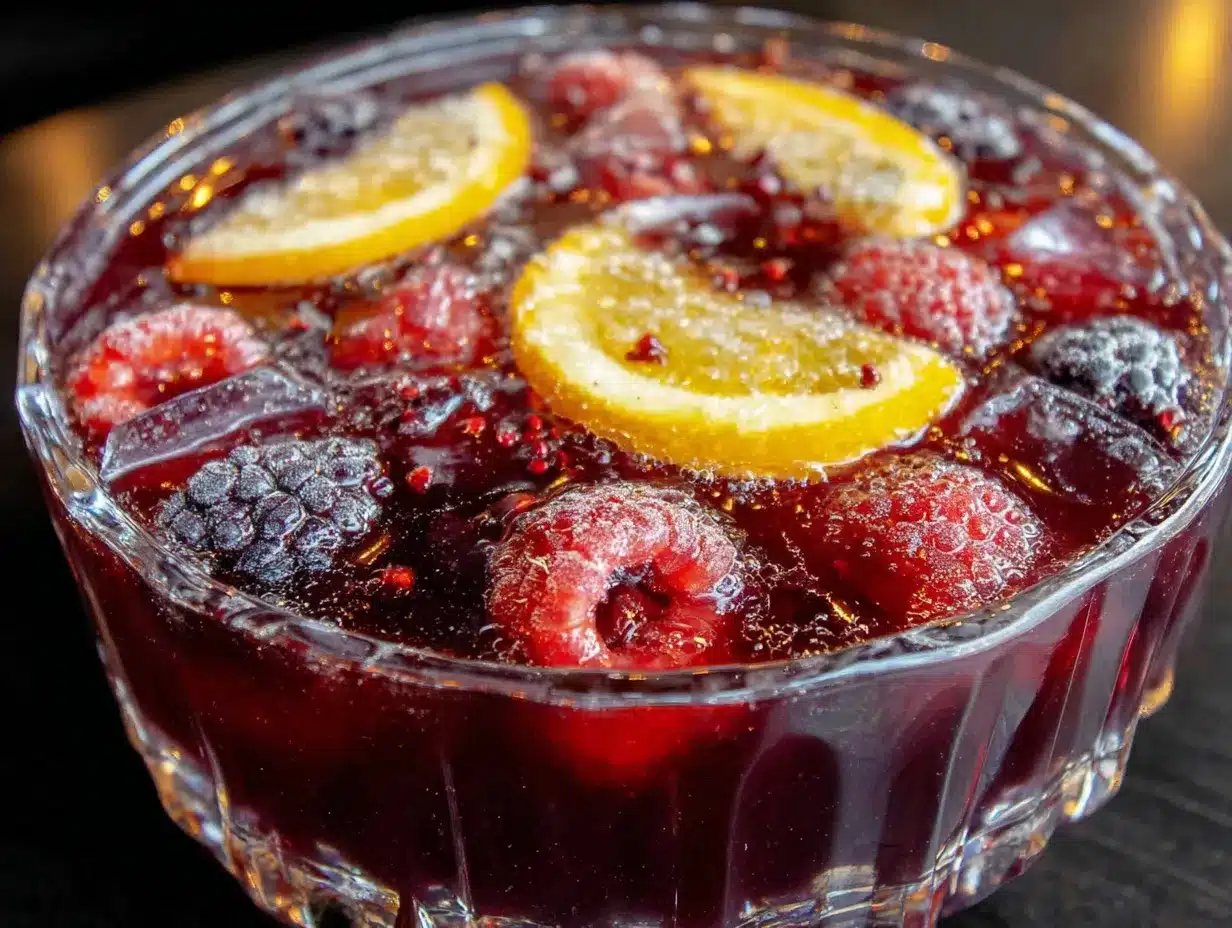
This recipe has two components: the frozen witch hand and the punch itself. You’ll need to start the hand at least 24 hours in advance, so plan accordingly. Trust me, it’s worth the wait.
Make the Frozen Witch Hand
- Fill the glove with water and food coloring. In a small bowl, mix 2 cups of water with 4-5 drops of green gel food coloring. Stir until the color is evenly distributed. Pour the green water into the glove, filling it about three-quarters full. You want the fingers to be plump but not stretched tight.
- Seal the glove. Twist the open end of the glove to remove any air bubbles, then secure it with a rubber band or twist tie. Make sure the seal is tight so water doesn’t leak out during freezing.
- Shape the fingers. Lay the glove flat on a freezer-safe tray or plate. Gently separate the fingers so they aren’t touching each other. You can also bend them slightly at the knuckles for a more natural, claw-like look. I like to curl the pinky and ring finger inward just a bit—it makes the hand look more menacing.
- Freeze flat. Place the tray in the freezer and leave it for at least 24 hours. The hand needs to be completely solid so it doesn’t break apart when you unmold it. Overnight is fine, but longer is better.
- Unmold the hand. When you’re ready to serve, remove the glove from the freezer. Carefully cut the glove away with scissors, peeling it off the ice like you’re removing a latex glove. Work slowly so you don’t snap any fingers. If the glove sticks, run it under cool water for a few seconds.
Make the Witch Fingers (Optional but Recommended)
- Drain the lychees. Open a can of lychees and drain the syrup. Rinse them gently under cool water to remove any stickiness. Pat them dry with a paper towel.
- Create the fingernails. Take an almond sliver and press it into the top of each lychee, angled slightly upward like a fingernail. The natural curve of the almond works perfectly here. If the almond doesn’t stay in place, use a tiny dab of cream cheese or frosting as edible glue.
- Chill until serving. Place the finished witch fingers in a bowl in the refrigerator until you’re ready to add them to the punch. They’ll keep for several hours.
Mix the Punch
- Combine the liquids. In a large pitcher, whisk together the thawed limeade concentrate, pineapple juice, and 2 cups of water. Stir until the concentrate is fully dissolved. The mixture should be smooth and bright greenish-yellow.
- Chill the base. Refrigerate the mixture for at least 2 hours before serving. This step is crucial—if the base isn’t cold, the ice hand will melt too quickly and dilute the punch.
- Add the ginger ale. Just before serving, pour the chilled ginger ale into the pitcher and stir gently. You want to keep as much carbonation as possible, so stir slowly rather than shaking.
- Assemble the punch bowl. Pour the punch mixture into your serving bowl or drink dispenser. Carefully place the frozen hand into the center of the bowl, fingers pointing upward. It should float with the palm submerged and the fingers reaching toward the surface like a hand reaching out from a grave.
- Add the witch fingers. Drop the lychee witch fingers into the punch, scattering them around the frozen hand. They’ll float at different levels, creating the illusion of severed digits bobbing in the brew.
- Serve immediately. Ladle the punch into cups, making sure each serving gets at least one witch finger floating on top. The frozen hand will keep the punch cold for about an hour, depending on the temperature of your room.
Cooking Tips & Techniques
I’ve made this punch more times than I care to admit, and I’ve learned a few things the hard way. Here’s what I wish someone had told me before my first attempt.
Freeze the hand in stages. If you want the fingers to look really realistic, freeze the glove for 2 hours, then take it out and gently squeeze the fingers to redistribute the water. This prevents the fingers from freezing flat and thin. I learned this after my first hand came out looking like a flipper.
Don’t skip the chill step. I once got impatient and added the ice hand to room-temperature punch. Within 20 minutes, the hand had melted into a sad, green puddle. The punch was still good, but the visual effect was completely ruined. Chill everything thoroughly before assembling.
Use gel food coloring. Liquid food coloring works, but it tends to make the ice look cloudy instead of eerily translucent. Gel coloring gives you that swampy, glowing green that looks genuinely unsettling. A little goes a long way—start with 3 drops and add more if needed.
Practice with one glove first. The first time I tried this, I filled the glove too full, and the fingers froze into fat, bloated sausages. The second attempt was better. If you’re making this for a party, do a test run a few days ahead. You’ll thank yourself when you’re not frantically trying to unmold a broken ice hand while guests are arriving.
Keep the punch cold without over-diluting. The frozen hand will keep things cold for about an hour. If your party runs longer, prepare a backup ice ring using the same limeade mixture (just in a regular ring mold) to add when the hand starts to shrink. This way you maintain the cold temperature without washing out the flavor.
Multitask like a pro. While the hand is freezing, prep the lychee witch fingers and mix the punch base. Both can be done a day ahead and stored in the refrigerator. On party day, all you have to do is unmold the hand, pour the punch, and watch people’s reactions.
Variations & Adaptations
This recipe is surprisingly flexible. Here are a few ways to tweak it depending on your crowd, your dietary needs, or just your mood.
Make it boozy. Add 1-2 cups of vodka, white rum, or coconut rum to the punch base before chilling. The alcohol won’t freeze, so the hand will still stay solid. Just be aware that boozy punch tends to disappear faster—you might want to double the recipe.
Make it non-alcoholic (it already is). As written, this punch is completely kid-friendly. If you’re serving a mixed crowd, set out a bottle of rum or vodka next to the punch bowl so adults can spike their own cups. This way nobody feels left out.
Swap the juice. Not a fan of limeade? Use frozen lemonade concentrate instead for a tarter punch. Or try orange-mango concentrate for a sweeter, more tropical flavor. The green food coloring will still give it that creepy witchy look regardless of the juice base.
Make it sugar-free. Use diet ginger ale and sugar-free limeade concentrate. The flavor won’t be quite as bright, but it’ll still be tasty. I’ve tested this with Splenda-based concentrates and it works fine.
Try different frozen shapes. If the hand freaks you out (or if you’re serving kids who might find it too intense), freeze the limeade mixture into a skull-shaped ice mold or a ring mold with plastic spiders suspended inside. Both are creepy without being quite as visceral.
Spice it up. Add a few cinnamon sticks or star anise pods to the punch for a warm, autumnal note. The spices won’t affect the color, and they add a subtle complexity that pairs beautifully with the ginger ale. I tried this on a whim one year and it’s become my secret weapon.
Make it a slushie. Instead of a frozen hand, freeze the entire punch base in a shallow pan, then scrape it with a fork to create a slushy texture. Serve it in cups with a splash of ginger ale on top. It’s less dramatic but incredibly refreshing.
Serving & Storage Suggestions
This punch is best served immediately after assembling, but there are a few tricks to keep it looking and tasting great throughout your party.
Serving temperature: Serve the punch ice-cold. The frozen hand will keep it chilled for about an hour. If your party space is warm, place the punch bowl in a larger bowl filled with ice to extend the life of the hand.
Presentation tips: Use a clear glass punch bowl so the hand is visible from all angles. Arrange the witch fingers so they appear to be crawling up the sides of the bowl. For extra drama, place the bowl on a black tablecloth with battery-operated tea lights around the base. The flickering light through the green punch is genuinely spooky.
Complementary dishes: This punch pairs beautifully with other Halloween treats. Serve it alongside my witch’s finger cookies with almond nails for a fully themed spread. The mummy wrapped hot dogs are another great option—savory bites balance the sweet punch perfectly. And if you want a full Halloween party table, the Halloween party charcuterie board with candy corn and brie is always a hit.
Storage: The punch base (without the ginger ale and ice hand) can be made up to 3 days ahead and stored in a sealed pitcher in the refrigerator. The frozen hand will keep in the freezer for up to 2 weeks if wrapped tightly in plastic wrap. Just don’t let it sit too long or it might develop freezer burn, which can affect the taste of the ice.
Reheating (not really a thing): This is a cold drink, so there’s no reheating. If the punch gets too warm, add a few ice cubes made from the same limeade mixture. Regular ice cubes will dilute the flavor, so plan ahead and freeze a tray of punch ice cubes.
Flavor development: The punch actually gets better after about an hour in the fridge as the flavors meld together. If you’re making it ahead, mix everything except the ginger ale and ice hand, then refrigerate. Add the fizzy elements just before serving for maximum carbonation.
Nutritional Information & Benefits
Let’s be real—this is a Halloween party punch, not a health drink. But it’s not as bad as you might think. Here’s the breakdown per 8-ounce serving (without alcohol or lychees):
- Calories: Approximately 120-140
- Sugar: 28-32 grams (mostly from the fruit juice and limeade concentrate)
- Carbohydrates: 30-35 grams
- Vitamin C: 15-20% of the daily value (thanks to the limeade and pineapple juice)
- Fat: 0 grams
- Protein: 0 grams
If you’re watching your sugar intake, you can cut it significantly by using diet ginger ale and sugar-free limeade concentrate. The pineapple juice adds natural sweetness, so you won’t miss the sugar as much as you’d think.
Pineapple juice contains bromelain, an enzyme that can help with digestion—handy if you’re serving this alongside a heavy meal. And ginger ale has actual ginger in it (at least the good brands do), which can settle an upset stomach. Not that I’m claiming this punch is medicinal, but it’s nice to know it’s not completely empty calories.
For anyone with dietary restrictions: this recipe is naturally gluten-free, dairy-free, and vegan as written. Just double-check your ginger ale brand, as some contain honey or other non-vegan ingredients. The lychee witch fingers are also vegan-friendly, and the almonds add a small amount of healthy fat and protein.
Conclusion
Look, I’m not going to tell you this punch will change your life. But I will tell you that it changed my Halloween parties. Before this recipe, I was that person buying pre-made punch in a plastic jug, dumping it in a bowl, and calling it a day. Now? People show up early just to see what creepy thing I’ve made this year.
The Spooky Frozen Witches Finger Punch is the kind of recipe that makes you look like you tried way harder than you actually did. It’s impressive without being complicated, creepy without being gross, and delicious without being cloying. That’s a hard balance to strike, and this recipe nails it.
I’d love to hear how yours turns out. Did the hand survive the unmolding? Did anyone scream when they saw it? Drop a comment below and let me know—I genuinely read every single one. And if you come up with a variation I haven’t tried, please share it. I’m always looking for new ways to make this punch even more unsettling.
Until next time, stay spooky—and keep your punch cold.
Frequently Asked Questions
Can I make the frozen hand more than 24 hours ahead?
Yes, absolutely. The frozen hand will keep in the freezer for up to 2 weeks if wrapped tightly in plastic wrap to prevent freezer burn. Just make sure it’s completely solid before wrapping. I’ve even made them a month ahead with good results, though the ice can get a little cloudy over time.
What if I don’t have a clear plastic glove?
You can use any flexible glove or even a latex-free exam glove from a pharmacy. The key is that it’s clear or translucent so the green color shows through. If you can’t find a glove, freeze the punch mixture in a skull-shaped ice mold or a ring mold instead. It won’t have the same creep factor, but it’ll still look festive.
Can I use frozen fruit instead of lychees for the witch fingers?
Yes! Peeled green grapes work really well, especially if you cut a small slit in the top to insert the almond sliver. Canned lychees are ideal because they have that weird, fleshy texture that looks disturbingly like skin, but grapes are a solid backup. Just make sure they’re thoroughly thawed before adding them to the punch.
How do I keep the punch from getting watery?
The frozen hand is designed to minimize dilution, but it will eventually melt. To keep the punch from getting watery, freeze extra ice cubes made from the same limeade mixture. Add them to the punch bowl as the hand shrinks. This way you’re adding flavor instead of plain water. I usually freeze a full tray of these cubes a day ahead.
Is this punch safe for kids?
Absolutely. As written, this recipe contains no alcohol. The frozen hand might be too intense for very young children, so use your judgment. For a kid-friendly party, you can skip the hand and just use the lychee witch fingers. They’re creepy enough to be fun without causing nightmares. The candy corn Rice Krispie treats are another great option for the little ones.
Pin This Recipe!
Spooky Frozen Witches Finger Punch: Easy Halloween Recipe
A tart, fizzy, and just sweet enough Halloween punch with a creepy frozen hand centerpiece that keeps the drink cold without diluting it. Quick to prepare and sure to be the talk of your party.
- Prep Time: 15 minutes
- Cook Time: 0 minutes
- Total Time: 24 hours 15 minutes (includes freezing time)
- Yield: 8 servings 1x
- Category: Beverage
- Cuisine: American
Ingredients
- 12 oz limeade concentrate, thawed
- 2 cups pineapple juice (100% juice, no added sugar)
- 4 cups ginger ale, chilled
- 2 cups water
- Green food coloring (gel preferred)
- 1 clear plastic glove (unused)
- 1 rubber band or twist tie
- Canned lychees or peeled grapes (optional)
- Almond slivers (optional)
Instructions
- Make the frozen witch hand: In a small bowl, mix 2 cups of water with 4-5 drops of green gel food coloring. Pour into the glove, filling it three-quarters full. Seal with a rubber band or twist tie, removing air bubbles. Lay flat on a freezer-safe tray, separate fingers, and freeze for at least 24 hours.
- Unmold the hand: When ready to serve, cut the glove away with scissors, peeling it off carefully. If stuck, run under cool water for a few seconds.
- Make the witch fingers (optional): Drain and rinse canned lychees. Press an almond sliver into the top of each lychee to create a fingernail. Chill until serving.
- Mix the punch: In a large pitcher, whisk together thawed limeade concentrate, pineapple juice, and 2 cups of water until smooth. Refrigerate for at least 2 hours.
- Just before serving, gently stir in the chilled ginger ale to preserve carbonation.
- Assemble the punch bowl: Pour the punch mixture into a clear punch bowl or drink dispenser. Carefully place the frozen hand in the center, fingers pointing upward. Add the lychee witch fingers, scattering them around.
- Serve immediately, ladling into cups with at least one witch finger per serving.
Notes
Freeze the hand in stages for more realistic fingers: freeze for 2 hours, then squeeze fingers to redistribute water. Chill all ingredients thoroughly before assembling to prevent the hand from melting too quickly. For longer parties, prepare backup ice cubes made from the same limeade mixture to add as the hand shrinks.
Nutrition
- Serving Size: 8 ounces
- Calories: 130
- Sugar: 30
- Sodium: 15
- Carbohydrates: 33
Keywords: Halloween punch, frozen hand punch, witch finger punch, spooky drink, Halloween party drink, limeade punch, ginger ale punch