My neighbor wasn’t trying to impress anyone. I’d stopped by to borrow a ladder—our gutters were clogged and I was too stubborn to call a handyman—and the smell hit me before I even knocked. It was warm and toasty, with this sharp, zesty edge that made my mouth water instantly. She opened the door holding a baking sheet, completely nonchalant, like she hadn’t just created something that smelled like the best snack I’d never thought to make.
“You’re roasting pumpkin seeds?” I asked, probably staring a little too hard at that pan. She shrugged and said her kids had been bugging her to do something with the pumpkin from last week’s jack-o’-lantern carving session. Honestly, I’d always tossed those slimy seeds in the trash without a second thought. But watching her shake that steaming pan of golden, crispy seeds with a sprinkle of something that looked like magic dust—I knew I was missing out.
She let me try one, and let me tell you, it was a game-changer. That crunch, followed by a little heat and a bright citrus finish—it was the kind of snack you can’t stop eating. I asked what she put on them, and she just said, “Oh, you know, chili and lime. The kids love it.” The kids love it. That’s when I realized this wasn’t just a clever idea; it was a family staple. Maybe you’ve been there, watching someone make something that seems so simple, yet you know it’s going to become a regular thing in your own kitchen.
I went home that day with the seeds, the recipe scribbled on a scrap of paper, and a new appreciation for what you can do with something most of us just throw away. This isn’t fancy cooking. It’s the kind of smart, resourceful snack that makes you feel like you’ve discovered a secret. And honestly, I’ve been making it every time we carve a pumpkin since.
Why You’ll Love This Recipe
Let’s be real—feeding a family on a budget means finding ways to turn kitchen scraps into something everyone actually wants to eat. These roasted pumpkin seeds are exactly that kind of magic. They’re cheap, easy, and somehow disappear faster than you’d expect.
- Super Budget-Friendly: You’re using something you’d normally toss in the compost. A little oil and some pantry spices, and you’ve got a snack that costs pennies to make.
- Incredibly Quick: From pumpkin to snack in about 25 minutes. Most of that time is just the oven doing the work.
- Picky Eater Approved: My own kids, who turn their noses up at anything with a speck of green, will fight over the last handful of these. The chili-lime combo is just exciting enough without being scary.
- Perfect for Any Occasion: Movie night, lunchbox treat, after-school snack, or even a topping for soups and salads. They’re versatile in a way most snacks aren’t.
- Naturally Good for You: Pumpkin seeds are packed with magnesium, zinc, and healthy fats. So when the kids are munching away, you actually feel good about it.
What makes this version different from every other roasted seed recipe out there? It’s the balance. Most recipes either go too heavy on the salt or forget any real flavor. This one nails that sweet spot—salty, tangy, with just a whisper of heat that kids can handle. I’ve tried a dozen different seasoning blends over the years, and this is the one that gets requested every single time. It’s not just another snack; it’s the snack that makes you look like a kitchen genius with almost zero effort.
What Ingredients You Will Need
This recipe keeps things simple, using ingredients you probably already have in your pantry. The magic is in how they come together.
- Fresh pumpkin seeds (from one medium pumpkin): You’ll want about 1 ½ cups of raw seeds, straight from the pumpkin. Don’t wash them too thoroughly—a little bit of pumpkin string adds flavor. If you’re using store-bought raw pumpkin seeds, that works too, but the fresh ones have a better texture.
- 2 tablespoons olive oil or melted butter: Olive oil gives a lighter, cleaner taste. Butter adds a richer, toastier flavor. I’ve used both, and honestly, it depends on my mood. For a dairy-free option, avocado oil works beautifully.
- 1 teaspoon chili powder: This is where the warmth comes from. I use a standard chili powder blend, not pure cayenne, so it’s mild enough for kids. If your family likes more heat, you can add a pinch of cayenne later.
- 1 teaspoon lime zest (from about 1 lime): Fresh zest is non-negotiable here. The bottled stuff just doesn’t have that bright, punchy flavor. Zest the lime before you juice it—it’s easier that way.
- 1 tablespoon fresh lime juice: This adds that tangy kick that makes the whole thing pop. You’ll use the same lime you zested, so nothing goes to waste.
- 1 teaspoon sea salt (plus more to taste): I prefer flaky sea salt for its texture, but regular table salt works fine. Just go easy—you can always add more at the end.
- ½ teaspoon garlic powder (optional): This is my little secret. It adds a savory depth that makes the seeds even more addictive. My kids don’t even notice it’s there.
That’s it. Seven ingredients, and most of them are probably in your kitchen right now. The lime is the one thing you might need to pick up, but it’s worth it for that fresh, zingy flavor. I’ve tried making these with dried lime powder, and it’s just not the same. Fresh really does make a difference here.
Equipment Needed
You don’t need any fancy gadgets for this recipe, which is part of the beauty. Here’s what you’ll need:
- Baking sheet: A standard half-sheet pan works perfectly. If you have a dark, non-stick pan, keep an eye on the seeds—they can brown faster.
- Parchment paper or silicone baking mat: This makes cleanup a breeze. The seeds can stick a little without it, especially if you’re using butter.
- Mixing bowl: Any medium bowl will do. You’re just tossing seeds with oil and spices.
- Colander: For rinsing the seeds after you scoop them out of the pumpkin. A fine-mesh strainer works too.
- Paper towels or a clean kitchen towel: For drying the seeds. Pat them as dry as you can—wet seeds won’t get crispy.
- Microplane or fine grater: For zesting the lime. A vegetable peeler can work in a pinch, but you’ll get bigger strips instead of fine zest.
- Measuring spoons: Nothing fancy, just the basics.
I used a cheap baking sheet for years, and it worked fine. If you don’t have parchment paper, you can grease the pan lightly with oil. The key is just making sure the seeds have enough room to spread out in a single layer.
Preparation Method
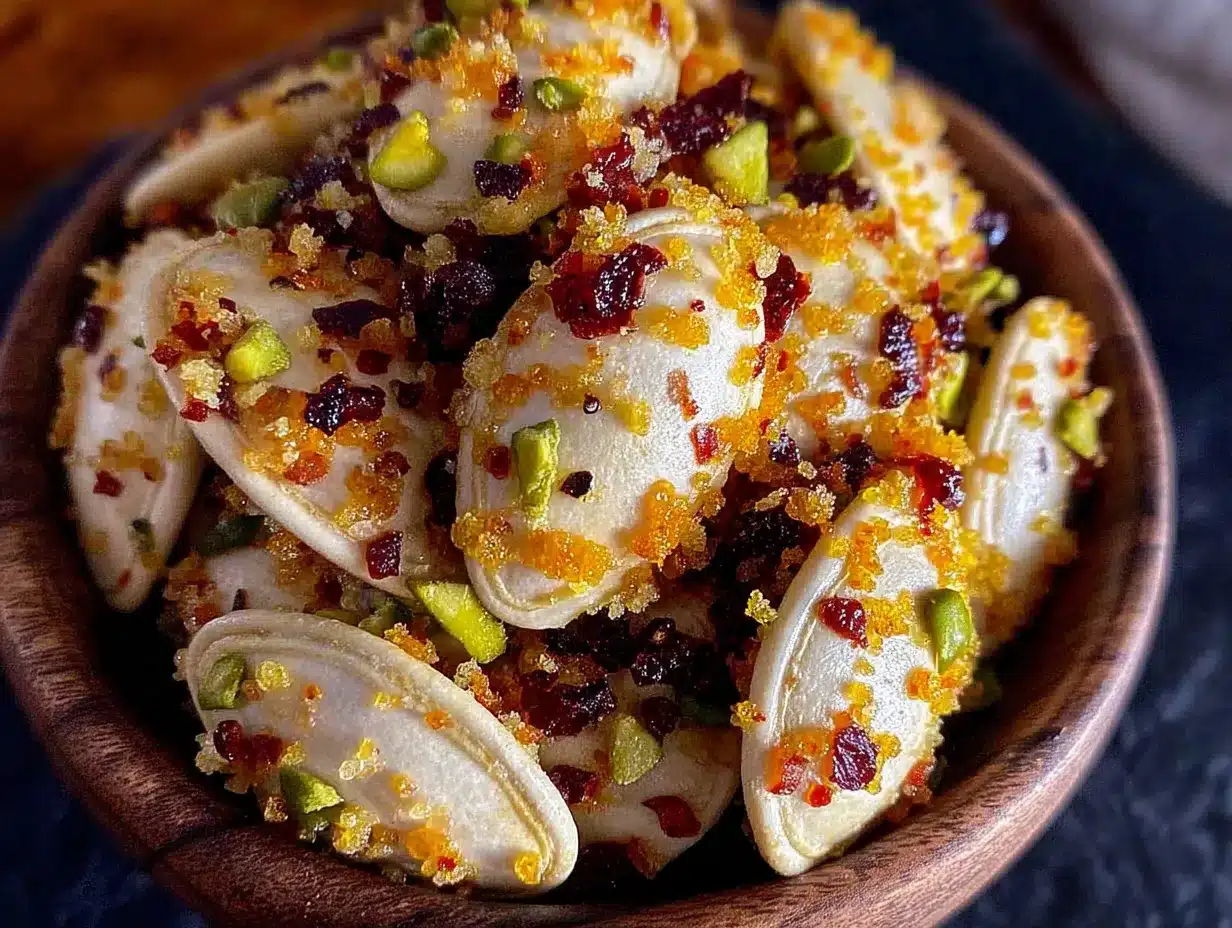
Alright, let’s get to it. This is straightforward, but a few little tricks make all the difference.
- Preheat your oven to 350°F (175°C). Get this going first so it’s nice and hot when you’re ready. A properly preheated oven is key for even roasting.
- Separate the seeds from the pumpkin guts. If you’re starting with a whole pumpkin, scoop out the seeds and strings into a bowl. Don’t stress about getting every single string off—a little bit adds flavor. I actually leave some on purpose.
- Rinse the seeds in a colander under cool water. Swish them around with your fingers to loosen any big clumps of pulp. You don’t need to get them perfectly clean; just remove the big pieces.
- Dry the seeds thoroughly. This is the most important step. Spread them out on a clean kitchen towel or paper towels and pat them dry. Let them sit for 5-10 minutes if you have time. Wet seeds steam instead of roast, and you’ll end up with chewy, sad seeds instead of crispy ones. I learned this the hard way my first time—trust me on this.
- In a medium mixing bowl, combine the dried seeds with the olive oil. Toss until every seed is lightly coated. The oil helps the seasoning stick and promotes even browning.
- Add the chili powder, lime zest, lime juice, sea salt, and garlic powder (if using). Stir everything together until the seeds are evenly coated. Give it a taste—the seeds are raw, so they won’t taste amazing yet, but you can check if the seasoning balance feels right. Add a pinch more salt if needed.
- Spread the seeds in a single layer on your prepared baking sheet. Make sure they’re not overlapping. If they’re piled up, they’ll steam instead of roast. Use two sheets if you have a lot of seeds.
- Roast for 20-25 minutes, stirring halfway through. At the 10-minute mark, pull the pan out, give the seeds a good stir with a spatula, and spread them back out. This ensures even browning. Keep an eye on them toward the end—they can go from golden to burnt fast.
- Look for visual cues. You’re done when the seeds are golden brown and you can hear them making a faint popping or crackling sound. They’ll also smell incredibly toasty and fragrant. That’s your cue.
- Let them cool completely on the baking sheet. This is crucial. They’ll continue to crisp up as they cool. If you try to eat them right away, they’ll seem a little soft. Give them 10-15 minutes, and they’ll be perfectly crunchy.
One more thing—don’t crowd the pan. I once tried to roast a double batch on one sheet, and the seeds in the middle came out chewy while the edges were burnt. Spread them out, and you’ll get consistent results every time.
Cooking Tips & Techniques
Over the years, I’ve made plenty of mistakes with pumpkin seeds so you don’t have to. Here’s what I’ve learned:
Dry them like your crunch depends on it. The number one mistake people make is not drying the seeds enough. I once rushed through this step because the kids were hungry, and I ended up with rubbery seeds that nobody wanted to eat. Take the extra few minutes to pat them dry, then let them air-dry while the oven preheats. Your patience will pay off.
Watch the oven like a hawk. Every oven runs a little differently. My old oven would burn seeds at 350°F, but my current one takes the full 25 minutes. Start checking at 15 minutes, especially if you’re using a dark baking sheet, which absorbs more heat. The seeds should be golden, not dark brown.
Don’t skip the stirring. That halfway stir isn’t optional. The seeds on the edges of the pan cook faster than the ones in the middle. A quick stir evens everything out and prevents half your batch from being overdone.
Let them cool completely. I know it’s tempting to dig in right away, but patience here is key. The seeds are still releasing moisture as they cool. Give them a full 15 minutes, and you’ll be rewarded with that perfect, satisfying crunch.
Season while warm, but don’t oversalt. The seeds absorb flavor best when they’re still warm from the oven. But remember, the salt will taste stronger as they cool. I usually go a little lighter on the salt and let everyone adjust at the table.
Double the batch if you can. These disappear fast. I’ve learned to make a double batch every time, because the first batch is usually gone before the second one even comes out of the oven.
Variations & Adaptations
This recipe is a great starting point, but don’t be afraid to make it your own. Here are a few variations I’ve tried and loved:
- Sweet & Spicy: Swap the lime for a tablespoon of brown sugar and a pinch of cinnamon. The chili powder still gives it a little warmth, but the sugar adds a caramelized sweetness that kids go crazy for. My youngest calls these “candy seeds.”
- Cheesy Herb: After roasting, toss the warm seeds with a tablespoon of nutritional yeast (for a cheesy flavor without dairy) or finely grated Parmesan. Add a pinch of dried rosemary or thyme. It’s like a grown-up snack mix.
- Smoky BBQ: Replace the chili powder with smoked paprika and add a teaspoon of brown sugar. The smokiness pairs beautifully with the lime. This version is my personal favorite for game day snacking.
- Garlic Lovers: Skip the chili powder and double the garlic powder. Add a pinch of onion powder and some dried parsley. It’s savory, simple, and surprisingly addictive.
- Air Fryer Method: If you have an air fryer, you can make these even faster. Cook at 350°F for 10-12 minutes, shaking the basket halfway through. They come out extra crispy with less oil. Just don’t overcrowd the basket.
For anyone with allergies, these are naturally gluten-free and dairy-free if you use olive oil instead of butter. Nut-free too, which makes them a safe snack for school lunchboxes. If you need to watch sodium, cut the salt in half and add extra lime zest for flavor.
Serving & Storage Suggestions
These seeds are best served at room temperature, right after they’ve cooled. They’re perfect straight from the bowl, but here are some other ways I like to use them:
- Snack Bowl: Set them out in a big bowl for movie night or game day. They disappear faster than popcorn in my house.
- Soup Topper: Sprinkle a handful over creamy soups like butternut squash or tomato. The crunch and tangy flavor are a perfect contrast.
- Salad Crunch: Toss them on a simple green salad with a citrus vinaigrette. They add texture and a pop of flavor without needing croutons.
- Trail Mix Addition: Mix them with dried cranberries, dark chocolate chips, and pretzels for a sweet-and-salty snack mix.
Storage: Keep any leftovers in an airtight container at room temperature. They’ll stay fresh and crunchy for up to two weeks—if they last that long. I’ve never had a batch survive more than a few days in our house. Do not refrigerate them, as the moisture will make them soft.
Re-crisping: If they do lose their crunch (which can happen in humid weather), spread them on a baking sheet and pop them in a 300°F oven for 5 minutes. Let them cool, and they’ll be crispy again.
The flavors actually mellow and blend together after a day or two, so they might taste even better on day two. Just make sure the container is sealed tight so they don’t absorb any weird fridge smells.
Nutritional Information & Benefits
Here’s the rough nutritional breakdown for a ¼-cup serving of these roasted seeds:
- Calories: ~150
- Fat: 12g (mostly healthy unsaturated fats)
- Protein: 7g
- Carbohydrates: 5g
- Fiber: 2g
- Sodium: 250mg (varies with salt)
Pumpkin seeds are a nutritional powerhouse. They’re one of the best natural sources of magnesium, which supports muscle function and sleep quality. They’re also rich in zinc, which is great for immune health—especially during cold season. The healthy fats and protein make them a satisfying snack that actually keeps hunger at bay, unlike a lot of processed snacks.
These seeds are naturally gluten-free, dairy-free (if using oil), and nut-free, making them a safe option for many common dietary restrictions. Just watch the sodium if you’re on a low-salt diet—you can easily cut it in half or use a salt substitute.
I love that I can feel good about my kids munching on these. It’s one of those rare snacks that’s both delicious and genuinely nutritious. No guilt required.
Conclusion
These roasted pumpkin seeds with chili lime salt are proof that the best snacks don’t have to be complicated or expensive. You’re taking something most people throw away and turning it into something your whole family will fight over. That’s the kind of kitchen win that makes you feel like a superhero.
I love this recipe because it’s so adaptable. Maybe you’ll keep it exactly as written, or maybe you’ll add a little extra chili for heat or swap the lime for lemon. That’s the beauty of it—it’s a starting point that you can make your own. And honestly, the fact that it came from a casual afternoon at my neighbor’s house makes it even better. Some of the best recipes aren’t planned; they just happen.
So next time you carve a pumpkin, save those seeds. Or just grab a bag of raw pumpkin seeds from the store. Give this recipe a try, and let me know how it goes. Did your kids love them? Did you try a fun variation? Drop a comment below—I’d love to hear about your version. And if you share a photo on Pinterest, tag me so I can see your crunchy, golden creation!
Frequently Asked Questions
Can I use store-bought raw pumpkin seeds instead of fresh?
Absolutely. While fresh seeds from a pumpkin have a slightly better texture, store-bought raw pumpkin seeds (also called pepitas) work perfectly. Just skip the rinsing and drying steps, and toss them directly with the oil and seasonings. They may cook a little faster, so start checking at 15 minutes.
How do I make these less spicy for young kids?
Easy—just reduce the chili powder to ½ teaspoon or swap it for smoked paprika, which has a mild, sweet flavor. You can also leave out the chili powder entirely and use a pinch of cumin for warmth without heat. The lime and salt are still plenty flavorful on their own.
Why did my pumpkin seeds turn out chewy instead of crispy?
This usually happens for one of two reasons: the seeds weren’t dried thoroughly before roasting, or they were overcrowded on the baking sheet. Make sure to pat them completely dry and spread them in a single layer with space between each seed. If they’re still chewy after roasting, pop them back in the oven for another 5 minutes.
Can I make these in advance for a party?
Yes, and they’re actually perfect for this. Make them up to a week ahead and store them in an airtight container at room temperature. They’ll stay crunchy and fresh. If you’re worried about them softening, you can re-crisp them in a 300°F oven for 5 minutes right before serving.
What’s the best way to zest a lime without a microplane?
If you don’t have a microplane, use the fine side of a box grater. Just be careful to only grate the green part of the peel, not the white pith underneath, which is bitter. A vegetable peeler can also work—just peel thin strips of the green zest and chop them very finely with a knife.
Pin This Recipe!
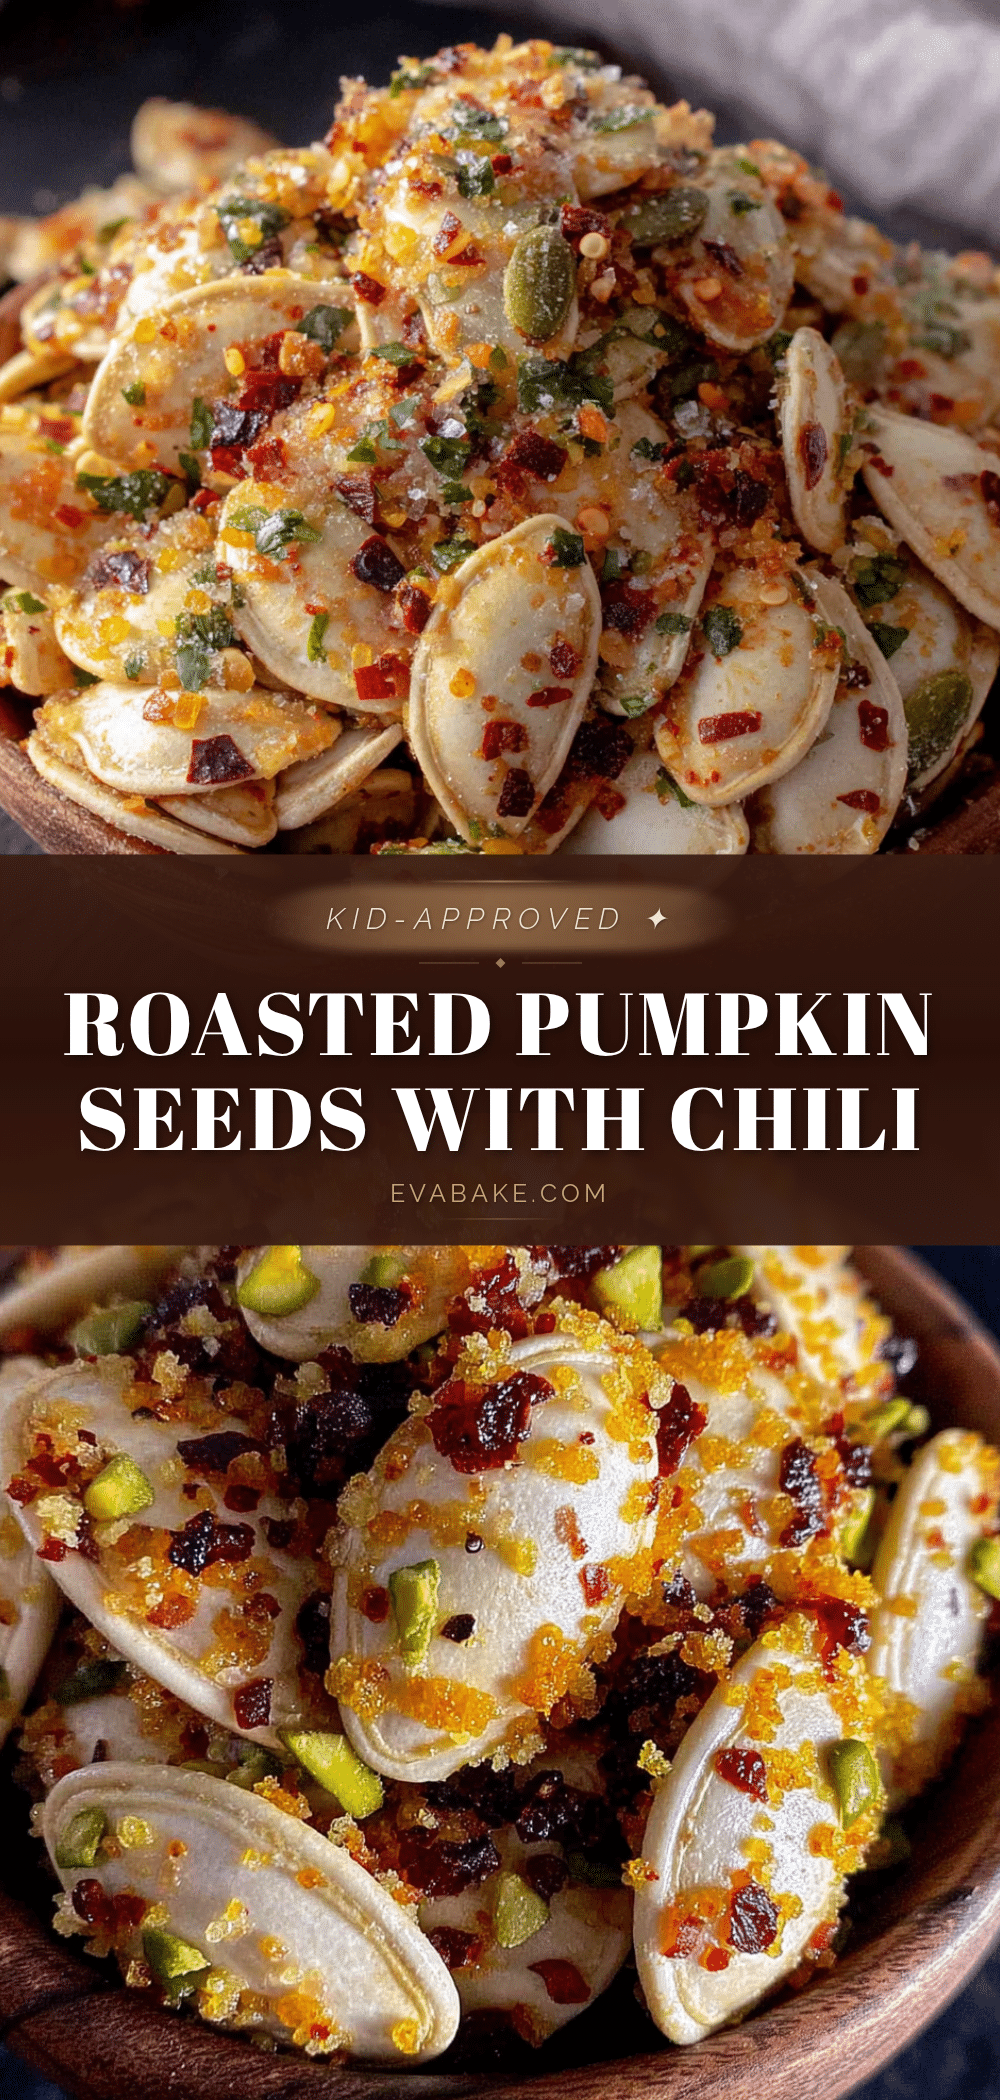
Easy Kid-Approved Roasted Pumpkin Seeds with Chili Lime Salt

Transform pumpkin seeds into a crunchy, addictive snack with a zesty chili-lime twist. This budget-friendly recipe is quick, kid-approved, and perfect for any occasion.
- Prep Time: 10 minutes
- Cook Time: 25 minutes
- Total Time: 35 minutes
- Yield: 4 servings 1x
- Category: Snack
- Cuisine: American
Ingredients
- 1 ½ cups fresh pumpkin seeds (from one medium pumpkin)
- 2 tablespoons olive oil or melted butter
- 1 teaspoon chili powder
- 1 teaspoon lime zest (from about 1 lime)
- 1 tablespoon fresh lime juice
- 1 teaspoon sea salt (plus more to taste)
- ½ teaspoon garlic powder (optional)
Instructions
- Preheat your oven to 350°F (175°C).
- Separate the seeds from the pumpkin guts. Don’t stress about getting every single string off—a little bit adds flavor.
- Rinse the seeds in a colander under cool water. Swish them around to loosen any big clumps of pulp.
- Dry the seeds thoroughly. Spread them out on a clean kitchen towel or paper towels and pat them dry. Let them sit for 5-10 minutes if you have time.
- In a medium mixing bowl, combine the dried seeds with the olive oil. Toss until every seed is lightly coated.
- Add the chili powder, lime zest, lime juice, sea salt, and garlic powder (if using). Stir everything together until the seeds are evenly coated.
- Spread the seeds in a single layer on your prepared baking sheet. Make sure they’re not overlapping.
- Roast for 20-25 minutes, stirring halfway through. At the 10-minute mark, pull the pan out, give the seeds a good stir, and spread them back out.
- Look for visual cues: the seeds are done when they are golden brown and you can hear a faint popping or crackling sound.
- Let them cool completely on the baking sheet. They’ll continue to crisp up as they cool. Give them 10-15 minutes.
Notes
Dry the seeds thoroughly to ensure crispiness. Watch the oven closely as seeds can burn quickly. Let seeds cool completely before serving for maximum crunch. Store in an airtight container at room temperature for up to two weeks.
Nutrition
- Serving Size: ¼ cup
- Calories: 150
- Sugar: 1
- Sodium: 250
- Fat: 12
- Saturated Fat: 2
- Carbohydrates: 5
- Fiber: 2
- Protein: 7
Keywords: roasted pumpkin seeds, chili lime, kid-friendly snack, easy snack, pumpkin seeds recipe


