It was 11:47 PM on a random Tuesday, and I had a very specific, very urgent craving for something cold, sweet, and salty. The kind of craving that makes you open the freezer door and just stare, hoping something magical appears. I didn’t have an ice cream maker—I’ve never owned one, honestly—but I had a can of sweetened condensed milk, a carton of heavy cream that was about to expire, and a bag of flaky sea salt that I bought on a whim last month. The idea just hit me: what if I could make salted caramel ice cream without all the fuss? No churning, no special equipment, just pure, unapologetic deliciousness.
I mean, let me tell you, I was skeptical. I’ve made plenty of ice cream recipes that turned into icy, disappointing blocks of sadness. But this was different. I whisked everything together in a bowl, poured it into a loaf pan, and crossed my fingers. The next morning, my kids found me sneaking a spoonful before breakfast. The texture was creamy, the caramel was rich, and that salt—oh, that salt—made it sing. Maybe you’ve been there, standing in your kitchen at midnight, convinced that the best ideas come when everyone else is asleep. This recipe is proof that they do. It stayed with me because it’s the kind of dessert that feels fancy but costs next to nothing to make. And honestly? It’s become our family’s go-to for birthdays, bad days, and everything in between.
Why You’ll Love This Recipe
Let me be real with you—I’ve tested this recipe at least a dozen times. I’ve made it with different brands of cream, tried various caramel sauces, and even let my youngest “help” by dumping in extra salt (which actually wasn’t bad). Through all those trials, this version came out on top every single time. Here’s why this homemade no-churn salted caramel ice cream is the one you’ll keep coming back to:
- Quick & Easy: Comes together in under 15 minutes of active prep. No custard, no thermometer, no complicated steps.
- Simple Ingredients: You probably have everything in your kitchen right now. Heavy cream, sweetened condensed milk, caramel sauce, and salt—that’s it.
- Perfect for Family Nights: Great for movie marathons, summer barbecues, or just a Tuesday treat that makes everyone smile.
- Crowd-Pleaser: My kids fight over the last scoop, and my husband—who claims he doesn’t have a sweet tooth—always asks for seconds.
- Unbelievably Delicious: The texture is ridiculously creamy, the caramel is silky, and the salt balances everything perfectly. It’s next-level comfort food without the next-level effort.
What makes this recipe different from the rest? It’s the no-churn method, plain and simple. You don’t need an expensive machine or a bag of ice and rock salt. You just need a bowl, a whisk, and a little patience while it freezes. The caramel swirl isn’t just a suggestion—it’s the star. And the salt? It’s not just sprinkled on top; it’s woven into every bite. This isn’t just another ice cream recipe. It’s the one that makes you close your eyes after the first spoonful and forget about your long day.
What Ingredients You Will Need
This recipe uses simple, wholesome ingredients to deliver bold flavor and a satisfyingly creamy texture without the fuss. Most of these are pantry staples, which makes it perfect for those late-night cravings or last-minute dessert emergencies.
- 2 cups (480 ml) heavy cream – Also called whipping cream. Look for one with at least 36% milk fat for the best texture. I personally prefer Horizon Organic or Land O’Lakes for consistency.
- 1 can (14 oz / 397 g) sweetened condensed milk – This is your sugar and texture base. Don’t substitute with evaporated milk—it won’t work the same way. Eagle Brand is my go-to.
- 1/2 cup (120 ml) caramel sauce – Use a good-quality store-bought kind or make your own. I’ve used Smucker’s in a pinch, but homemade is always better if you have time.
- 1 teaspoon vanilla extract – Pure vanilla extract adds warmth. Avoid imitation if you can.
- 1/2 teaspoon flaky sea salt – This is non-negotiable. Maldon sea salt flakes are perfect—they dissolve slowly and give little bursts of saltiness. You can use kosher salt, but reduce the amount to 1/4 teaspoon since it’s denser.
- Optional: 1/4 cup (60 ml) caramel sauce for swirling – This extra swirl makes the ice cream look gorgeous and gives you pockets of gooey caramel in every scoop.
Ingredient tips: Make sure your heavy cream is very cold—straight from the fridge. Warm cream won’t whip properly. For the caramel sauce, if you’re using a thicker sauce, warm it slightly (about 10 seconds in the microwave) so it swirls easily into the cream mixture. If you’re dairy-free, you can try using full-fat coconut cream and a dairy-free sweetened condensed milk, though the texture will be slightly different.
Equipment Needed
You don’t need much, and that’s the beauty of this recipe. Here’s what you’ll need:
- Large mixing bowl – A stainless steel or glass bowl works best. Make sure it’s clean and dry—any trace of grease will stop the cream from whipping.
- Electric hand mixer or stand mixer – You can whisk by hand, but your arm will thank you for using a mixer. I’ve used a $20 hand mixer for years, and it works perfectly.
- Rubber spatula – For folding the condensed milk in gently. A silicone one is best.
- Loaf pan (9×5-inch / 23×13 cm) – This is the perfect size for this recipe. A metal pan freezes faster than glass, but either works.
- Plastic wrap or parchment paper – To cover the surface directly so ice crystals don’t form.
- Freezer-safe container with lid – If you want to store it longer, transfer the frozen ice cream to a container after it sets.
Budget-friendly tip: Don’t have a loaf pan? Use a deep dish pie plate or a small casserole dish. The shape doesn’t matter—just make sure it’s freezer-safe.
Preparation Method
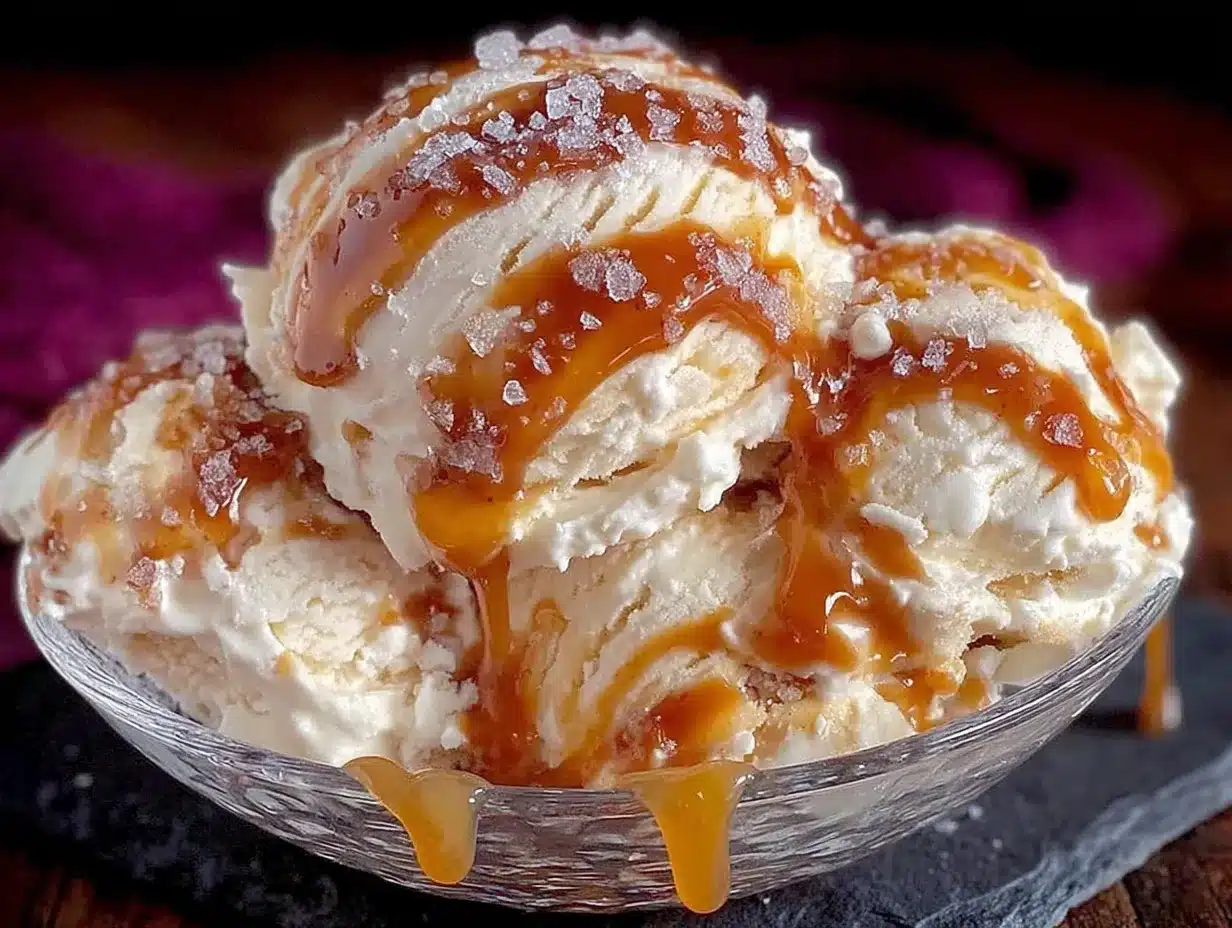
This is where the magic happens. Follow these steps carefully, and you’ll have the creamiest no-churn ice cream you’ve ever tasted.
-
Chill your bowl and beaters. Pop your mixing bowl and the beaters of your hand mixer into the freezer for 10-15 minutes. Cold equipment helps the cream whip faster and hold its shape better. I forgot to do this once, and the cream took forever to thicken—learn from my mistake!
-
Whip the heavy cream. Pour the cold heavy cream into the chilled bowl. Using your hand mixer on medium-high speed, whip the cream until stiff peaks form. This takes about 3-4 minutes. You’ll know it’s ready when you lift the beaters and the cream stands up in peaks without flopping over. Be careful not to overwhip—if it turns grainy and yellow, you’ve gone too far and made butter. Trust me, I’ve been there, and it’s heartbreaking.
-
Fold in the sweetened condensed milk. Pour the entire can of sweetened condensed milk over the whipped cream. Add the vanilla extract and the 1/2 teaspoon of flaky sea salt. Using your rubber spatula, gently fold everything together. Start from the bottom and bring the mixture up and over, turning the bowl as you go. Don’t stir—you want to keep as much air in the cream as possible. The mixture should be thick, smooth, and slightly glossy.
-
Add the caramel sauce. Drizzle the 1/2 cup of caramel sauce over the top of the mixture. Using a knife or a skewer, gently swirl it through—just 3 or 4 strokes. You don’t want to mix it in completely; you want ribbons of caramel running through the ice cream. If you overmix, the caramel will just disappear into the cream, and that’s a sad day.
-
Transfer to the loaf pan. Scrape the mixture into your loaf pan. Spread it evenly with the spatula. If you’re using the extra 1/4 cup of caramel sauce for swirling, drizzle it on top now and give it one more gentle swirl.
-
Cover and freeze. Press a piece of plastic wrap directly onto the surface of the ice cream. This prevents ice crystals from forming. Then cover the pan with another layer of plastic wrap or a lid. Place it in the coldest part of your freezer (usually the back, not the door).
-
Wait (the hardest part). Freeze for at least 6 hours, but overnight is best. The texture gets creamier the longer it sits. After about 2 hours, I sometimes sneak a spoonful—it’s still soft but delicious. But for that perfect scoopable texture, give it the full time.
Sensory cues: When you whip the cream, listen for the change in sound—it goes from sloshing to a soft, muffled thump as it thickens. When you fold in the condensed milk, the mixture should feel heavy and silky on the spatula. And when you take the first scoop after freezing, it should be smooth, not icy.
Cooking Tips & Techniques
I’ve made this recipe more times than I can count, and I’ve learned a few things the hard way. Here are my best tips to make sure yours turns out perfect every time.
Don’t skimp on the chill. Cold cream and cold equipment are non-negotiable. I once tried to whip room-temperature cream because I was in a hurry, and it just turned into a sad, soupy mess. Stick the bowl and beaters in the freezer for at least 10 minutes before you start.
Watch your salt. Flaky sea salt is milder than table salt. If you only have table salt, use half the amount—about 1/4 teaspoon. Too much salt will ruin the balance, and you’ll end up with something that tastes more like the ocean than caramel. Trust me, I learned that lesson the hard way during a particularly ambitious midnight experiment.
Timing is everything. Whip the cream just until stiff peaks form. If you under whip, the ice cream will be dense and icy. If you overwhip, you’ll have butter chunks in your dessert. The sweet spot is when the cream holds its shape but still looks silky. Stop the mixer and check every 30 seconds once you see soft peaks forming.
Multitask like a pro. While the cream is whipping, measure out your caramel sauce and vanilla. Have the loaf pan ready. The actual active time is only about 10 minutes, so having everything prepped makes it feel effortless.
Consistency tip: If your ice cream freezes too hard (which can happen if your freezer is very cold), let it sit on the counter for 5-10 minutes before scooping. It’ll soften just enough to make serving easy without melting into soup.
Variations & Adaptations
This recipe is a blank canvas, and I love playing with it. Here are some variations I’ve tried and loved:
- Chocolate Salted Caramel: Add 1/4 cup of unsweetened cocoa powder to the cream before whipping. Sift it in to avoid lumps. The chocolate and caramel together are heavenly—my neighbor Sarah begged for the recipe after I brought this to a potluck.
- Vegan Version: Use full-fat coconut cream (chilled overnight) instead of heavy cream, and a dairy-free sweetened condensed coconut milk. The texture is slightly different—more like a coconut sorbet—but the flavor is still amazing. My sister-in-law is dairy-free, and this is the only ice cream she’ll eat.
- Nutty Salted Caramel: Fold in 1/2 cup of toasted pecans or walnuts after you add the caramel sauce. The crunch adds a wonderful contrast to the creamy texture. I did this for Thanksgiving last year, and it was gone before the pie was even sliced.
- Less Sweet Version: Use a “light” sweetened condensed milk or reduce the caramel sauce to 1/4 cup. The salt helps balance the sweetness, so it still tastes indulgent without being cloying.
Seasonal twist: In the summer, I sometimes swirl in fresh strawberry puree along with the caramel. It’s a little messy, but the sweet-tart berries cut through the richness beautifully.
Serving & Storage Suggestions
This ice cream is best served slightly softened—let it sit at room temperature for 5-10 minutes after taking it out of the freezer. Scoop it into bowls or cones, and if you’re feeling fancy, drizzle a little extra caramel sauce on top and sprinkle with a pinch of flaky sea salt. It’s gorgeous in a simple glass dish or a waffle cone.
What to serve with it: This ice cream is perfect on its own, but it’s also amazing with warm brownies, apple pie, or a simple chocolate chip cookie. For a grown-up twist, try it with a shot of espresso poured over—affogato style. My husband loves it with a slice of banana bread.
Storage: Store the ice cream in an airtight container in the freezer for up to 2 weeks. After that, it can get icy, but it’s still edible. To prevent ice crystals, always press plastic wrap directly onto the surface before sealing the lid. The flavors actually deepen after a day or two—the caramel gets more pronounced, and the salt mellows out beautifully.
Reheating (sort of): If the ice cream gets too hard, microwave it for 10-15 seconds on low power to soften it. Or just leave it on the counter for a few minutes. Don’t microwave it for longer, or you’ll have soup.
Nutritional Information & Benefits
Let’s be honest—this is a treat, not a health food. But knowing what’s in it helps you enjoy it mindfully. Per 1/2 cup serving (approximately):
- Calories: 380
- Fat: 24g (15g saturated)
- Carbohydrates: 38g (35g sugar)
- Protein: 4g
- Sodium: 220mg (from the salt)
Health highlights: The heavy cream provides calcium and vitamin A, and the salt (in moderation) helps with electrolyte balance. The sweetened condensed milk adds a quick energy boost, but it’s definitely a “sometimes” food. If you’re watching your sugar, try the less-sweet version I mentioned earlier.
Dietary considerations: This recipe contains dairy and is not gluten-free unless you verify your caramel sauce (some brands add wheat-based stabilizers). It’s also not vegan, but the coconut cream version is a great alternative. If you have a nut allergy, skip the pecan variation.
Conclusion
This homemade no-churn salted caramel ice cream is proof that you don’t need fancy equipment or a culinary degree to make something truly special. It’s creamy, it’s indulgent, and it’s ridiculously easy—the kind of recipe that makes you look like a kitchen hero with almost no effort. I love that I can whip it up after the kids are in bed, and by the next afternoon, we have a dessert that feels like a celebration.
I hope you try this and make it your own. Maybe you’ll add extra salt like my daughter does, or swirl in chocolate like my neighbor. Whatever you do, don’t be afraid to experiment. That’s the beauty of cooking—it’s yours to play with.
So grab a bowl, whip some cream, and make this for your family. They’ll thank you. And when you do, come back and tell me how it turned out. I’d love to hear about your midnight cravings and happy kitchen accidents too.
Frequently Asked Questions
Can I use half-and-half instead of heavy cream?
I wouldn’t recommend it. Half-and-half has less fat, so it won’t whip into stiff peaks. The ice cream will be much denser and icier. Stick with heavy cream for the best texture.
How long does this ice cream last in the freezer?
It’s best within the first 2 weeks. After that, it can develop ice crystals. To keep it fresh, always press plastic wrap directly onto the surface before sealing the container.
Can I make this without a mixer?
Yes, but it’s a workout. You can whip the cream by hand with a whisk, but it’ll take about 10-15 minutes of vigorous arm movement. I’ve done it when my mixer was broken, and it’s possible—just be prepared for sore arms.
Why did my ice cream turn out icy?
This usually happens if the cream wasn’t whipped enough, or if the mixture wasn’t covered properly while freezing. Make sure your cream forms stiff peaks, and always press plastic wrap onto the surface before freezing.
Can I use homemade caramel sauce?
Absolutely! Homemade caramel sauce works beautifully. Just make sure it’s cooled to room temperature before swirling it in. Warm caramel will melt the cream mixture and ruin the texture.
Pin This Recipe!
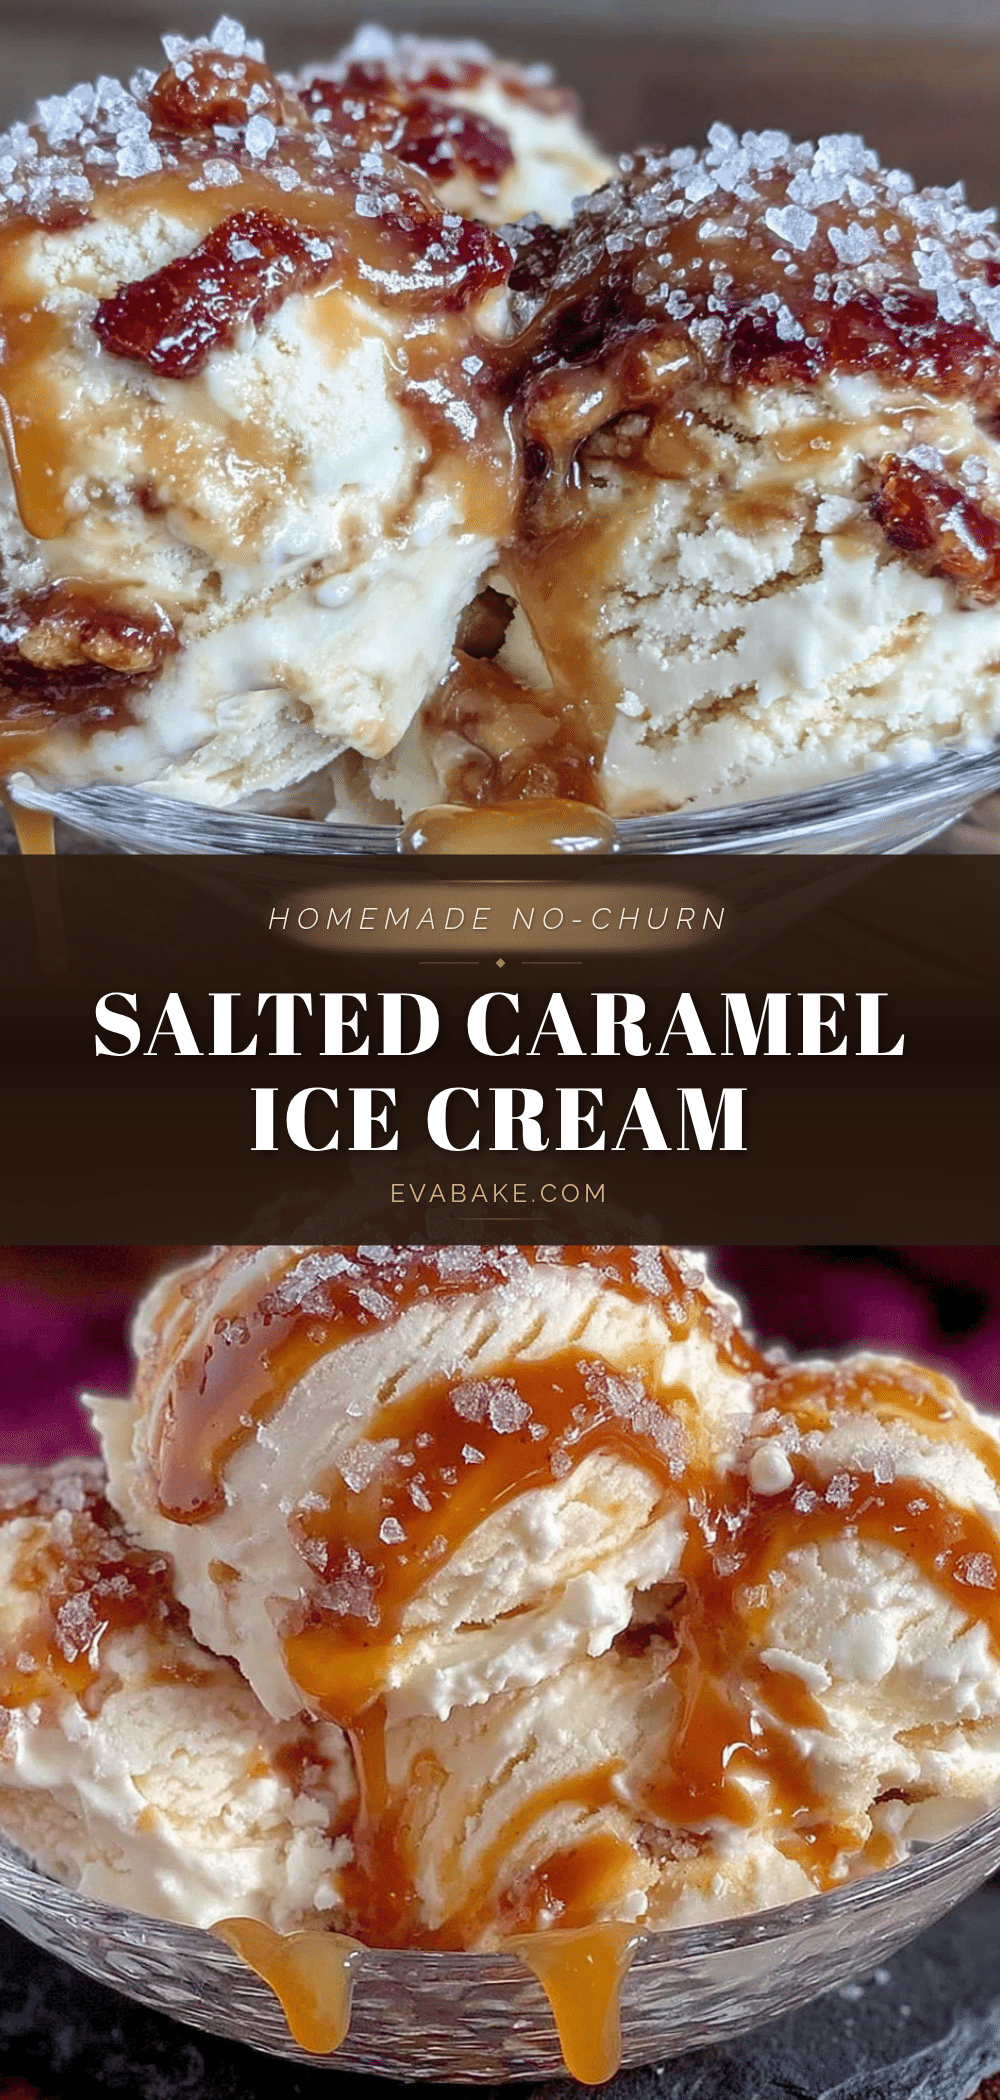
Homemade No-Churn Salted Caramel Ice Cream – Easy Family Favorite

This creamy, no-churn salted caramel ice cream comes together in under 15 minutes of active prep with simple ingredients. It’s the perfect family-friendly dessert for any occasion, with a rich caramel swirl and a touch of sea salt in every bite.
- Prep Time: 15 minutes
- Cook Time: 0 minutes
- Total Time: 6 hours 15 minutes (includes freezing time)
- Yield: 8 servings 1x
- Category: Dessert
- Cuisine: American
Ingredients
- 2 cups (480 ml) heavy cream
- 1 can (14 oz / 397 g) sweetened condensed milk
- 1/2 cup (120 ml) caramel sauce
- 1 teaspoon vanilla extract
- 1/2 teaspoon flaky sea salt
- Optional: 1/4 cup (60 ml) caramel sauce for swirling
Instructions
- Chill your mixing bowl and beaters in the freezer for 10-15 minutes.
- Pour the cold heavy cream into the chilled bowl. Using an electric hand mixer on medium-high speed, whip the cream until stiff peaks form, about 3-4 minutes.
- Pour the sweetened condensed milk over the whipped cream. Add the vanilla extract and flaky sea salt. Gently fold everything together with a rubber spatula until thick, smooth, and slightly glossy.
- Drizzle 1/2 cup of caramel sauce over the mixture. Gently swirl it through with a knife or skewer, using just 3-4 strokes to create ribbons.
- Scrape the mixture into a 9×5-inch loaf pan and spread evenly. If using the extra caramel sauce, drizzle on top and give one more gentle swirl.
- Press plastic wrap directly onto the surface of the ice cream to prevent ice crystals. Cover the pan with another layer of plastic wrap or a lid.
- Freeze for at least 6 hours, but overnight is best for the creamiest texture.
Notes
For best results, ensure heavy cream is very cold and equipment is chilled. Do not overwhip cream. If using table salt instead of flaky sea salt, reduce to 1/4 teaspoon. Let ice cream sit at room temperature for 5-10 minutes before scooping if too hard.
Nutrition
- Serving Size: 1/2 cup
- Calories: 380
- Sugar: 35
- Sodium: 220
- Fat: 24
- Saturated Fat: 15
- Carbohydrates: 38
- Protein: 4
Keywords: no-churn ice cream, salted caramel ice cream, homemade ice cream, easy ice cream, family dessert


