The box of pears sat on my counter for almost a week. I kept walking past them, telling myself I’d make a crisp or slice them into yogurt. But life got busy, and they just sat there getting softer. By day six, I knew I had to do something before they turned completely. I remembered my grandmother’s old canning pot gathering dust in the basement. Honestly, I had never used it. I was a little intimidated, but the thought of those pears going to waste bothered me more than the idea of learning something new.
I pulled out the pot, wiped off the cobwebs, and stared at the fruit. I had a vague memory of her making pear preserves one autumn—the kitchen smelled amazing. I didn’t have her recipe, but I figured I could wing it. I grabbed a vanilla bean I had been hoarding for a special occasion. This felt like the right moment. I chopped, stirred, and stood over the stove longer than I expected. When I finally spooned the warm, fragrant preserves into jars, I felt this weird sense of pride. It wasn’t perfect, but it was mine.
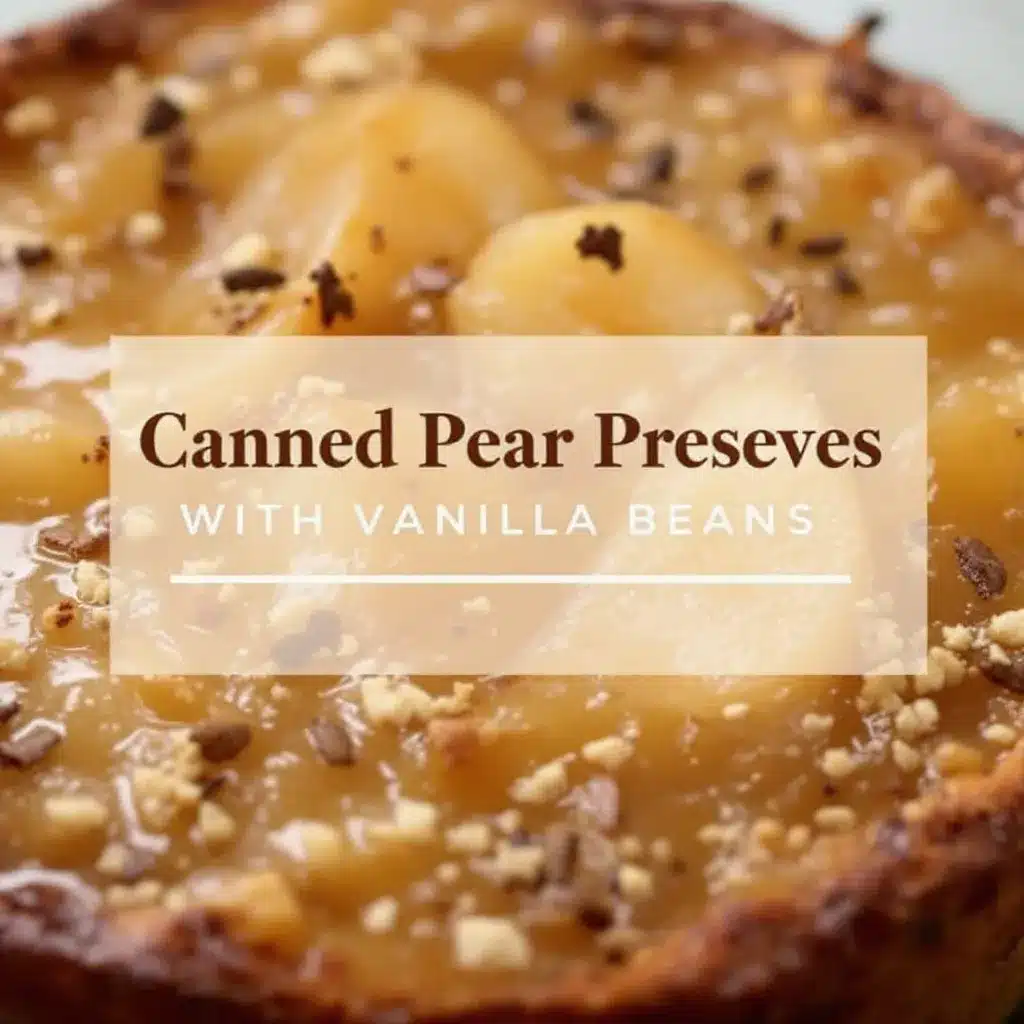
That first jar sat on my shelf for two weeks before I opened it. I was nervous, honestly. But when I spread it on toast, the texture was spot on—thick but spreadable, with those tiny vanilla specks throughout. The flavor was bright and sweet, with a warmth that reminded me of fall mornings. I ended up giving jars to neighbors, and everyone asked for the recipe. I never thought I’d be a person who cans things, but here we are. These homemade canned pear preserves with vanilla bean have become my little kitchen flex.
Why You’ll Love This Recipe
I’ve tested this recipe more times than I care to admit. The first batch was a little too runny. The second one had too much sugar. But by the third try, I nailed it. Here’s why I think you’ll love it too:
- Simple Ingredients : You only need pears, sugar, lemon juice, and a vanilla bean. No weird pectin or fancy additives.
- Perfect for Gifting : These jars make incredible homemade gifts. Tie a ribbon around them and you look like a hero.
- Pantry Staple : Spread it on toast, swirl it into yogurt, or spoon it over pancakes. It’s endlessly useful.
- Beginner-Friendly : If I can do it, you can do it. I had zero canning experience before this.
- Rich, Warm Flavor : The vanilla bean takes these preserves to another level. It’s not just sweet—it’s aromatic and cozy.
What makes this recipe different from others is the technique. Instead of adding pectin, I let the pears cook down slowly. This concentrates the flavor and creates a naturally thick texture. Plus, the vanilla bean adds a depth that extract just can’t match. I’ve made batches with regular vanilla extract, and honestly, it’s not the same. The tiny seeds speckled throughout the preserves feel special, like something you’d buy at a fancy farmers market.
This recipe isn’t just good—it’s the kind that makes you close your eyes after the first bite. It’s comfort food reimagined, preserved in a jar, ready whenever you need a little sweetness.
What Ingredients You Will Need
This recipe uses simple, wholesome ingredients to deliver bold flavor and satisfying texture without the fuss. Most of these are pantry staples, except maybe the vanilla bean. Trust me, it’s worth finding one.
- 3 pounds ripe but firm pears (Bartlett or Bosc work great) – Peeled, cored, and chopped into 1-inch chunks. The pears should be sweet and fragrant, not mushy.
- 2 cups granulated sugar – This helps preserve the fruit and creates that syrupy texture. You can reduce it slightly if your pears are very sweet, but don’t cut too much or the preserves won’t set properly.
- 2 tablespoons fresh lemon juice – Adds brightness and helps balance the sweetness. It also helps preserve the color of the pears so they don’t turn brown.
- 1 vanilla bean – Split lengthwise with seeds scraped out. I use Madagascar vanilla beans for their rich, creamy flavor. If you can’t find a vanilla bean, use 1 tablespoon of pure vanilla extract added at the end.
- 1/4 cup water – Helps the pears soften before they release their own juices.
Ingredient Tips: Look for pears that are ripe but still hold their shape. If they’re too soft, they’ll turn into mush during cooking. I personally prefer Bartlett pears for their sweetness, but Bosc pears give a slightly firmer texture. For the sugar, I use regular white granulated sugar. You can try organic cane sugar or even coconut sugar, but the color and flavor will change. The lemon juice is non-negotiable—it’s not just for flavor, it helps with preservation.
Substitution Guidance: If you’re avoiding refined sugar, you can try honey or maple syrup, but the preserves will be thinner and the flavor will be different. For a low-sugar version, use a low-sugar pectin and follow the package instructions. You can also swap the vanilla bean for 1 tablespoon of vanilla bean paste, which gives you those beautiful specks without the hassle of splitting a bean.
Equipment Needed
You don’t need a ton of fancy gear for this recipe. Here’s what I use:
- Large heavy-bottomed pot or Dutch oven – This distributes heat evenly and prevents the preserves from scorching. I use a 6-quart Le Creuset, but any heavy pot works.
- Canning jars with lids and bands – I use 4 half-pint (8 oz) jars. Make sure they’re sterilized before using.
- Water bath canner or large stockpot – For processing the jars. You need a pot deep enough to cover the jars with at least 1 inch of water.
- Jar lifter – This tool saves your fingers from boiling water. Trust me, don’t skip it.
- Wide-mouth funnel – Makes filling jars so much less messy.
- Wooden spoon or silicone spatula – For stirring the preserves.
- Clean kitchen towels – For wiping jar rims and resting hot jars.
- Small plate – Keep it in the freezer to test the set of your preserves.
Budget-Friendly Alternatives: If you don’t have a water bath canner, use a large stockpot with a rack at the bottom. You can also repurpose old pasta sauce jars if they’re the right size, but make sure they’re heat-safe and have new lids. I’ve used second-hand jars before—just check for cracks or chips.
Preparation Method
Take your time with these steps. Rushing leads to runny preserves, and nobody wants that.
- Prepare your jars and lids. Wash them in hot, soapy water and rinse well. Place the jars in a water bath canner or large pot, cover with water, and bring to a boil. Let them boil for 10 minutes to sterilize. Keep them in the hot water until you’re ready to fill them. Place the lids in a small bowl and cover with hot (not boiling) water to soften the seals.
- Prep the pears. Peel, core, and chop the pears into 1-inch chunks. You should have about 6 cups of chopped pears. Work quickly so they don’t brown. Toss them with the lemon juice as you go to slow down oxidation. I learned this the hard way after my first batch turned an unappealing brown.
- Split the vanilla bean. Use a sharp paring knife to slice the vanilla bean lengthwise. Scrape out the tiny seeds with the back of the knife. Don’t throw away the pod—it still has flavor to give.
- Cook the pears. In your large pot, combine the chopped pears, sugar, water, and the vanilla bean seeds and pod. Stir everything together. Let it sit for 15 minutes. This draws out the pear juices and helps the sugar dissolve before you even turn on the heat.
- Bring to a boil. Place the pot over medium-high heat and bring the mixture to a full rolling boil, stirring occasionally. Once it’s boiling, reduce the heat to medium-low and let it simmer. You’ll see foam forming on the surface—skim it off with a spoon. This foam is just air bubbles and impurities, and removing it gives you a clearer preserve.
- Cook until thick. Let the preserves simmer for 30 to 40 minutes, stirring every 5 minutes or so. The pears will break down and the liquid will reduce. You’ll know it’s ready when the mixture has thickened and coats the back of a spoon. To test, place a small plate in the freezer for 5 minutes, then spoon a little preserve onto it. Let it sit for 30 seconds, then run your finger through it. If it holds its shape and doesn’t run back together, you’re good.
- Remove the vanilla pod. Fish out the spent vanilla pod. Rinse it off and let it dry—you can bury it in a jar of sugar to make vanilla sugar later.
- Fill the jars. Using your jar lifter, remove the hot jars from the canner and place them on a clean towel. Place the wide-mouth funnel in a jar and ladle the hot preserves into it, leaving 1/4 inch of headspace at the top. Wipe the rim of the jar with a clean, damp towel to remove any sticky residue. Center a lid on the jar and screw on the band until it’s fingertip-tight (not too tight).
- Process the jars. Place the filled jars back into the water bath canner, making sure they’re covered by at least 1 inch of water. Bring to a full rolling boil and process for 10 minutes (adjust for altitude if needed). Turn off the heat and let the jars sit in the water for 5 minutes before removing them.
- Cool and check seals. Use the jar lifter to remove the jars and place them on a towel. Let them cool completely, undisturbed, for 12 to 24 hours. You’ll hear a satisfying “pop” as the lids seal. Press the center of each lid—if it doesn’t flex, the jar is sealed. If it pops up and down, refrigerate that jar and use it first.
Cooking Tips & Techniques
I’ve made this recipe at least a dozen times now, and I’ve learned a few things the hard way. Here are my best tips:
Don’t skip the resting step. Letting the pears sit with the sugar before cooking makes a huge difference. It draws out the natural juices and creates a better syrup. I once skipped this because I was in a hurry, and the preserves were thinner and less flavorful.
Watch your heat. If the mixture boils too vigorously, it can scorch on the bottom. I ruined a batch by walking away and letting it boil too hard. Keep it at a gentle simmer and stir frequently. The preserves should bubble lazily, not aggressively.
Use a timer for the processing step. I know it sounds basic, but I’ve forgotten to start the timer before. 10 minutes at a rolling boil is crucial for safety. If you’re above 1,000 feet in elevation, add 5 more minutes for every 1,000 feet.
Texture tip: If you prefer chunkier preserves, mash the pears lightly with a potato masher after they’ve softened but before they fully break down. If you want a smoother jam, use an immersion blender for a few seconds at the end. I like mine somewhere in between—chunky enough to see pear pieces, but spreadable.
My biggest failure: I once tried to double the recipe in the same pot. Bad idea. The preserves took forever to cook down, and by the time they thickened, they had a slightly caramelized flavor. It wasn’t bad, but it wasn’t what I was going for. Stick to single batches unless you have a really wide pot.
Variations & Adaptations
This recipe is flexible. Here are some ways to switch it up:
- Spiced Pear Preserves : Add 1 cinnamon stick and 3 whole cloves to the pot while cooking. Remove them before jarring. The warm spices pair beautifully with the vanilla.
- Pear Ginger Preserves : Add 2 tablespoons of finely grated fresh ginger along with the pears. The ginger adds a little heat that cuts through the sweetness.
- Low-Sugar Version : Reduce the sugar to 1 cup and use a low-sugar pectin. Follow the pectin package instructions for timing. The flavor will be less sweet and more pear-forward.
- Honey-Sweetened Preserves : Replace the sugar with 1 1/2 cups of honey. The preserves will be thinner and darker, but the honey adds a lovely floral note. Reduce the cooking time slightly since honey caramelizes faster.
- Bourbon Vanilla Pear Preserves : Add 2 tablespoons of bourbon during the last 5 minutes of cooking. The warmth of the bourbon complements the vanilla and pears beautifully.
I personally love the ginger version. I made it last fall and ended up eating it straight from the jar with a spoon. It’s that good.
Serving & Storage Suggestions
These preserves are incredibly versatile. Here’s how I use them:
Serving Temperature: Serve at room temperature or slightly warmed. Spread on warm buttered toast, scones, or biscuits. It’s also amazing swirled into oatmeal or yogurt for a quick breakfast upgrade.
Pairings: This preserve pairs beautifully with sharp cheeses like aged cheddar or blue cheese. I love putting out a small dish of these preserves alongside a summer grazing board with prosciutto and brie. The sweetness balances the saltiness of the meat and the creaminess of the cheese.
Storage Instructions: Sealed jars can be stored in a cool, dark place for up to 1 year. Once opened, refrigerate and use within 3 weeks. I’ve never had a jar last that long, honestly. They disappear fast.
Freezer Option: If you don’t want to water bath can, you can freeze the preserves. Let them cool completely, then spoon into freezer-safe containers, leaving 1/2 inch of headspace. They’ll keep for up to 6 months in the freezer. Thaw overnight in the refrigerator before using.
Reheating Note: If the preserves crystallize or get too thick in the fridge, microwave a small amount for 10 to 15 seconds to loosen it up. Stir well before serving.
Flavor Development: The flavor actually improves after a week or two in the jar. The vanilla and pear flavors meld together and deepen. So don’t be discouraged if it tastes a little flat on day one—give it time.
Nutritional Information & Benefits
These preserves are a treat, but they also have some redeeming qualities. Pears are a good source of fiber and vitamin C. They also contain antioxidants that support overall health. The vanilla bean adds a touch of antioxidants too, though let’s be honest—you’re eating this for the flavor.
Estimated Nutritional Values (per 2-tablespoon serving):
- Calories: 45
- Carbohydrates: 12g
- Sugar: 11g
- Fiber: 1g
- Vitamin C: 2% DV
Dietary Considerations: This recipe is naturally gluten-free, dairy-free, and vegan. If you use a low-sugar version, it can fit into a lower-carb lifestyle in moderation. The only potential allergen is the pears themselves, which are generally safe for most people.
My Perspective: I don’t believe in demonizing sugar. These preserves are a way to enjoy fruit in a shelf-stable form. A little spoonful on your morning toast is a joy, not a dietary sin. Balance is everything.
Conclusion
Making your own preserves feels like a superpower. You take a few simple ingredients, apply some heat and patience, and end up with jars of golden goodness that last for months. These homemade canned pear preserves with vanilla bean are exactly that kind of magic. They’re sweet, fragrant, and versatile enough to use in so many ways.
I love this recipe because it connects me to a slower, more intentional way of cooking. It’s not about rushing—it’s about savoring the process and the results. Plus, giving a jar to a friend feels genuinely special. I encourage you to customize this recipe to your taste. Add cinnamon, swap in honey, or throw in some ginger. Make it yours.
If you try this recipe, I’d love to hear how it goes. Leave a comment below or tag me in your photos. And if you’re looking for more cozy kitchen projects, check out this small batch fig and balsamic rosemary jam for another pantry-perfect recipe. Happy canning, friends!
Frequently Asked Questions
Can I use frozen pears for this recipe?
Yes, you can. Thaw them first and drain off any excess liquid. Keep in mind that frozen pears are usually softer, so they’ll break down faster during cooking. The texture will be a little smoother, but the flavor will still be great.
How do I know if my jars are sealed properly?
After the jars cool, press the center of each lid. If it doesn’t flex or pop, the jar is sealed. You should also hear a popping sound as they cool. If a lid flexes up and down, refrigerate that jar and use it within a few weeks.
Can I reduce the sugar in this recipe?
You can, but it will affect the texture and preservation. Sugar helps the preserves set and acts as a natural preservative. If you reduce it too much, you may need to add pectin or process the jars for longer. For best results, stick to the recipe or use a low-sugar pectin.
Do I have to use a water bath canner?
For long-term shelf storage, yes. Water bath canning creates a vacuum seal that prevents spoilage. If you plan to eat the preserves within a few weeks, you can skip the canning and just refrigerate them after they cool.
What can I do with the leftover vanilla pod?
Don’t throw it away! Rinse it, let it dry, and bury it in a jar of granulated sugar. Within a week, you’ll have vanilla sugar for baking or coffee. You can also add it to a bottle of vodka to make homemade vanilla extract.
Pin This Recipe!
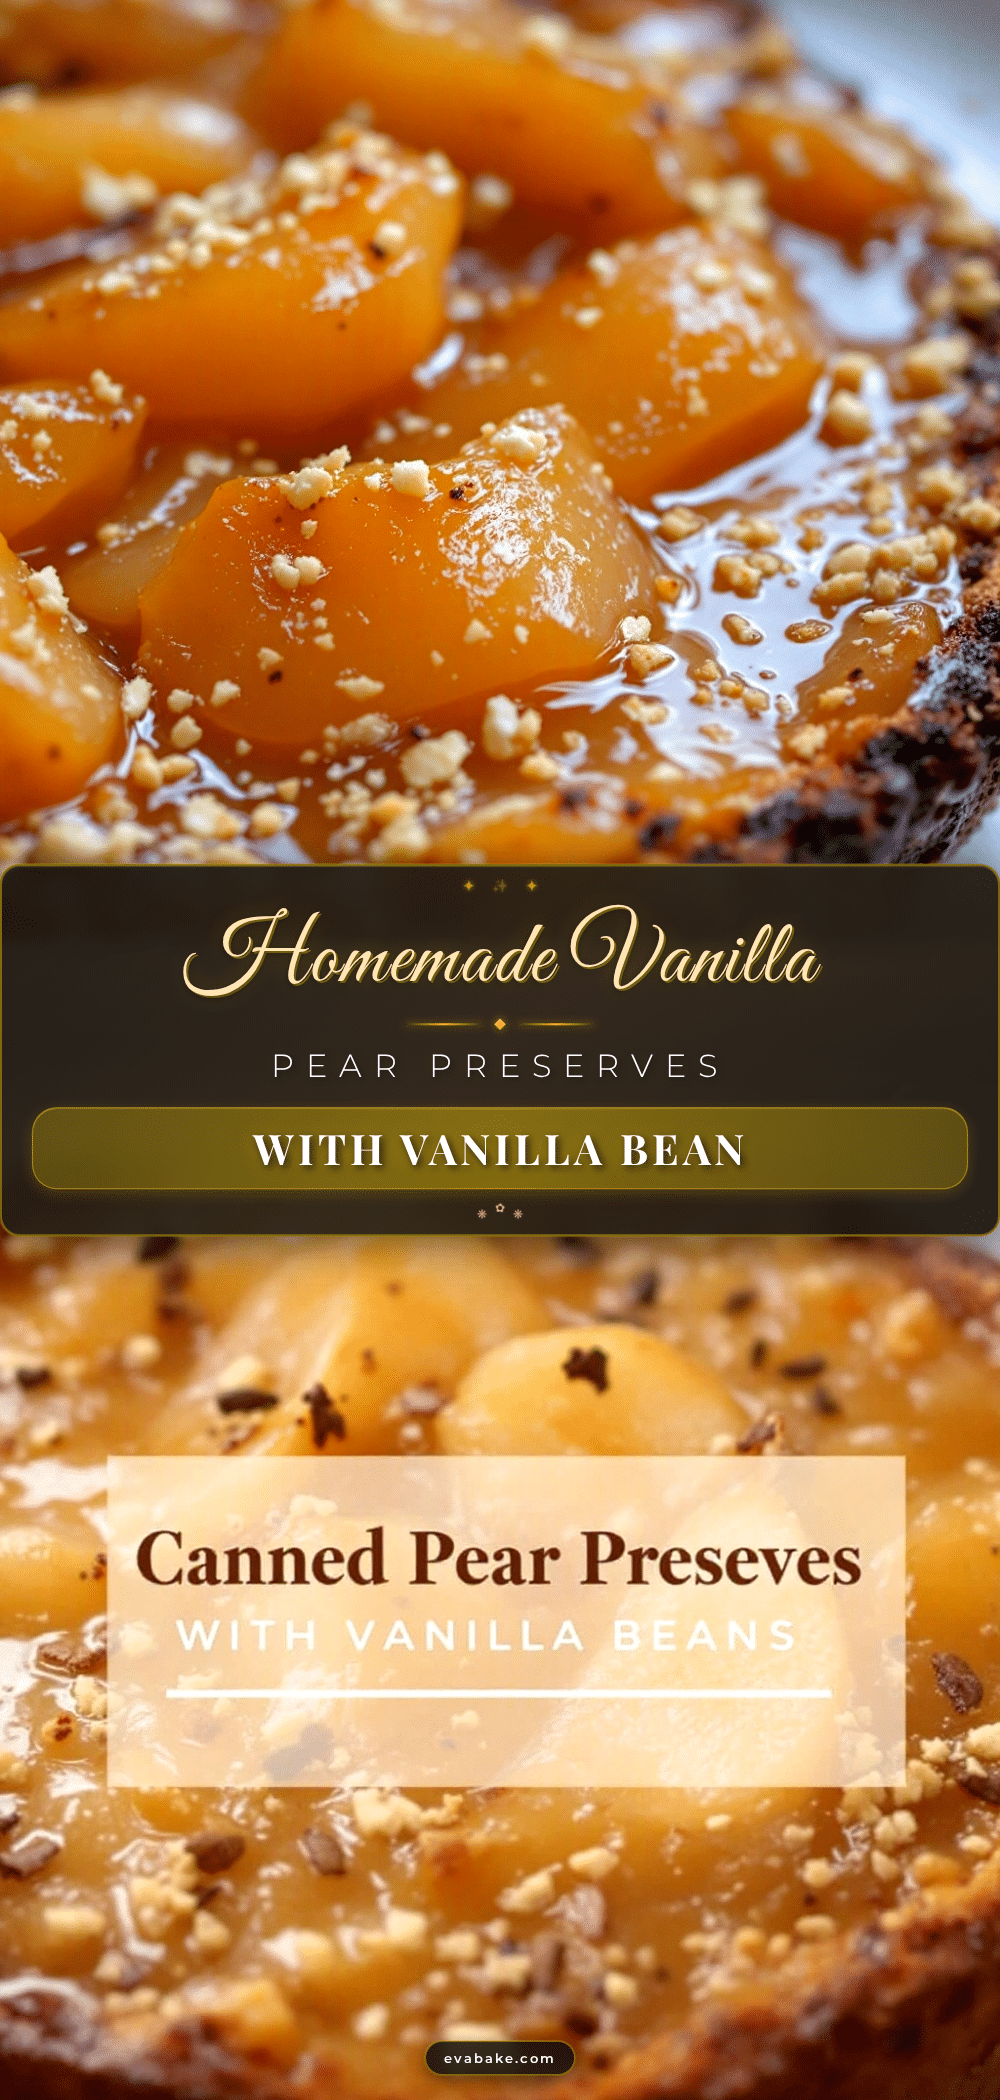
Homemade Vanilla Canned Pear Preserves
These homemade canned pear preserves with vanilla bean are sweet, fragrant, and versatile. A beginner-friendly canning recipe that yields thick, spreadable preserves perfect for gifting or enjoying on toast, yogurt, and more.
- Prep Time: 20 minutes
- Cook Time: 40 minutes
- Total Time: 1 hour (plus 12-24 hours cooling time)
- Yield: 4 half-pint (8 oz) jars 1x
- Category: Preserves
- Cuisine: American
Ingredients
- 3 pounds ripe but firm pears (Bartlett or Bosc), peeled, cored, and chopped into 1-inch chunks
- 2 cups granulated sugar
- 2 tablespoons fresh lemon juice
- 1 vanilla bean, split lengthwise with seeds scraped out
- 1/4 cup water
Instructions
- Prepare your jars and lids. Wash them in hot, soapy water and rinse well. Place the jars in a water bath canner or large pot, cover with water, and bring to a boil. Let them boil for 10 minutes to sterilize. Keep them in the hot water until you’re ready to fill them. Place the lids in a small bowl and cover with hot (not boiling) water to soften the seals.
- Prep the pears. Peel, core, and chop the pears into 1-inch chunks. You should have about 6 cups of chopped pears. Work quickly so they don’t brown. Toss them with the lemon juice as you go to slow down oxidation.
- Split the vanilla bean. Use a sharp paring knife to slice the vanilla bean lengthwise. Scrape out the tiny seeds with the back of the knife. Don’t throw away the pod—it still has flavor to give.
- Cook the pears. In your large pot, combine the chopped pears, sugar, water, and the vanilla bean seeds and pod. Stir everything together. Let it sit for 15 minutes. This draws out the pear juices and helps the sugar dissolve before you even turn on the heat.
- Bring to a boil. Place the pot over medium-high heat and bring the mixture to a full rolling boil, stirring occasionally. Once it’s boiling, reduce the heat to medium-low and let it simmer. You’ll see foam forming on the surface—skim it off with a spoon.
- Cook until thick. Let the preserves simmer for 30 to 40 minutes, stirring every 5 minutes or so. The pears will break down and the liquid will reduce. You’ll know it’s ready when the mixture has thickened and coats the back of a spoon. To test, place a small plate in the freezer for 5 minutes, then spoon a little preserve onto it. Let it sit for 30 seconds, then run your finger through it. If it holds its shape and doesn’t run back together, you’re good.
- Remove the vanilla pod. Fish out the spent vanilla pod. Rinse it off and let it dry—you can bury it in a jar of sugar to make vanilla sugar later.
- Fill the jars. Using your jar lifter, remove the hot jars from the canner and place them on a clean towel. Place the wide-mouth funnel in a jar and ladle the hot preserves into it, leaving 1/4 inch of headspace at the top. Wipe the rim of the jar with a clean, damp towel to remove any sticky residue. Center a lid on the jar and screw on the band until it’s fingertip-tight (not too tight).
- Process the jars. Place the filled jars back into the water bath canner, making sure they’re covered by at least 1 inch of water. Bring to a full rolling boil and process for 10 minutes (adjust for altitude if needed). Turn off the heat and let the jars sit in the water for 5 minutes before removing them.
- Cool and check seals. Use the jar lifter to remove the jars and place them on a towel. Let them cool completely, undisturbed, for 12 to 24 hours. You’ll hear a satisfying “pop” as the lids seal. Press the center of each lid—if it doesn’t flex, the jar is sealed. If it pops up and down, refrigerate that jar and use it first.
Notes
Don’t skip the resting step—letting pears sit with sugar before cooking draws out juices and creates better syrup. Keep heat at a gentle simmer to avoid scorching. For altitude adjustments, add 5 minutes processing time for every 1,000 feet above sea level. The flavor improves after a week or two in the jar. If you prefer chunkier preserves, mash lightly with a potato masher; for smoother jam, use an immersion blender briefly at the end.
Nutrition
- Serving Size: 2 tablespoons
- Calories: 45
- Sugar: 11
- Carbohydrates: 12
- Fiber: 1
Keywords: pear preserves, vanilla bean, homemade preserves, canning recipe, pear jam, vanilla pear preserves, easy canning, beginner canning